Sony Alpha NEX-C3 LCD Screen Replacement
ID: 100285
Description: The LCD screen is a helpful display when taking...
Steps:
- Turn off the camera by sliding the power switch.
- Tilt up the LCD screen.
- Use a Phillips head 000 screwdriver to remove the two 2.0mm screws on the bottom of the LCD screen.
- Use a Phillips head 000 screwdriver to remove the two 1.0mm screws on the smaller backplate of the LCD screen that covers the ribbon cable.
- The smaller backplate should easily come off. Put it to the side.
- Use a Phillips head 000 screwdriver to remove the two 1.0mm screws on the bigger backplate of the LCD.
- Using the plastic opening tool, remove the larger backplate from the LCD screen.
- With your hands, gently remove the black plastic piece on the backside of the LCD screen.
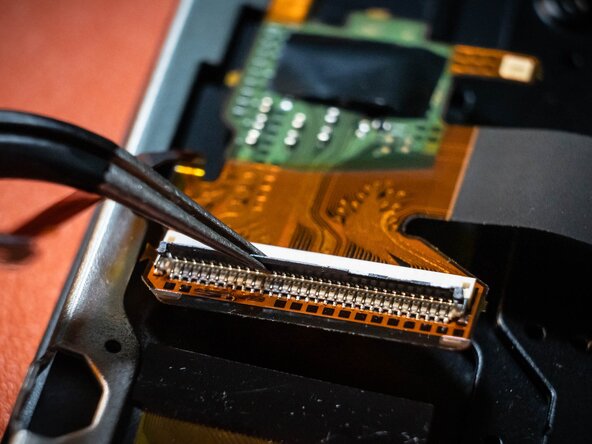
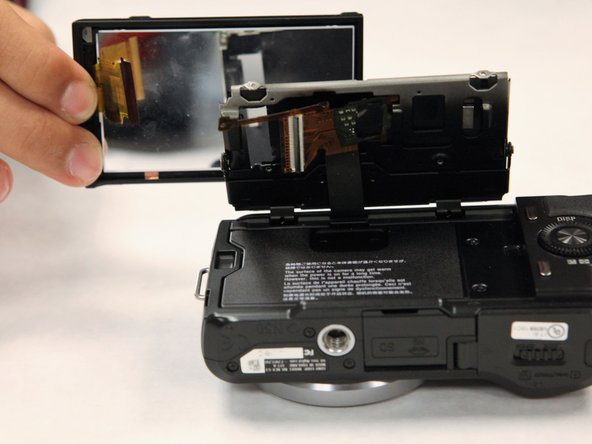
- Using tweezers, gently open the connector. It pivots open. Pull up and away on the ribbon cable connected to the motherboard, after which, the LCD screen should come off.
- The motherboard ribbon cable has a specific connector.
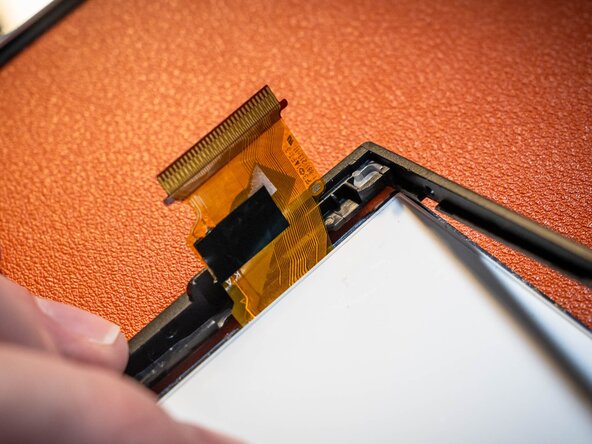
- The screen is attached to a frame, via a thin strip of adhesive. Press gently on a corner of the backside of the screen, to detach it from the frame.
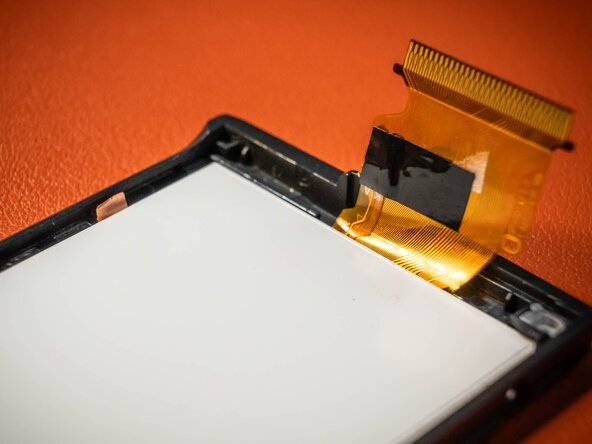
- If your replacement screen did not come with it's own adhesive, carefully peel the original adhesive strip from the original screen, and apply it to the new screen.
- Insert the new screen in to the frame, ensuring the ribbon cable and copper tab are gently folded inwards within the frame, so they are not damaged.
- Now you may re-assemble, working backwards from step 8.
- Enjoy your new screen!