HP Envy TouchSmart m7 k010dx KeyBoard Replacement
ID: 100292
Description: The keyboard is a frequently used components on...
Steps:
- Turn your computer over so that the bottom is facing up.
- Slide the left black switch towards center.
- You should see an unlock image exposed to the left of switch if done correctly.
- Slide the right black switch towards center to release the battery.
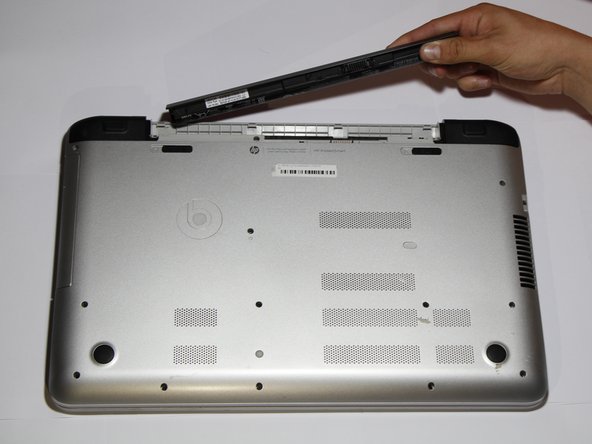
- Pivot the loose edge of the battery closes to you by pushing it toward the back of the computer.
- The battery should slide out freely.
- If battery is not pivoted before sliding out, you risk breaking interlocking tabs on the battery or computer.
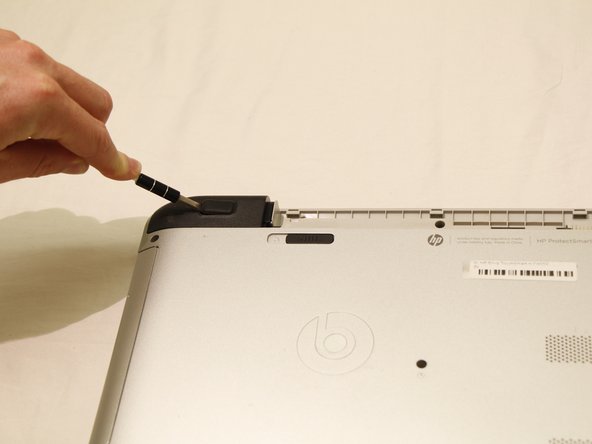
- With the computer turned over use a nylon spudger to pry the rectangular pads off to reveal two hidden screws.
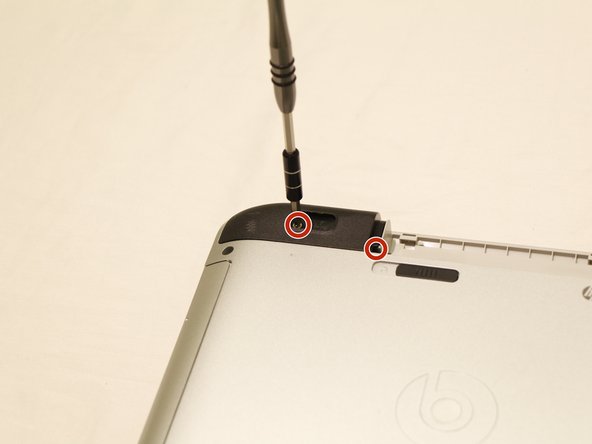
- Using a Phillips #0 screwdriver, remove the screw that is beneath the black rubber pad, as well as the other holding down the black corner plastic pieces on both the left and right sides.
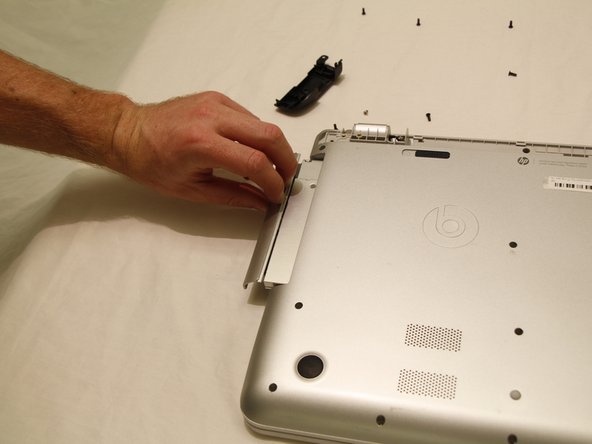
- Use a plastic opening tool to pop the corners off by wedging between casing. Do this for both legs as depicted in the picture.
- Using the Phillips #0 screwdriver, remove the screw in the center of the computer, and to the right of the Beats logo.
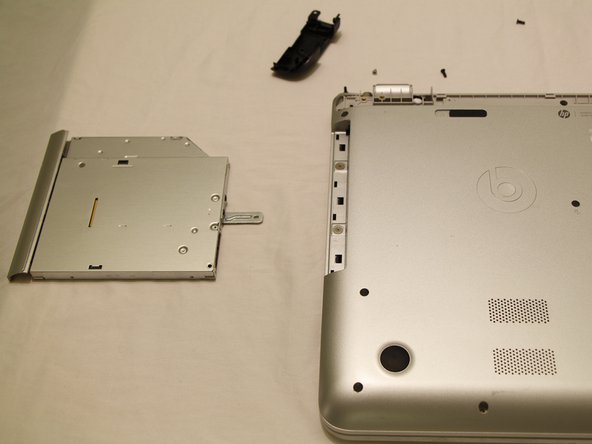
- Use your fingernails to pull out the optical drive. It will have some resistance to start, but will come out easily afterwards.
- Using a JIS #00 screwdriver, remove the two screws that were revealed when the optical drive was removed.
- Use a Phillips #0 screwdriver to remove all screws that are visible on the bottom.
- There is an oval tab near the center of the laptop, use the flat end of a nylon spudger to wedge it free to reveal another Phillips #0 screw.
- Open up the laptop and set it down normally.
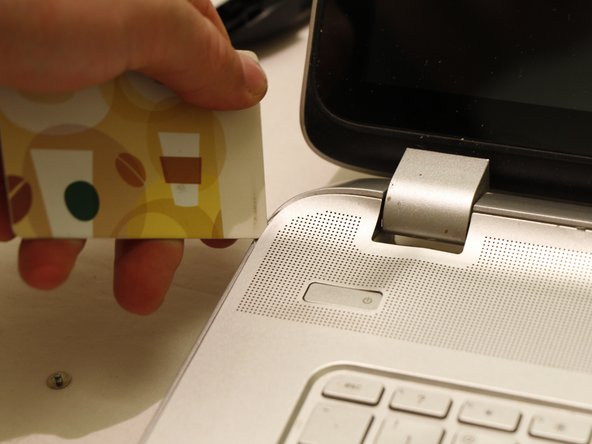
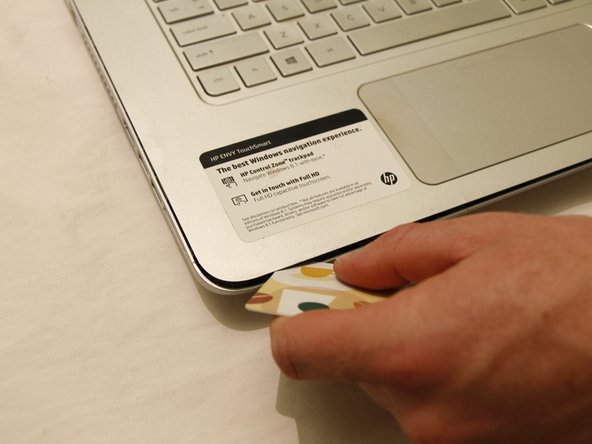
- Use a credit card or spudger to wedge between the top and bottom keyboard casing.
- Slide the card all the way around the laptop, making sure to pop free all tabs.
- Place the computer on the backside of the screen, so that the bottom of it is pointing up into the air.
- You may want to place a rag over the screen so that if the front panel touches it while being removed, no damage is caused.
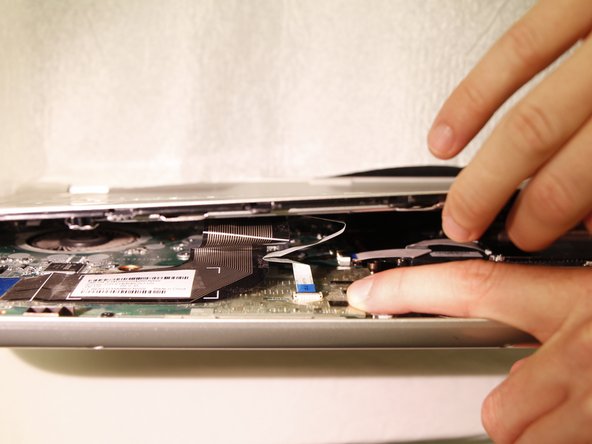
- Carefully begin to separate the top case from the bottom case, as if you are opening it like a book from the edge nearest the touch pad.
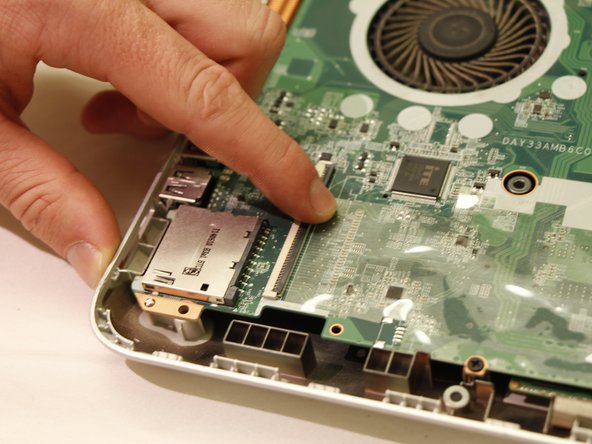
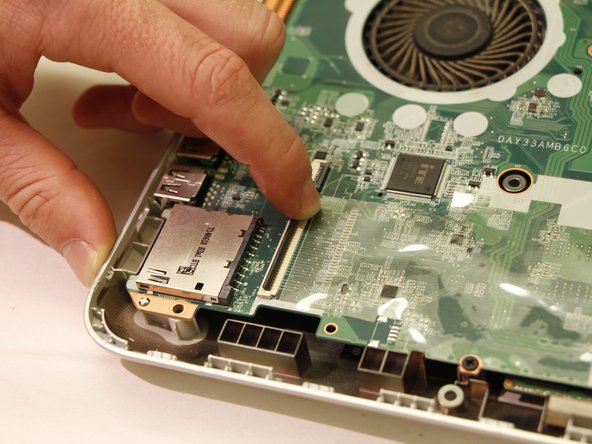
- The two panels are connected with 4 flexible electrical ribbon strips. The ribbon strips have a locking tab that will need to be disengaged prior to removal. Using fingers, begin by removing the two strips nearest to the opening.
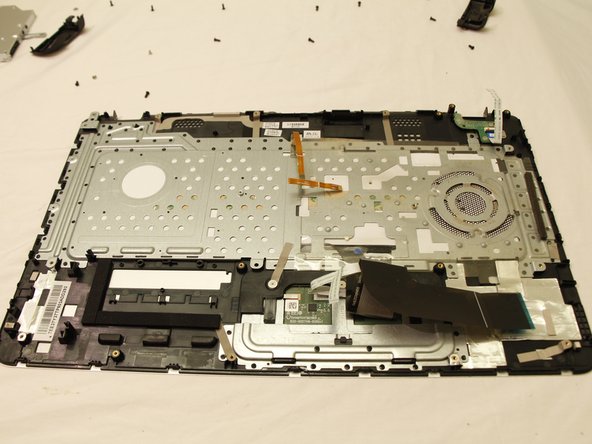
- Picture 3 shows the tab unlocked
- With the two panels now separated, you can see the other two strips towards the back of the computer. With finger, carefully release each strip from the locking tab.
- Once all are unplugged, carefully remove the top case.