iDeaUSA CT8 Speaker Replacement
ID: 100512
Description: In cases where no audio is being produced, this...
Steps:
- Place the tablet on a flat surface, facing upwards.
- Starting from the portholes, use the plastic opening tools to remove the back cover of the tablet from the top half.
- Place the front and back portion of the tablet close in proximity and have both of them face upwards while being cautious of the wire connecting the speaker to the motherboard.
- Locate the two wires connecting the speaker to the motherboard.
- With tweezers, gently pull the red and black wires out of their sockets.
- A soldering kit is required to reconnect the speaker to the motherboard.
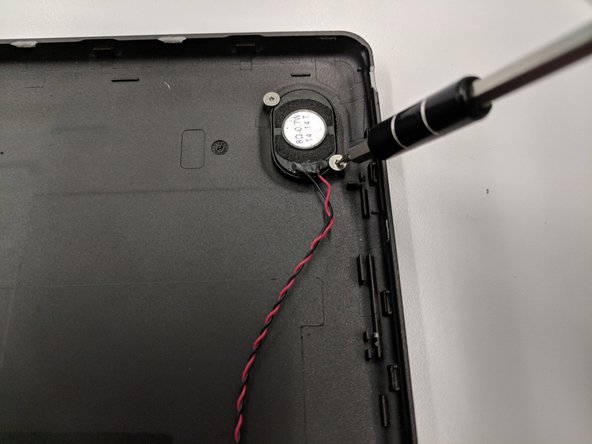
- On the tablet’s back cover, locate the two 4 mm screws on the speaker.
- Use the #000 Phillips screwdriver to remove the screws and place them in an appropriate location.
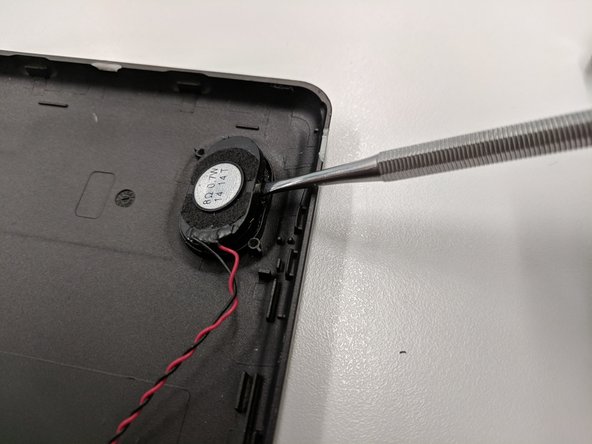
- Using a metal spudger, safely separate the speaker from its socket.
- The speaker is now removed and can be replaced accordingly.
- Remember that to ensure a connection, you will need to solder the new wire connections onto the motherboard.