Eureka EasyClean 71C Power Cord Replacement
ID: 100557
Description: While the power cord is built to last for quite...
Steps:
- Unscrew the two 18.1 mm PH2 Phillips head screws on the bottom of the vacuum.
- Pry off the Riser Visor using the plastic opening tool.
- Remove the screw cap using the metal spudger.
- First-time removal of the screw cap can be difficult. The screw cap isn’t vital, so don’t worry about damaging the screw cap and just keep trying until it comes out.
- Unscrew the 14mm PH2 Phillips head screw.
- Pull the bottom cover off of the rest of the casing.
- Pull the power switch all the way up and remove the dust cup.
- Unscrew the six 18.1mm PH2 Phillips head screws on the side of the vacuum.
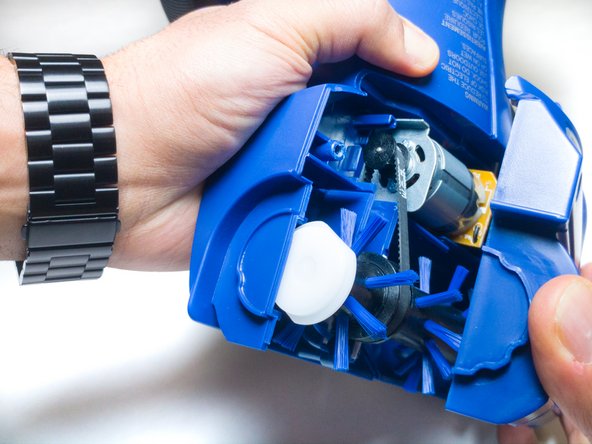
- Pull the casing apart.
- Pull out the switch board.
- Ensure the vacuum is powered off and unplugged before handling any electronics.
- Desolder the highlighted black and white wires.
- For instructions on how to solder and desolder wires, visit this guide.
- Unscrew the 22.3mm PH2 Phillips head screw.
- Remove the power cord.