Oral-B Vitality Battery Replacement
ID: 100624
Description: Electric toothbrushes are powered by a...
Steps:
- Pull off head, and use pliers to remove the white cap. Pull out the circuit core.
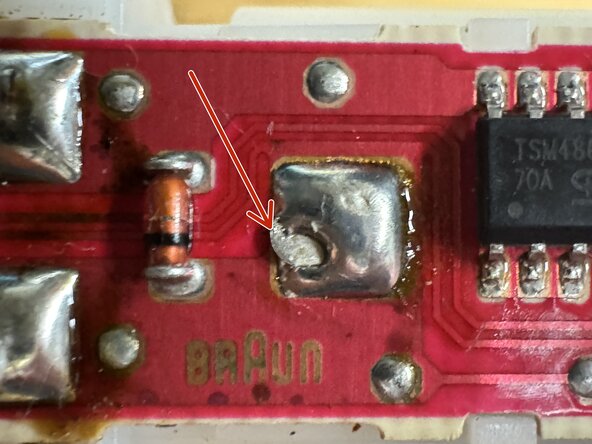
- Inspect four pads with green circles (Picture #1), they should be fully covered in solder.
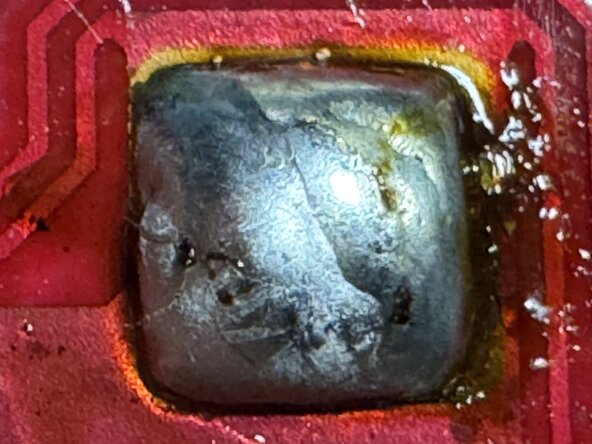
- Picture #2 shows the center pad missing some solder and not making a good connection.
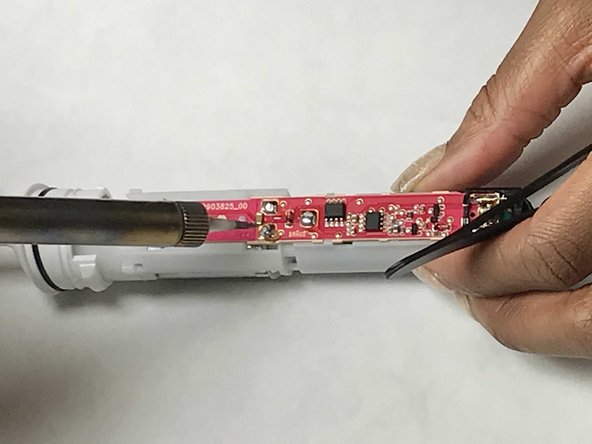
- Picture #3 shows repaired solder pad. Test toothbrush battery and motor operation without toothbrush head. If toothbrush is now working, there may be no need to replace the battery - if battery is providing between 1.2 and 1.5 volts and motor is actuated by button presses, stop here and reassemble the toothbrush.
- If battery voltage is less than 1.2 volts, consider testing motor operation and button presses with two tests; using a AA battery and a pair of wire leads touch one end of leads to battery ends and the other wire ends to: A) left board pads (to test motor leads) and then B) to right board pads (to test battery leads, center pin is positive).
- If motor doesn't start after Step 2 troubleshooting, continue to Step 3.
- De-solder in these four (4) locations.
- The two (2) motor connections
- The Positive (+) side of the battery
- The Negative (-) side of the battery
- De-Solder lower battery connection terminal. Bend back battery terminal to clear circuit board.
- De-Solder the three (3) upper terminals from the circuit board.
- Use plastic prying tools to carefully pry off the circuit board. (Utilize metal spedger as a last resort)
- There is a white tab that goes through the board, be careful when removing the circuit board.
- Pull the circuit board and battery assembly out. Then proceed to remove the battery from the circuit board
- When re-installing battery, remember to bend down lower terminal. And the negative (-) terminal is closest to the copper wires
- Ensure you recharge the toothbrush after the repair. Even if the replacement battery is already fully charged, the toothbrush will fail to power on if you don’t recharge the toothbrush.