HP OfficeJet 4650 Touchscreen Replacement
ID: 103071
Description: The touchscreen is what you use to interact...
Steps:
- Open the cartridge access door by using putting one hand on the grooves of each side and pulling up.
- Using the 2.0mm screwdriver, remove the 14mm hex screw that binds the front cover to the printer body by turning the screw counterclockwise.
- Release the front panel from its internal hooks by applying a little force and sliding the front panel to the right.
- Push the panel upward to remove it from the printer.
- There is a connector attached to the back of the panel. Flip the front cover towards you gently and proceed to the next step.
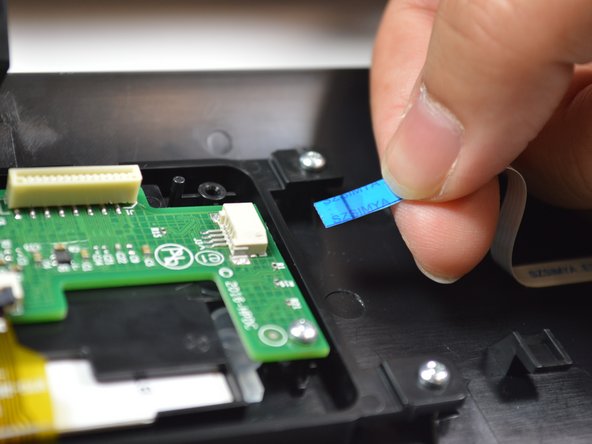
- Remove the connector that is attached to the screen's circuit board by pinching the blue part of the connector with two fingers and pulling it away from the circuit board.
- Remove the other connector that is attached to the screen's circuit board by pinching the blue part of the connector with two fingers and pulling it away from the circuit board.
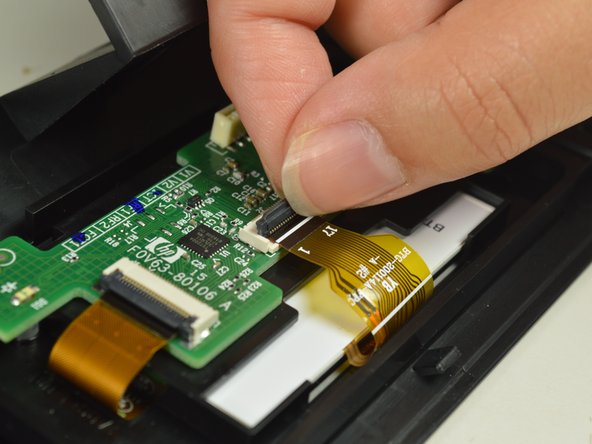
- Unclip the yellow connector by lifting up the grey piece with your finger.
- The yellow connector will pop right up when the grey piece is unclipped.
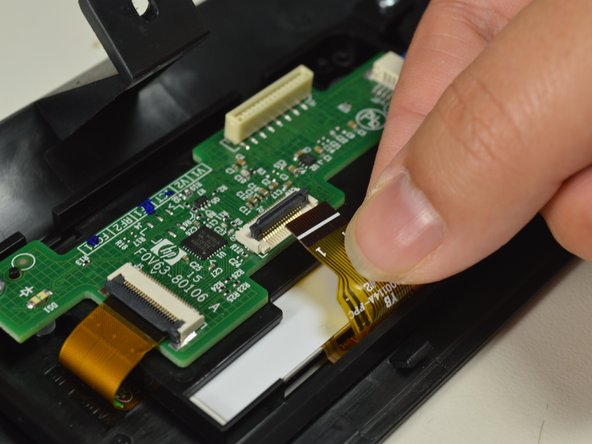
- Unclip the yellow connector by lifting up the grey piece with your finger.
- The yellow connector will pop right up when the grey piece is unclipped.
- Using the Torx T6 hex screwdriver, remove the 7.0mm screws that bind the screen to the printer body by turning the screws counterclockwise.
- Using the Torx T6 hex screwdriver, remove the 7.0mm screws that bind the green circuit board to the screen by turning the screws counterclockwise.
- Remove the circuit board by lifting it off the screen in order to get the screen on its own.
- Pull the screen off the front panel cover.
- The clear plastics pieces will easily fall off when the screen is lifted off. Do not lose them.