HP Envy 7640 Screen Replacement
ID: 103119
Description: Damage to the device screen may prevent you...
Steps:
- Open the printer by pushing upwards against the plastic tabs on the printer body's sides.
- Remove the opening assist by pushing it toward the front of the printer with a nylon spudger.
- Remove the spring-loaded clip attached to the top of the printer by pushing it off of the hook.
- Place the T9 Torx screwdriver in the screw slot and turn counterclockwise to remove the two 12 mm screws that hold the screen manifold to the printer.
- Push with minimal force to the right to dislodge the manifold from the printer body.
- Lift the panel up and turn it over to reveal the green micro-controller board underneath.
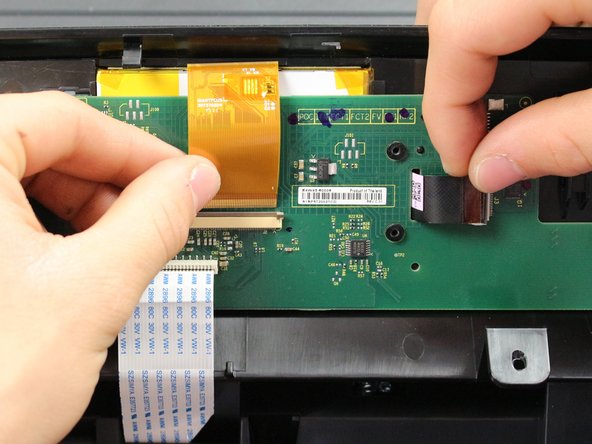
- Undo the two connectors by gently pulling them away from the board.
- Remove the last connector by flipping the tab up and pulling away from the board while also pulling left.
- Remove the five 6.5 mm screws from the board using the T6 Torx screwdriver.
- Insert the plastic opening tool into the space between the green board and the printer manifold and push downwards to dislodge the green board.
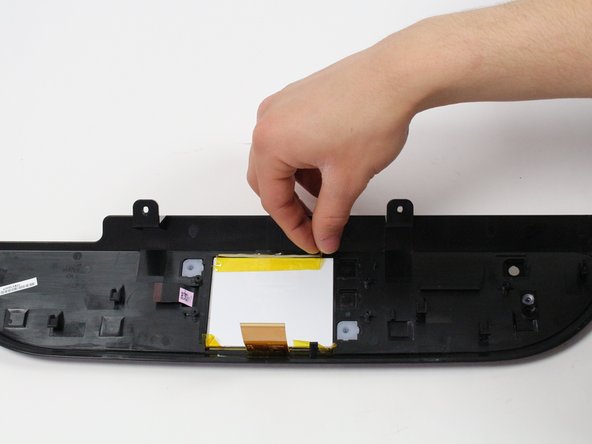
- Peel back the tape that holds the screen in place.
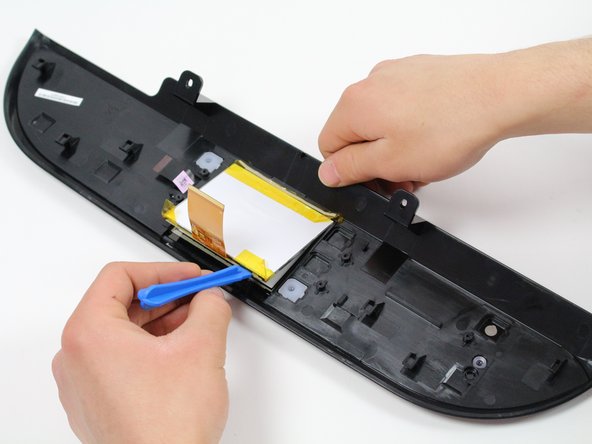
- Insert the plastic opening tool between the white screen backing and the screen to pry the screen backing from the adhesive that holds it in place.