Motorola Moto X4 Screen Replacement
ID: 103208
Description: Follow this guide to remove a cracked or broken...
Steps:
- Before you begin, turn off your phone.
- Heat an iOpener and apply it to the left edge of the phone for two minutes.
- You may need to reheat and reapply the iOpener several times to get the phone warm enough. Follow the iOpener instructions to avoid overheating.
- A hair dryer, heat gun, or hot plate may also be used, but be careful not to overheat the phone—the display and internal battery are both susceptible to heat damage.
- As you wait, take note of the the following areas:
- Display cable—be careful not to slice too deeply near the edge here, or you may damage the display cable.
- Fingerprint sensor cable—be careful not to slice too deeply near the edge here, or you may damage the fingerprint sensor cable.
- Apply a suction cup to the screen, as close to the heated edge as possible.
- Pull on the suction cup with strong, steady force to create a gap in the seam.
- Insert the point of an opening pick into the gap.
- Depending on the age of your phone, this may be difficult. If you are having trouble, apply heat to the edge and try again.
- Slide the opening pick along the edge to slice through the adhesive.
- Leave an opening pick in the seam to prevent the adhesive from re-sealing.
- Heat the top edge of the phone with an iOpener.
- Carefully slice around the corner and through the top edge to separate the adhesive.
- Heat the screen's right edge with an iOpener.
- Be careful not to slice too deeply near the cables to avoid damaging them.
- Use an opening pick to slice along the right edge to separate the adhesive.
- Repeat the previous steps to heat and slice the bottom edge of the phone.
- Do not try to remove the screen yet—it is still attached to the phone by delicate flex cables.
- Carefully lift up the left edge of the screen and cut away remaining adhesives with an opening pick.
- Swing open the screen and prop it up with a small box as you work on disconnecting the flex cables.
- During reassembly, this is a good time to power on your phone and test all functions before sealing it up. Be sure to power your phone back down completely before you continue working.
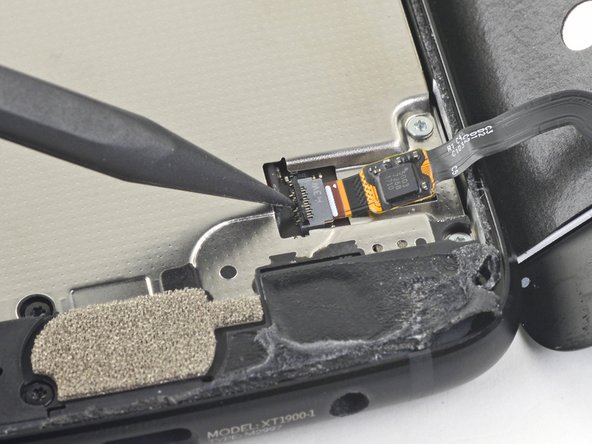
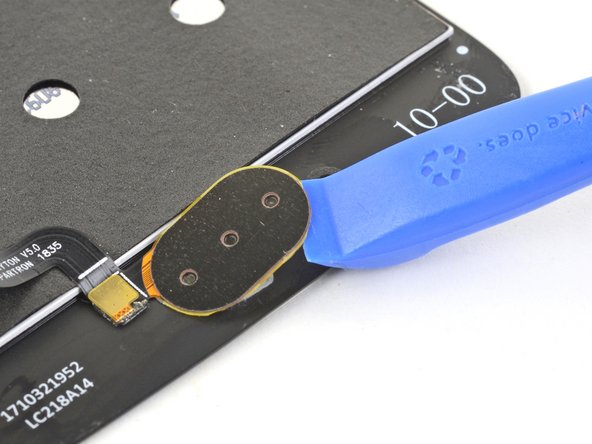
- Slide the point of a spudger underneath the fingerprint sensor cable and gently pry up to loosen the cable from the phone.
- Do not pull on the cable. It is still attached to the phone by a delicate ZIF socket.
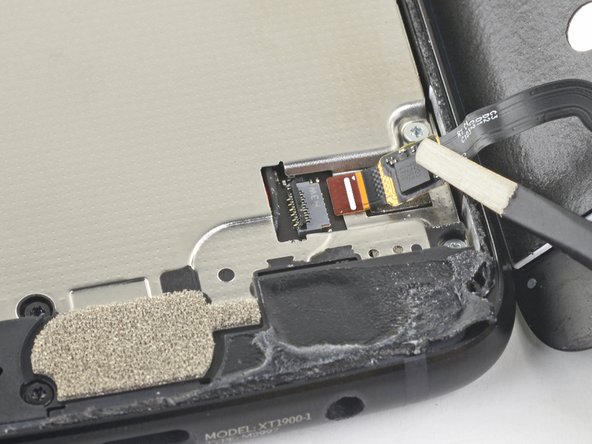
- Use the point of a spudger to flip up the lock bar on the fingerprint sensor's ZIF socket, near the bottom right of the phone.
- Use tweezers to carefully slide the fingerprint sensor cable out of the socket.
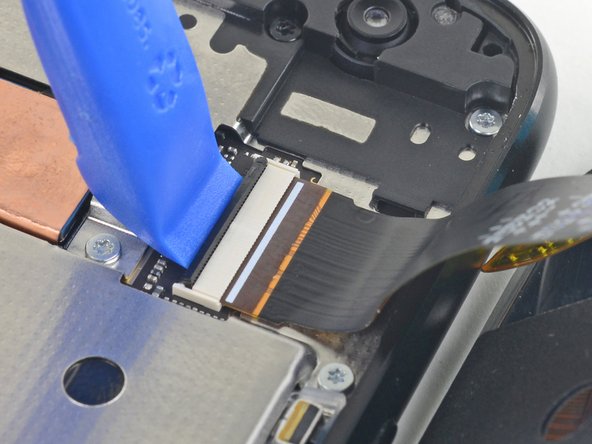
- Use an opening tool to flip up the wide lock bar on the display cable's ZIF socket, near the top right of the phone.
- Use tweezers to carefully slide the display cable out of the ZIF socket.
- Remove the screen.
- During reassembly, follow this guide to clean the existing adhesive off and install custom-cut adhesives for your phone.
- Apply a heated iOpener to the fingerprint sensor for one minute to soften the adhesive gasket.
- Slide the point of a spudger under the fingerprint sensor cable and gently pry to loosen the cable from the screen.
- Use an opening tool to pry up and loosen the fingerprint sensor from the screen.
- Remove the fingerprint sensor.
- To reattach the fingerprint sensor, use a precut gasket, or apply some thin strips of Tesa adhesive to the perimeter of the sensor.
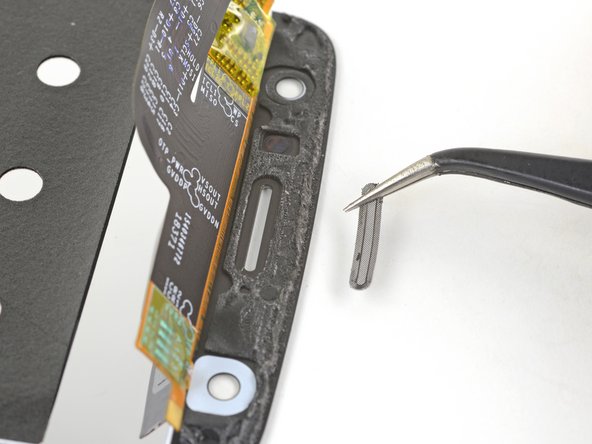
- If your replacement screen did not come with an earpiece speaker grille, you will have to transfer it from your original screen.
- The earpiece speaker grille consists of two small mesh pieces. Be careful not to lose them as you transfer them over.
- Use the flat edge of a spudger to push the grille from the front side of the screen to loosen it from its recess.
- Remove the grille.
- Use some thin strips of Tesa tape to affix the grille to the replacement screen.
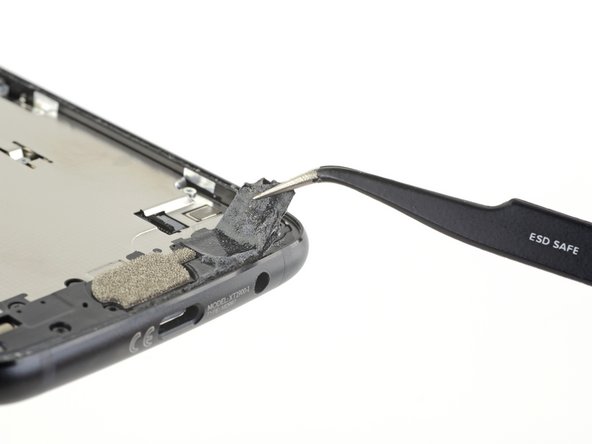
- If your replacement part did not come with a lower microphone gasket, use tweezers to carefully peel it from your old screen and transfer it to your replacement part.
- Compare your new replacement screen to the original part. You may need to transfer remaining components or remove adhesive backings from the new part before installing.