Netgear Arlo Lens Assembly Replacement
ID: 103265
Description: This is a step-by-step guide on how to remove...
Steps:
- Remove the 2 (3.5mm) housing screws with a J0 screwdriver.
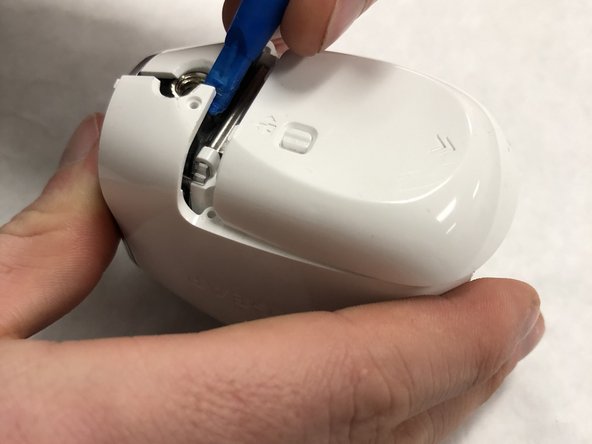
- Slide the unlocked battery cover forward to remove 2 (3.5mm) screws, that are behind the cover.
- Open the battery cover and remove the 2 (3.5mm") screws from under the cover.
- Use a plastic opening tool to start separating the plastic housing from the front side of the battery cover.
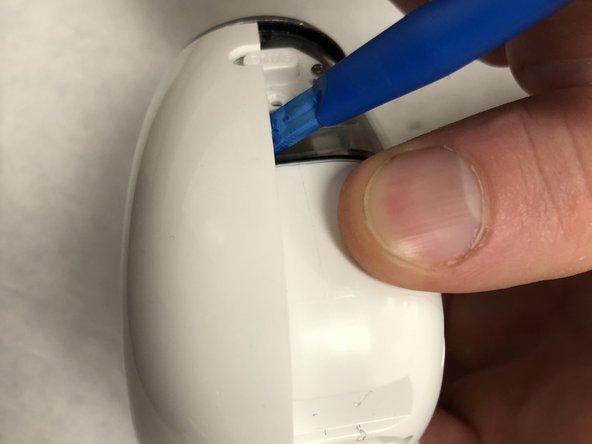
- Next, start separating the plastic cover from the rear of the plastic housing, and work your way down the seam line.
- Make sure the plastics snaps on the front of the plastic get unhooked from the grey plastic ring around the front of the camera.
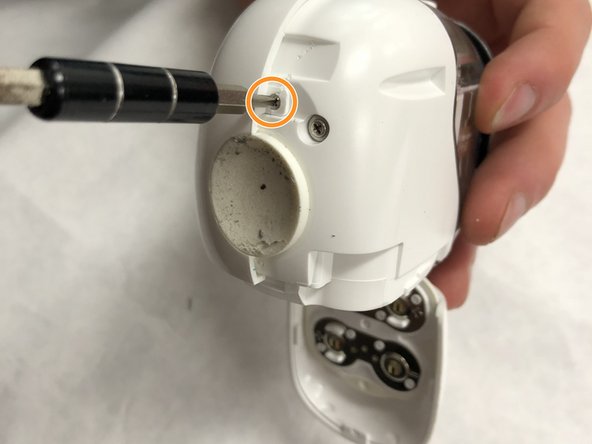
- Remove the screw (3.5mm) near the sync button holding the opposite side of the camera on.
- Remove the second screw (3.5mm) on the back of the camera to remove the second housing.
- Once the screws are removed use an opening tool to pry back the second plastic mount.
- Remove 4 (6mm) large screws with a J00 screwdriver.
- There are 2 on each side. This will allow you to remove the clear housing from the white housing.
- Once screws are removed, pull apart the clear housing.
- Remove rod from camera cover.
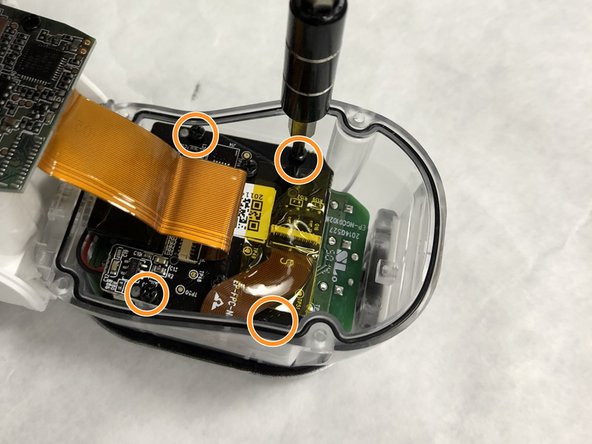
- Remove Large ribbon cable first to disconnect front of camera from main body.
- Remove 4 (3.5mm) small black screws from motherboard of the camera unit.
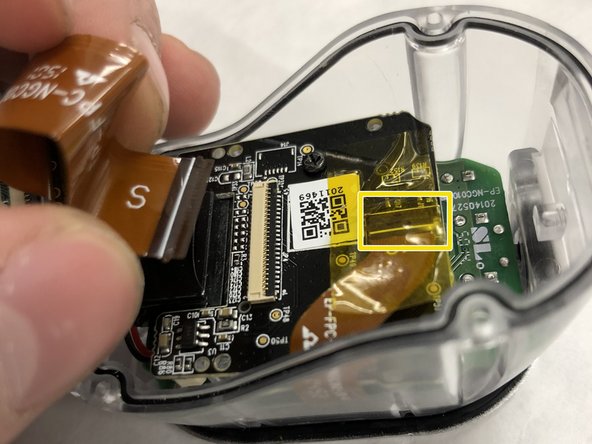
- Remove smaller ribbon cable from underneath yellow tape.
- Once all ribbon cables are removed, remove the motherboard and camera assembly by pulling up on the black camera motherboard.