HP Officejet Pro 8620 CMOS Battery Replacement
ID: 103299
Description: The CMOS battery is an on board electronics...
Steps:
- Turn off the printer and remove the power cable.
- Remove two 13mm T9 screws using a T9-Torx screwdriver. Turn counterclockwise until the screws are released.
- Open the front door by placing your finger on the indented groove on the left side of the printer and pulling down
- This will give you access to the two T9-TORX 13mm screws that need to be removed to release the panel.
- Remove the two 13mm screws with a T9-TORX screwdriver by turning counter-clockwise (left).
- Gently remove the left side panel by placing your palm flat against the surface and pulling down.
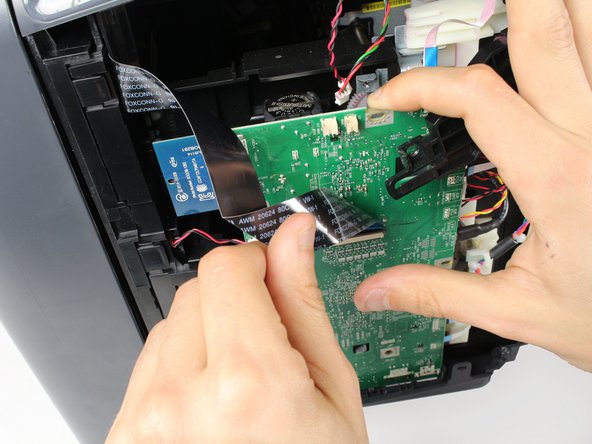
- Gently bend the black ribbon cable by using your left hand.
- Remove the 8mm T9-Torx screw under the black plastic cover by turning counter clockwise.
- Gently move the black plastic cover to the side by using your right hand.
- Place one finger behind the top of the motherboard where you removed the previous screw.
- Gently pull the motherboard towards you by about an inch by using your right hand's finger.
- Gently remove the CMOS battery by using a finger from your left hand, while holding the motherboard with your right hand.