Insignia 24" LED Roku TV Screen Replacement
ID: 103336
Description: This guide will take you through the process of...
Steps:
- Rest the TV on its top edge so you have access to the base.
- Use a Phillips #2 screwdriver to remove the four screws on the bottom of the base.
- Remove the base from the frame.
- Lay the TV face down.
- Use the Phillips #00 screwdriver to remove all of the screws from the the back of the TV.
- Stand the TV on its top edge.
- Gently pry apart the front and back of the TV.
- The two halves should pull apart easily since there are no longer any screws holding it together.
- The two halves will still be connected by wires and cables that are taped to each side. Do not pull on these. We will remove them in the next step.
- As mentioned in the previous step, there are wires still connecting the two halves.
- Remove all the pieces of tape to detach the wires from both sides.
- You want to gently peel the tape off, without pulling on the wires.
- Spread apart your TV the rest of the way, but do not disconnect any of the wires.
- You should have a clear view of the inside on both sides.
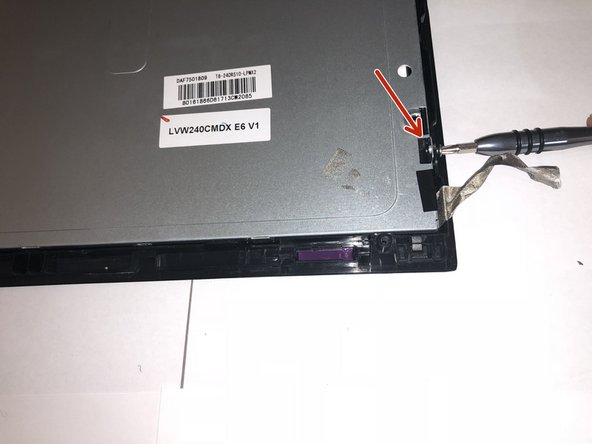
- Remove the tape that is holding the silver rectangular piece from the house.
- Using the Phillips 00 Screwdriver, remove the screws that are also holding the silver rectangular piece to the house.
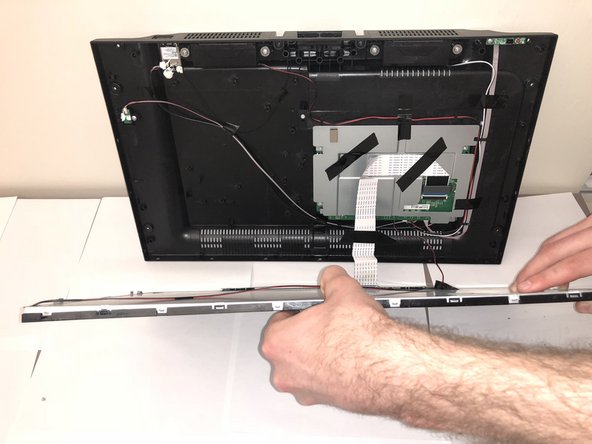
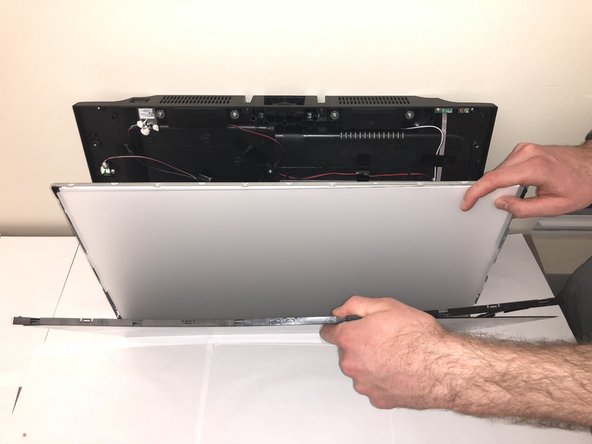
- Remove the plastic casing from the glass screen.
- Then carefully remove metal backing from glass screen and separate the layer of plastic from the glass screen.
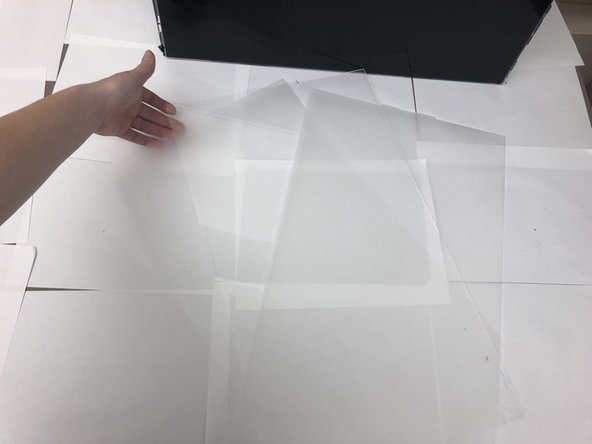
- Separate plastic screen protector layers from both the backing and glass screen.
- The second picture provides image of what the plastic screen protectors look like.
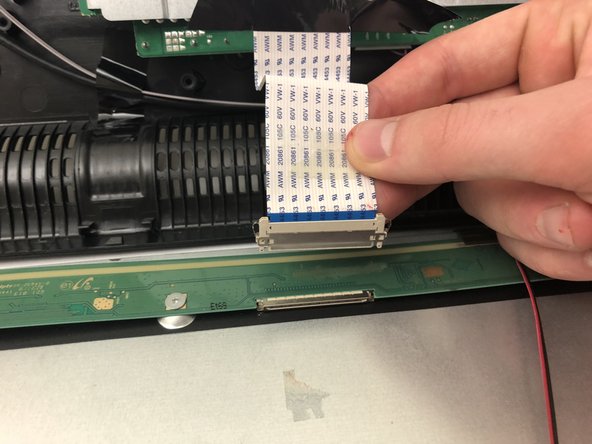
- Find the display board and unplug the white ribbon cord from the board.
- Squeeze both sides of the plug to release the cord.
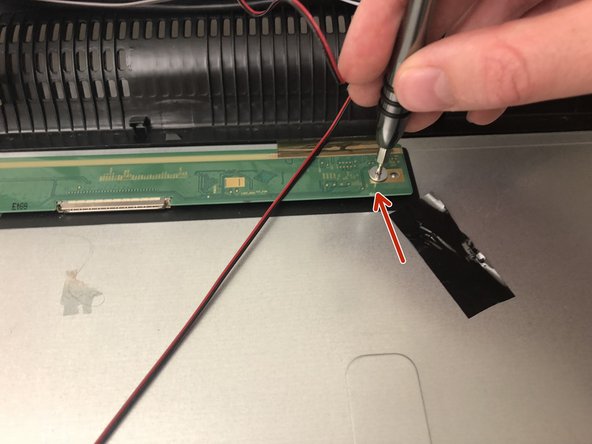
- Using same screwdriver, unscrew the screws that are on the green display board.
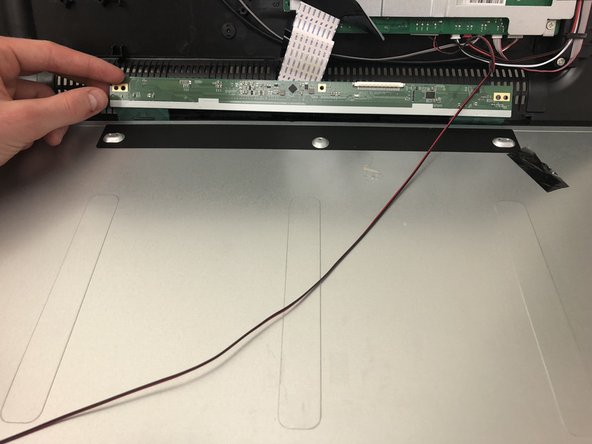
- Separate the green display board from its metal backing.
- All cables connecting screen to frame are now detached.
- Now pull apart and separate the screen.