HP Officejet Pro 8620 Motherboard Replacement
ID: 103391
Description: The motherboard is the brain of the printer, so...
Steps:
- Turn off the printer and remove the power cable.
- Remove two 13mm T9 screws using a T9-Torx screwdriver. Turn counterclockwise until the screws are released.
- Open the front door by placing your finger on the indented groove on the left side of the printer and pulling down
- This will give you access to the two T9-TORX 13mm screws that need to be removed to release the panel.
- Remove the two 13mm screws with a T9-TORX screwdriver by turning counter-clockwise (left).
- Gently remove the left side panel by placing your palm flat against the surface and pulling down.
- Disconnect power cable and ground the device and yourself to avoid electric shock to yourself and device.
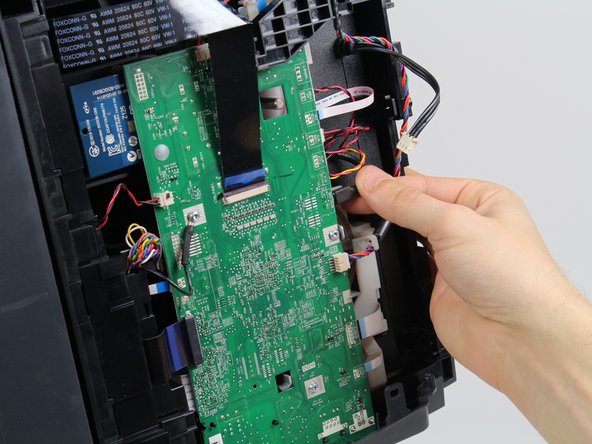
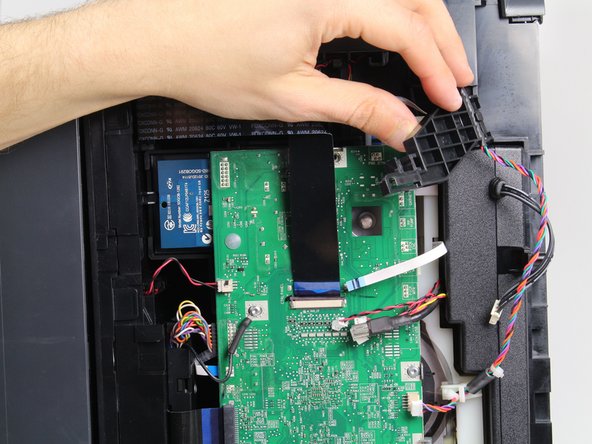
- Remove all connectors by gripping the plastic housing the wires and gently pulling outward until they disconnect.
- Gently disconnect connectors by gently pulling on the plastic housing until they release from the motherboard.
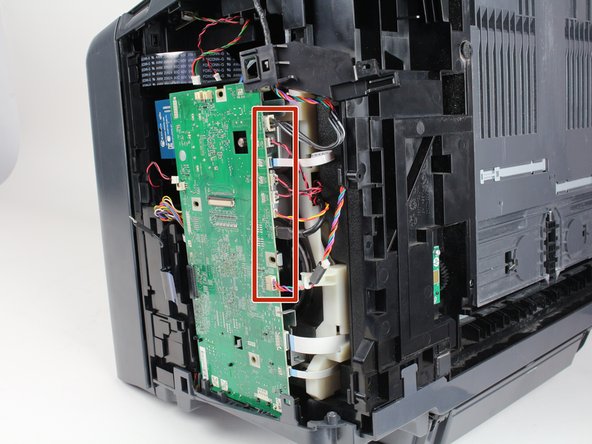
- Gently grasp the ribbon connectors so they do not bend by gripping top and bottom and lightly pulling until they release from the motherboard.
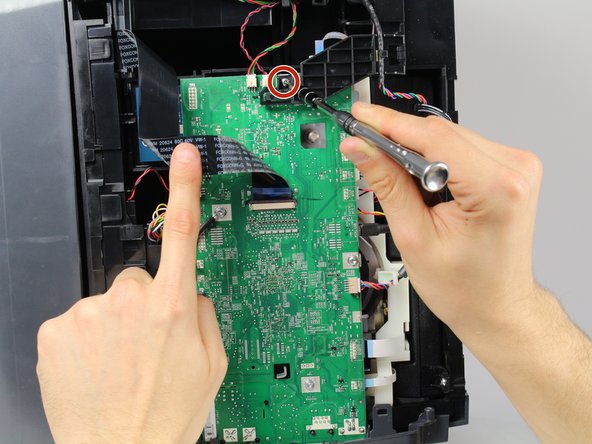
- Remove the four 8mm screws by using a T9-Torx screwdriver, turning counter-clockwise until released.
- Lift the ribbon connector in the center of the motherboard away after it has been disconnected to access the last screw.
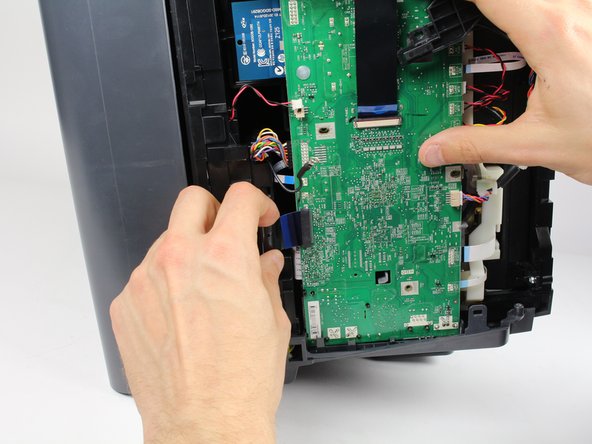
- Move the plastic piece away from the motherboard before removing it.
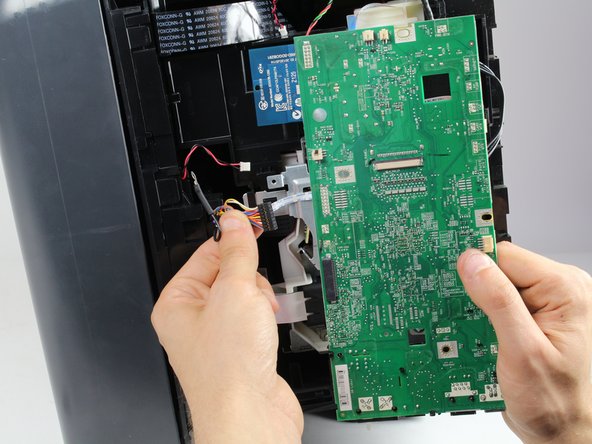
- Release any remaining connectors from the motherboard by gently pulling away until they break free.
- Remove the motherboard.
- Mark each connector or remember their placement for reinstallation to avoid damage to components. If the connector does not snap in easily, don't force it.