HP Officejet Pro 8620 Power Adapter Replacement
ID: 103395
Description: This guide will help you replace your power...
Steps:
- Turn off the printer and remove the power cable.
- Remove two 13mm T9 screws using a T9-Torx screwdriver. Turn counterclockwise until the screws are released.
- Open the front door by placing your finger on the indented groove on the left side of the printer and pulling down
- This will give you access to the two T9-TORX 13mm screws that need to be removed to release the panel.
- Remove the two 13mm screws with a T9-TORX screwdriver by turning counter-clockwise (left).
- Gently remove the left side panel by placing your palm flat against the surface and pulling down.
- Remove two screws 13mm screws with a T9-Torx screwdriver by rotating them counterclockwise.
- Unplug the black cable .
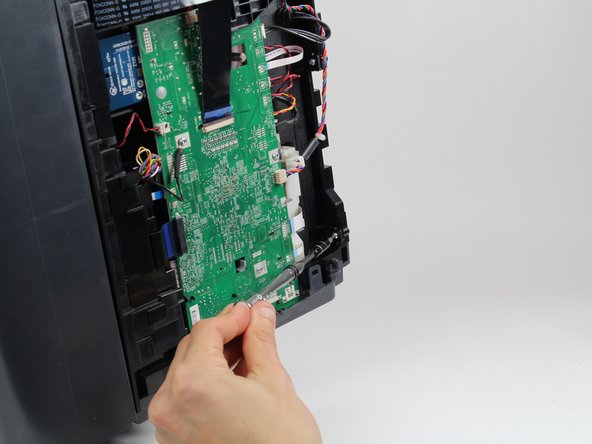
- Move all the cables and wires to the top of the motherboard to allow the power adapter underneath to be removed freely.
- Gently bend the black ribbon cable.
- Remove one 8mm T8 screw underneath the ribbon cable by rotating it counterclockwise with a T8 -Torx screwdriver.
- Take out the black plastic cover and the colored wires connected to it.
- Now you have cleared a passage for the power adapter to be taken out.
- Gently pulling out the power adapter.
- Be careful with all the wires when pulling out the adapter.