HP Officejet 4630 Speaker Replacement
ID: 103497
Description: The speaker in your printer could wear out and...
Steps:
- Lift the hood of the printer.
- Remove the two T10 11mm screws.
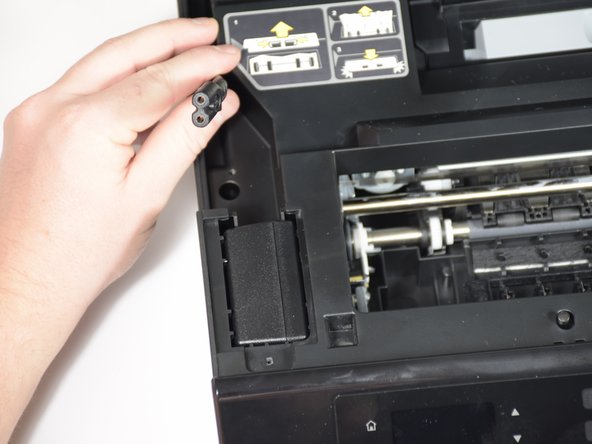
- Remove the panels covering the power brick and cord.
- Remove the cord from the power supply.
- Slide the power supply out from the chassis.
- The power supply is still attached; don't pull too quickly.
- Remove final cable from power supply.
- There is a hidden screw underneath the model sticker on the front panel.
- Peel the model sticker off the cover.
- This will expose the T10 screw securing the panel.
- Remove the single 12mm-T10 screw securing the front panel to the printer body.
- Loosen the panel cover from the printer body.
- There is a ribbon cable connected to the backside of the cover. Disconnect the cable before separating the panel completely.
- Gently remove the No-Fuss ribbon cable from the front panel.
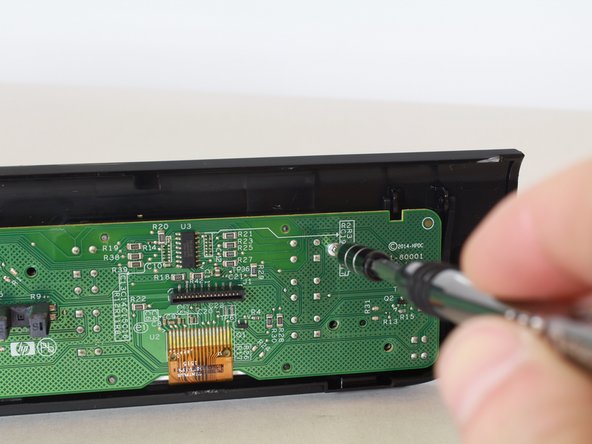
- Remove the seven 8mm screws using the Torx T6 screwdriver.
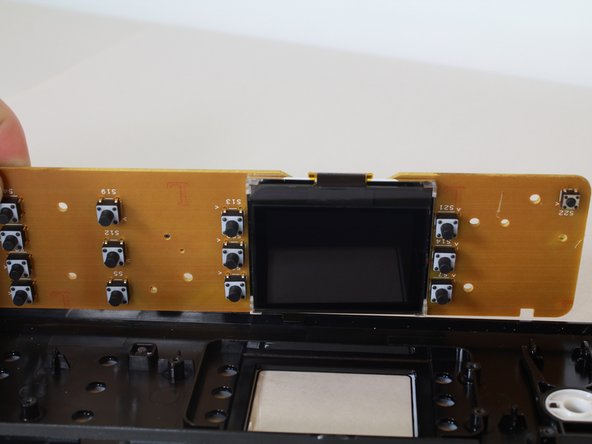
- Remove the motherboard from the front-panel housing.
- The LCD display is on the opposite side.
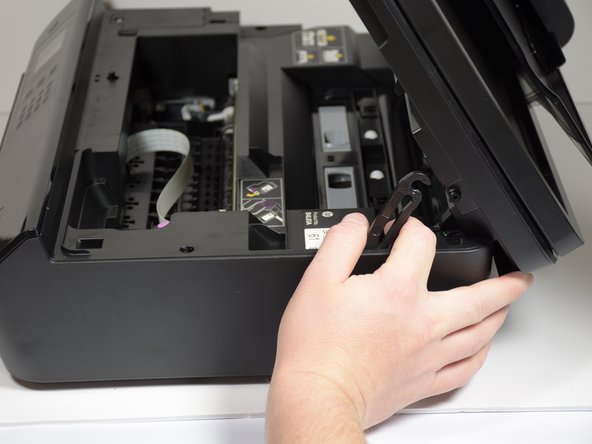
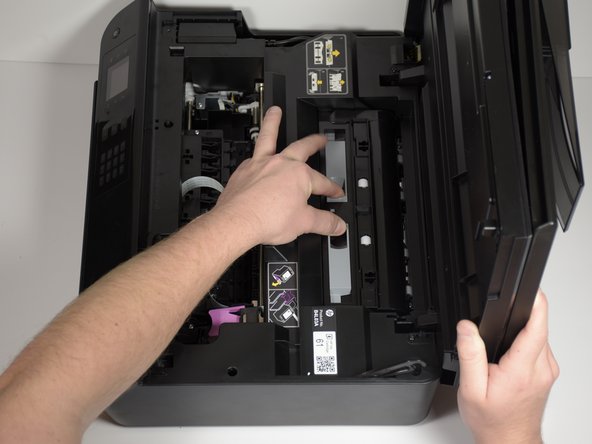
- Remove the clip that keeps the printer lid from opening all the way with your hands by pulling away from the post on the lid.
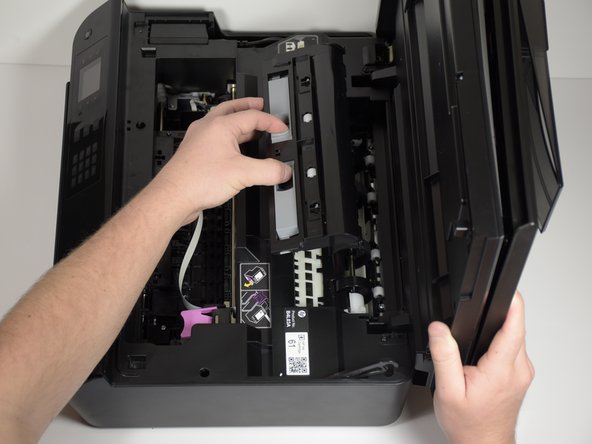
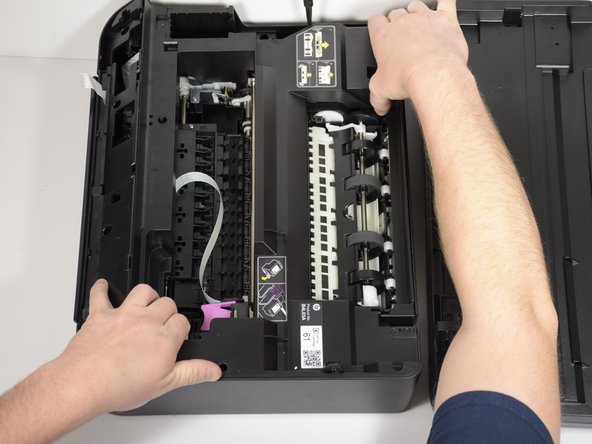
- Remove the paper feed rollers by using your fingers to pinch the indentations together while pulling up.
- Remove the ten 11mm-T10 screws with the screwdriver.
- The top half of the printer might fall open as you remove the screws closer to the hinges.
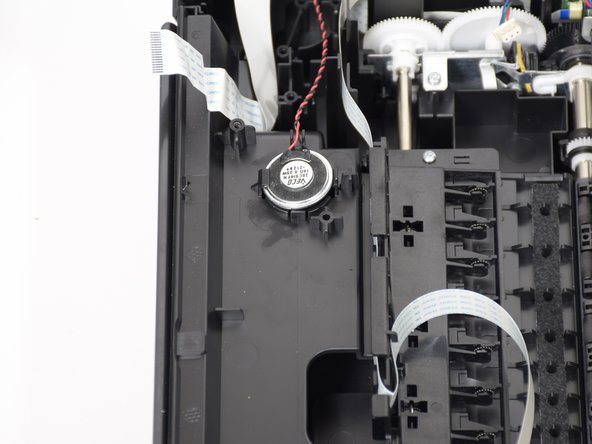
- Push the clip holding the speaker in away from the speaker while pulling up on the speaker.
- At this point you must cut and solder on your new speaker.