Asus R510LA-RS71 Hard Drive Replacement
ID: 105174
Description: In the event of system errors in crashes, your...
Steps:
- Remove the bottom left and right 12.7mm screws using a JIS 00 screwdriver.
- Slide back and remove the protective plating on the back of the laptop.
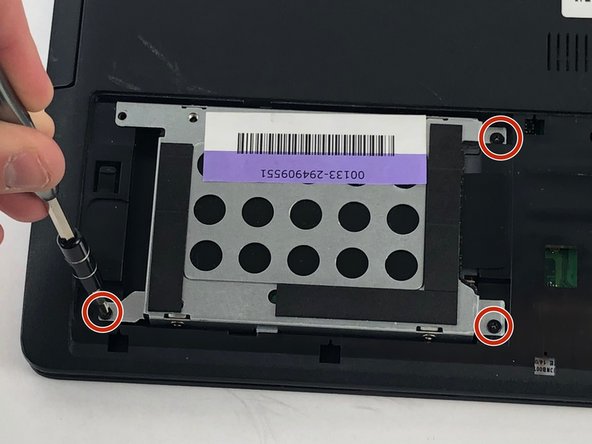
- Again with the JIS 00, unscrew the three 5.7mm screws holding the hard drive in place. These can be found on small brackets on the four corners of the drive.
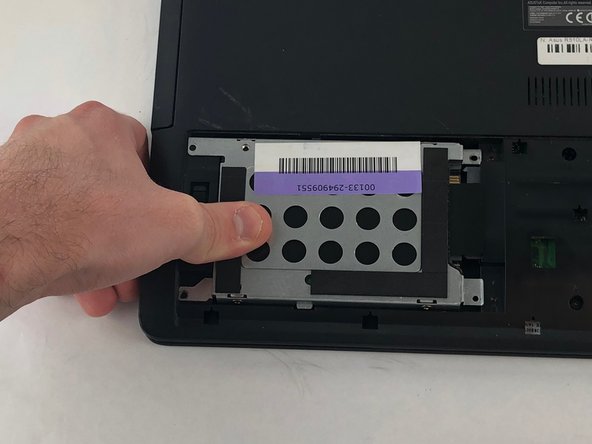
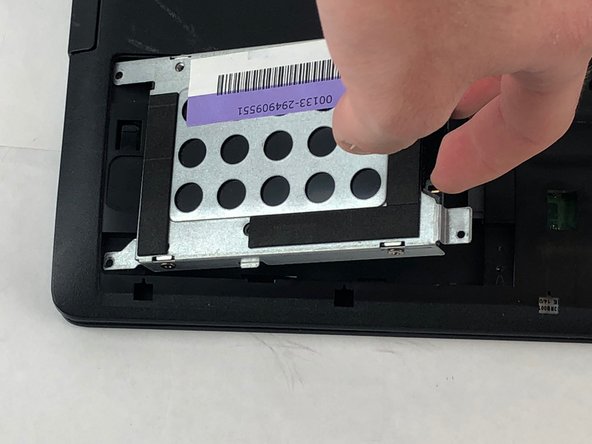
- Slide the hard drive to the left, then remove it by lifting it from the compartment it is resting in.