Dell Alienware M14x Status-Light Board Replacement
ID: 105256
Description: In this guide, we will show you how to remove...
Steps:
- WARNING: Before working inside your computer, read the safety information that shipped with your computer.
- CAUTION: To avoid electrostatic discharge, ground yourself by using a wrist grounding strap or by periodically touching an unpainted metal surface (such as a connector on your computer).
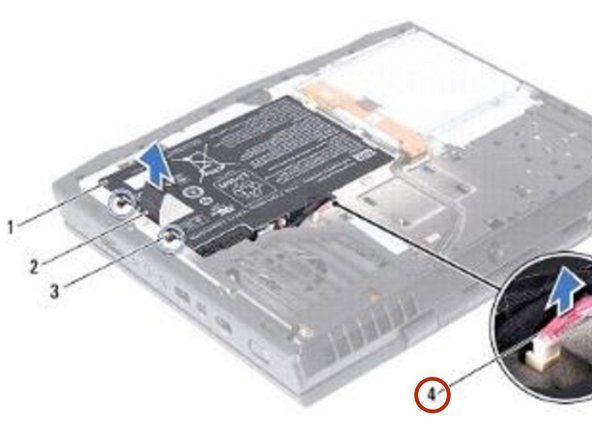
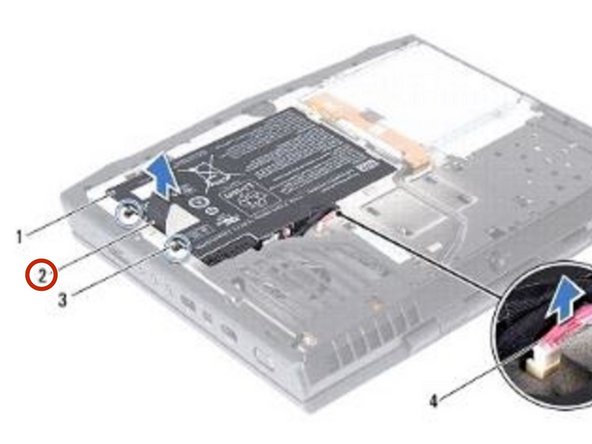
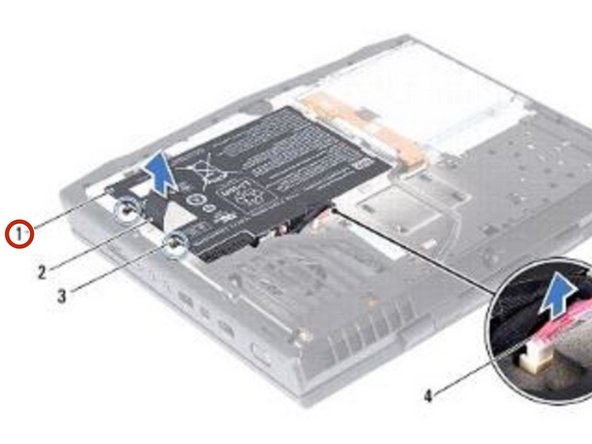
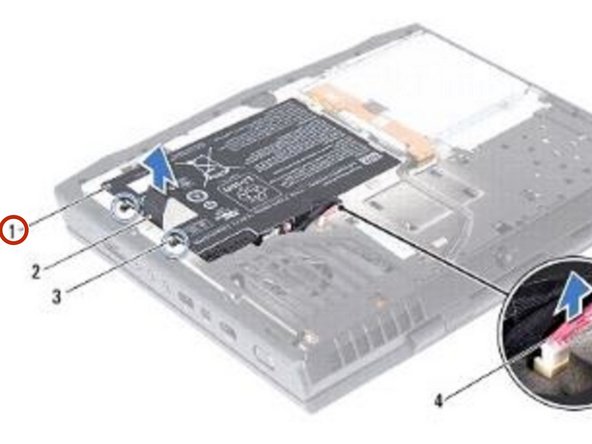
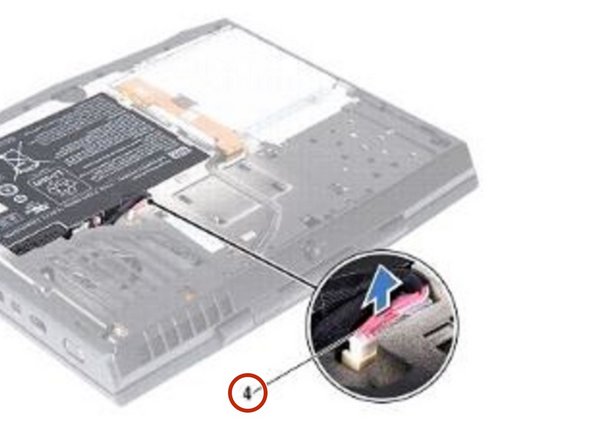
- Disconnect the battery-pack cable from the connector on the system board.
- Loosen the two captive screws that secure the battery pack to the computer base.
- Using the pull-tab, lift the battery pack off the computer base.
- Place the NEW battery pack in the battery bay and tighten the two captive screws that secure the battery pack to the computer base.
- Connect the battery-pack cable to the connector on the system board.
- WARNING: Before working inside your computer, read the safety information that shipped with your computer.
- CAUTION: To avoid electrostatic discharge, ground yourself by using a wrist grounding strap or by periodically touching an unpainted metal surface (such as a connector on your computer).
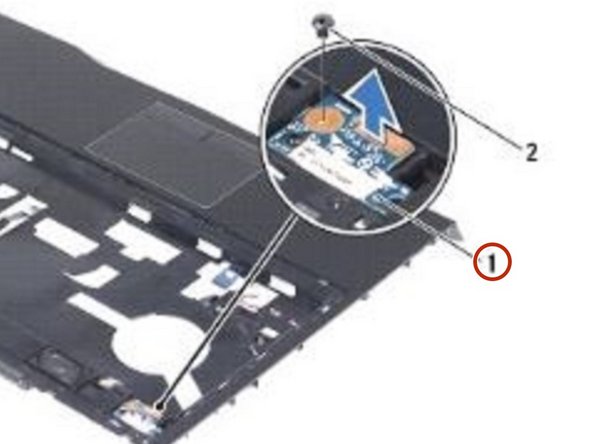
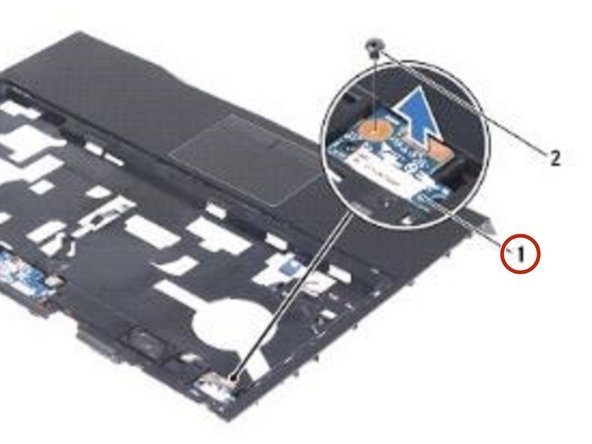
- Turn the palm-rest assembly over.
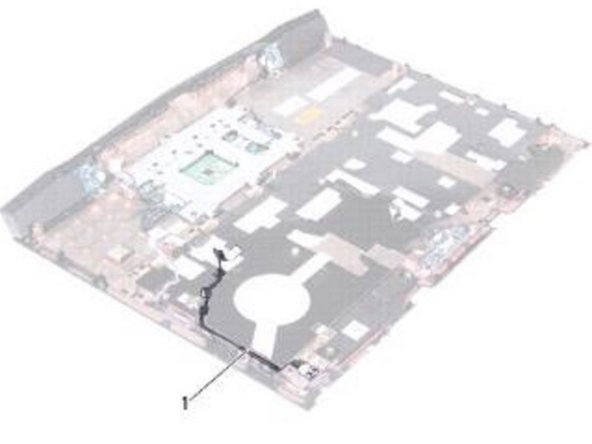
- Note the routing of status-light board cable and remove the cable from the routing guides.
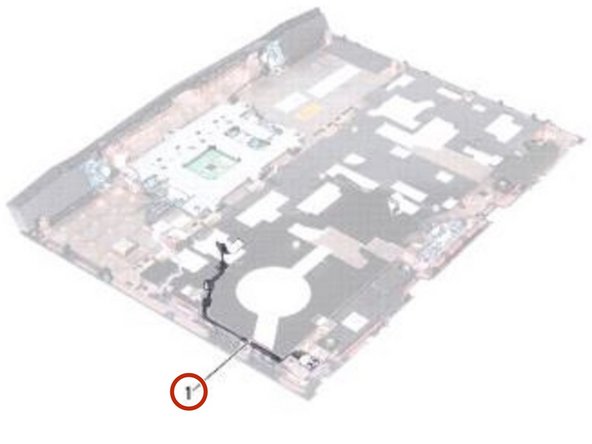
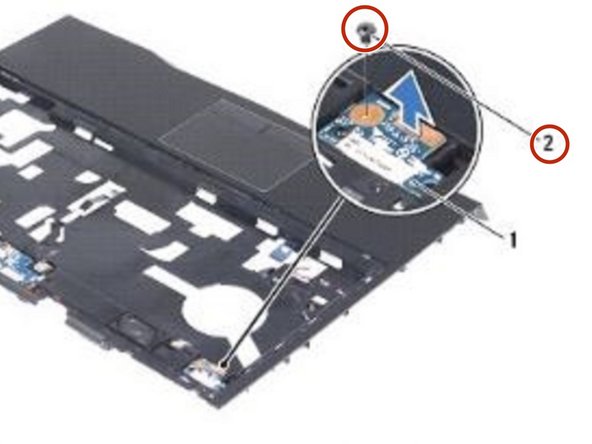
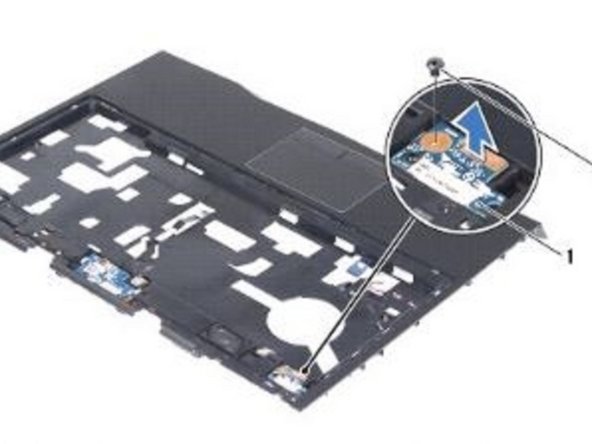
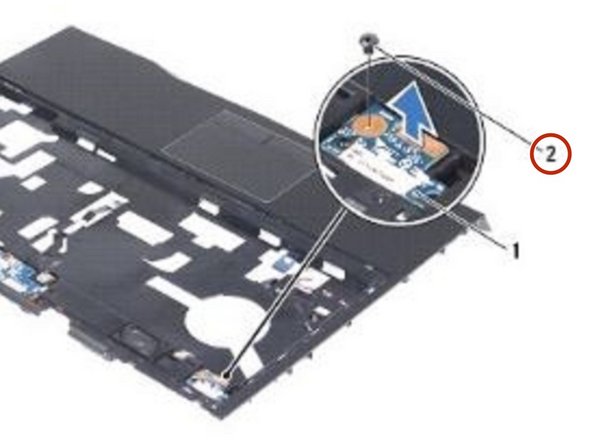
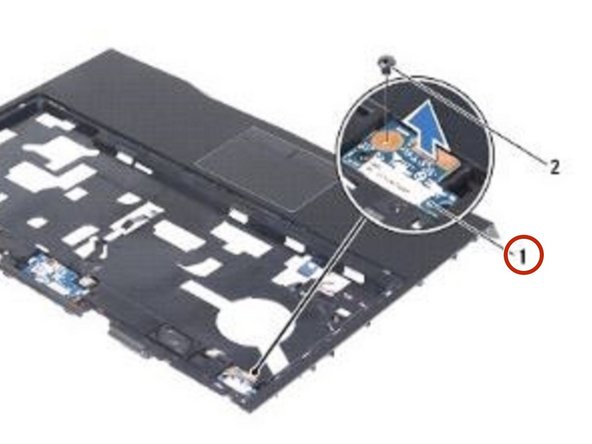
- Remove the screw that secures the status-light board to the palm-rest assembly.
- Lift the status-light board along with its cable away from the palm-rest assembly.
- Align the slot on the NEW status-light board with the alignment post on the palm rest assembly.
- Replace the screw that secures the status-light board to the palm-rest assembly.
- Route the status-light board cable through the routing guides on the palm- rest assembly.