Protocol Kaptur GPS Main Circuit Board Replacement
ID: 105372
Description: Use this guide to access and replace the main...
Steps:
- The battery is accessible through the back of the drone.
- Press the tabs on both sides of the white stripe to pull the battery out.
- Remove the screws starting with the three smaller ones on the top part of the battery.
- Remove the three screws on the other side.
- There are two screws tucked under where the yellow circle is located. You will need to remove the other screws first before you get to these two.
- There should be one 7 mm Phillips head screw, three 6 mm Phillips head screws, and four 5 mm Phillips head screws.
- Remove the top piece, and gently pry the two halves apart. Divide the sticker if necessary.
- The battery is now removable from its container.
- During reassembly, make sure the outlet is returned to its holder and faces the correct direction.
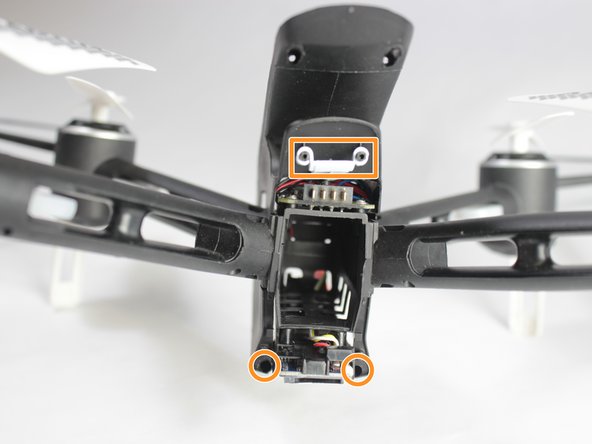
- Remove the 4x 7mm screws on the top and bottom, and the 2x 5mm screws from the middle, then remove the back part of the housing.
- Remove the two hidden screws at the bottom, and the white power button.
- There will be 6x 7 mm Phillips head screws, and 2x 5 mm Phillips head screws.
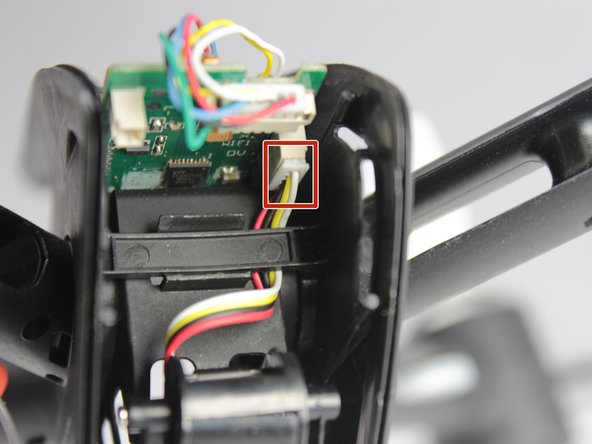
- Unplug all the cords from the circuit boards.
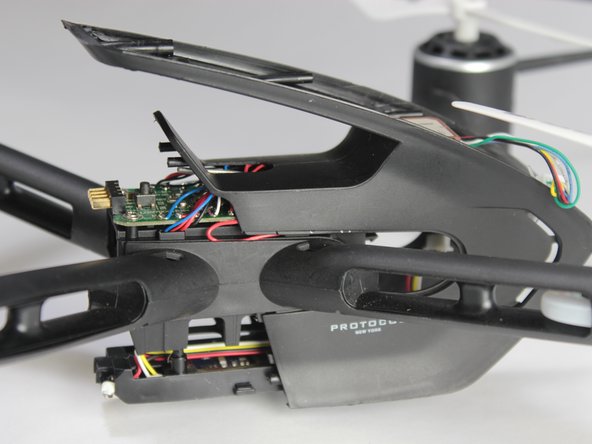
- Carefully slide the main body right off the arms.
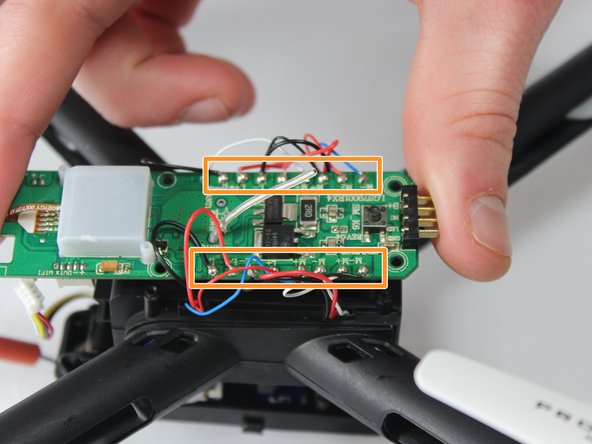
- Remove the four 4mm Phillips screws.
- Desolder all cords on the circuit board, and pull the board up and out.
- It is important to keep track of where the leads came from. Red/Blue and Black/White pairings belong to motors, whereas Black/Red pairings belong to lights. The ports are labeled on the board.