Asus ROG G53SW-XT1 Hard Drive Replacement
ID: 106547
Description: This guide will demonstrate how to remove and...
Steps:
- Unplug the power cable and flip the computer over.
- Unlock the battery by pushing the switch to the right.
- Push and hold the left switch, then pull the battery out.
- Insert a spudger, or plastic opening tool, into these five slots and pry upwards to pop up the keyboard.
- Disconnect the keyboard ribbon cables from the motherboard.
- Insert your screwdriver into the locking mechanism and slide it to the left. This will unlock the hand rest and allow you to pull it free.
- Remove the fourteen Phillips #0 screws.
- Flip the laptop over and pull off the bottom cover.
- Place your fingers along the left edge of the hard drive cover, and slide it to the right, then lift up.
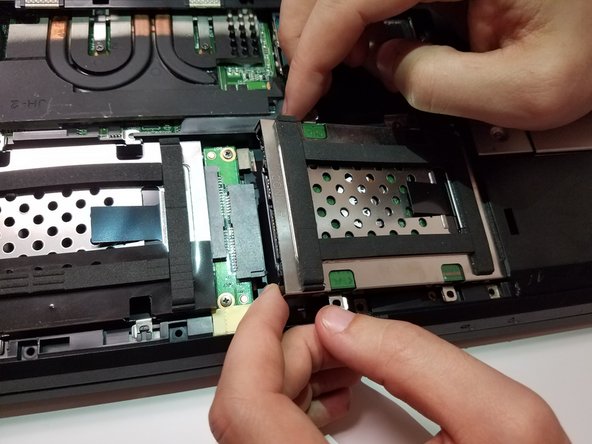
- Remove the Hard Drive and case from the laptop.
- Remove the four Phillips #0 screws from the hard drive case.
- Slide the hard drive out of the casing.