Dell Inspiron 11 3169 Hard Drive Replacement
ID: 106568
Description: In this guide, we will be showing you how to...
Steps:
- WARNING: Before working inside your computer, read the safety information that shipped with your computer and follow the steps in Before working inside your computer. After working inside your computer, follow the instructions in After working inside your computer.
- CAUTION: Hard drives are fragile. Exercise care when handling the hard drive.
- CAUTION: To avoid data loss, do not remove the hard drive while the computer is in sleep or on state.
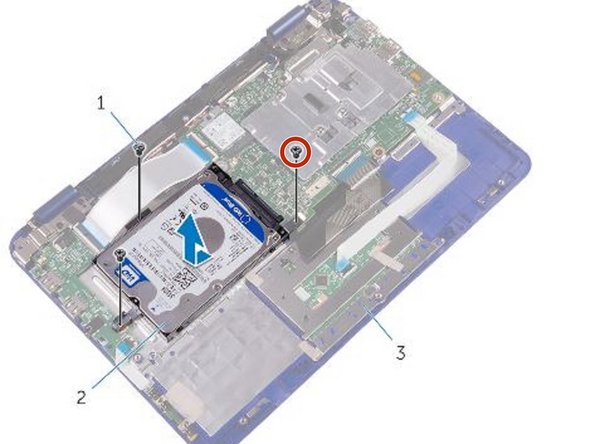
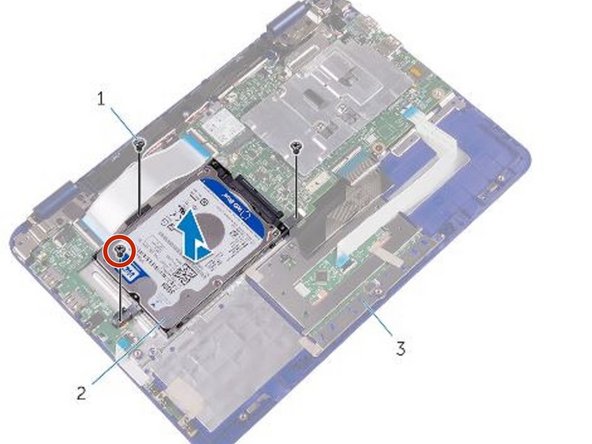
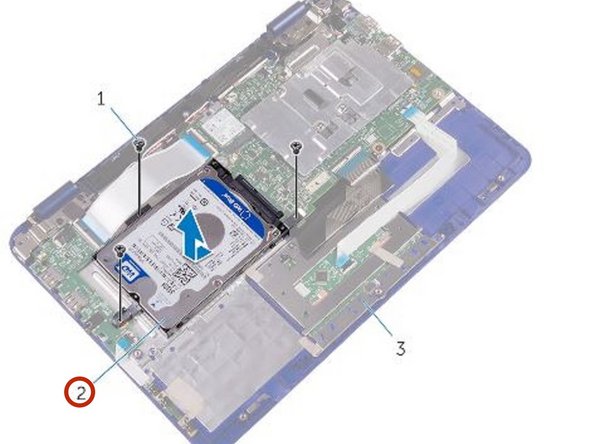
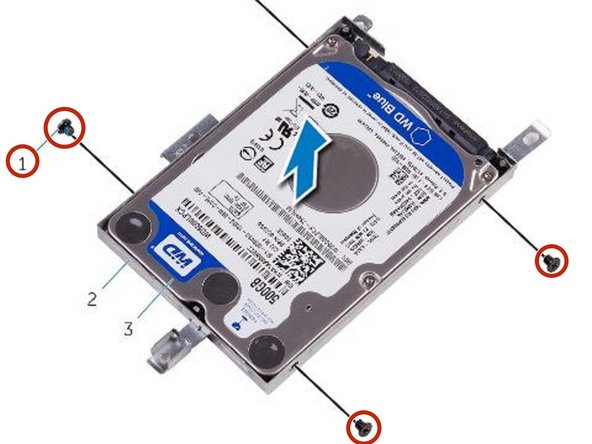
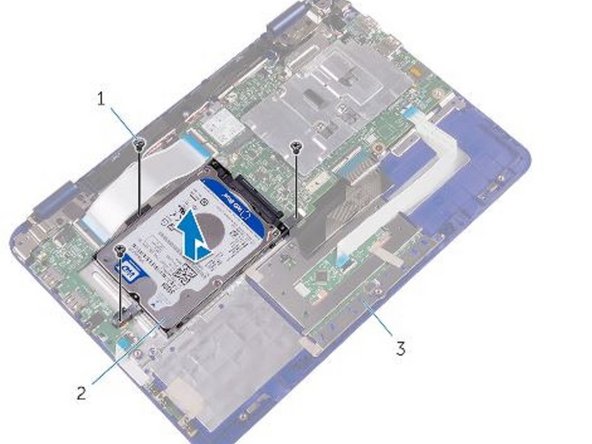
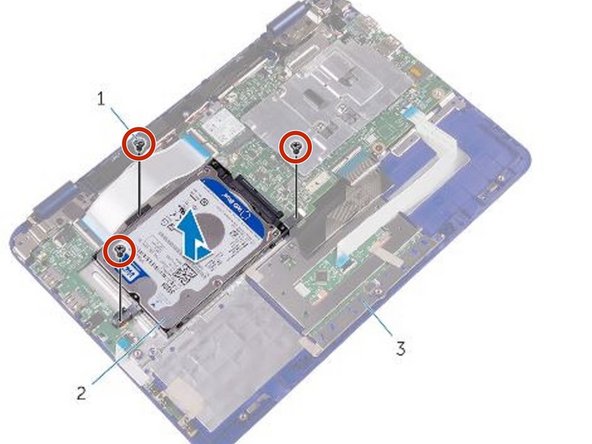
- Remove the screw that secures the hard-drive assembly to the palm-rest and keyboard assembly.
- Remove the screw that secures the hard-drive assembly to the system board.
- Remove the screw that secures the hard-drive assembly to the I/O board.
- Lift the hard-drive assembly off the palm-rest and keyboard assembly.
- NOTE: The images in this chapter may differ from your computer depending on the processor you ordered.
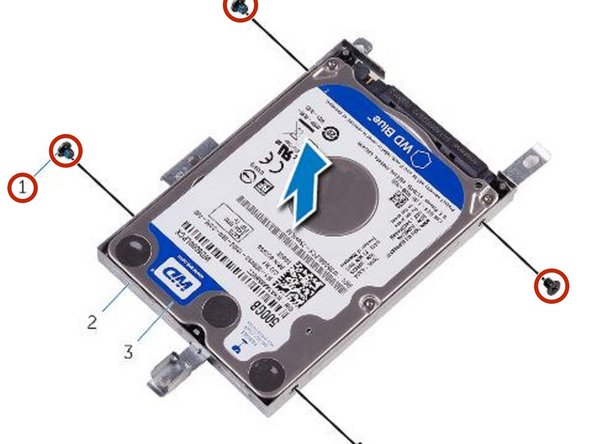
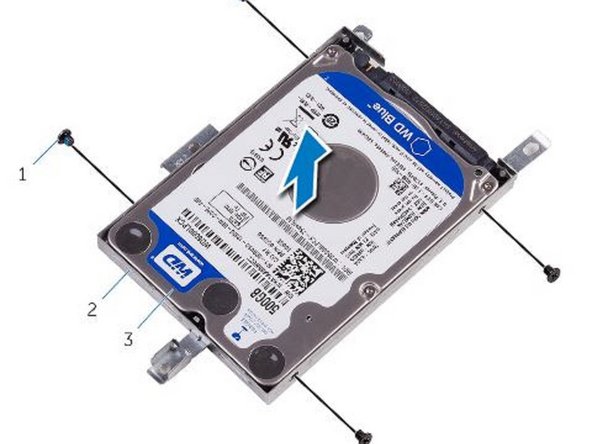
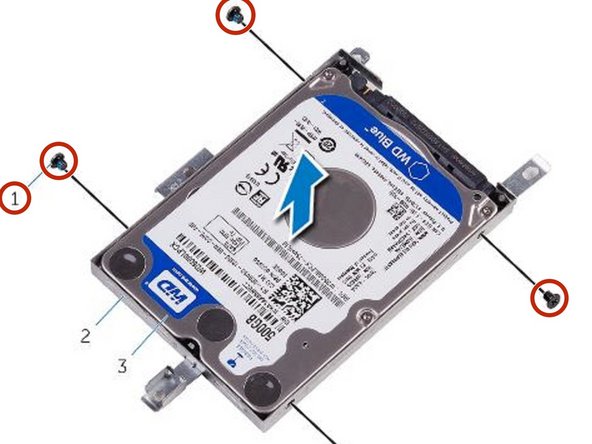
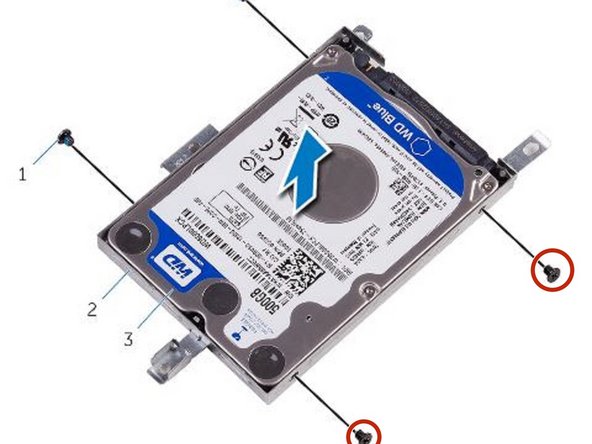
- Remove the screws that secure the hard-drive bracket to the hard drive.
- Lift the hard drive from the hard-drive bracket.
- Align the screw holes on the hard drive with the screw holes on the hard-drive bracket.
- Replace the screws that secure the hard-drive bracket to the hard drive.
- Align the screw holes on the hard-drive assembly with the screw holes on the palm-rest and keyboard assembly, system board and I/O board.
- Replace the screws that secure the hard-drive assembly to the palm-rest and keyboard assembly, system board and I/O board.