Asus Chromebook Flip C100P Motherboard Replacement
ID: 106679
Description: In this difficult replacement guide, you will...
Steps:
- Remove three of the rubber feet on the bottom cover with a plastic or metal spudger.
- Remove the five screws from beneath the rubber feet using a Phillips #0 screwdriver.
- The first 1.9mm screw is located under the front right foot, the second 1.9mm screw and third 2.3mm screw are located under the rear right foot, and the fourth and fifth 2.3mm screws are located under the rear left foot.
- Remove the nine bottom cover screws using a T5 screwdriver. Set apart the 6mm screw in the rear middle of the bottom cover from the the other eight 3mm screws, as it is longer than them.
- Set apart the 6mm screw in the rear middle of the bottom cover from the the other eight 3mm screws, as it is longer than them
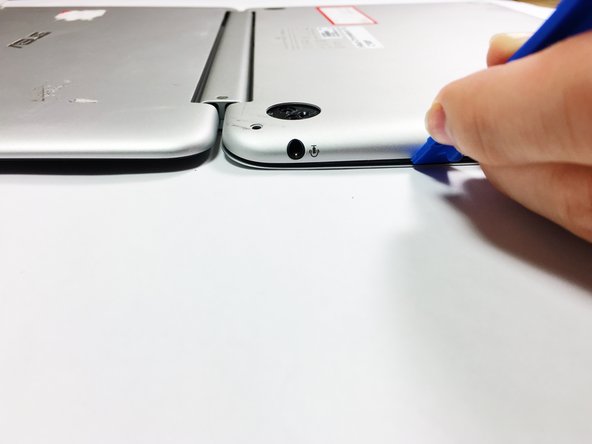
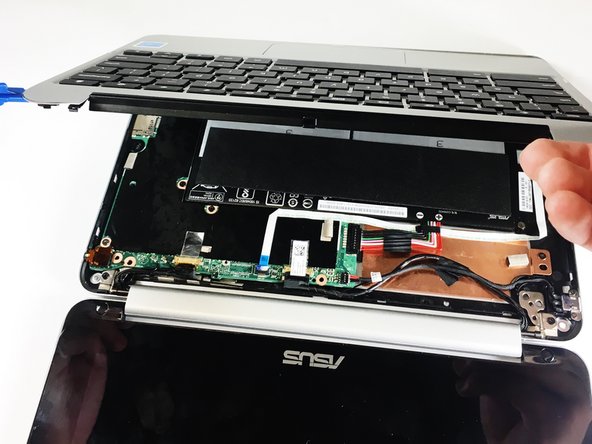
- Pry the palm rest assembly apart from the bottom cover using a spudger. This step may require extra power. Once the palm rest has been separated from the bottom cover, pull it away from the screen, rather than away from yourself.
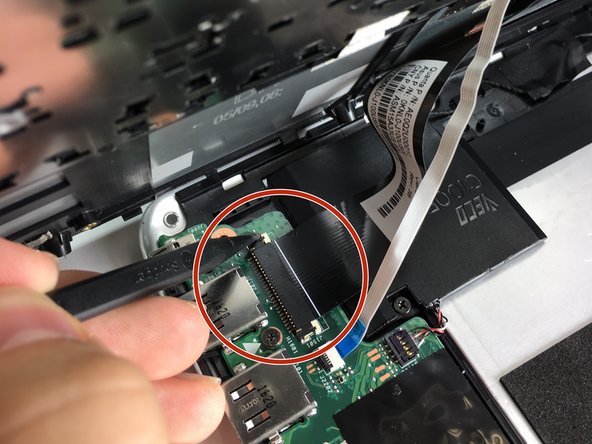
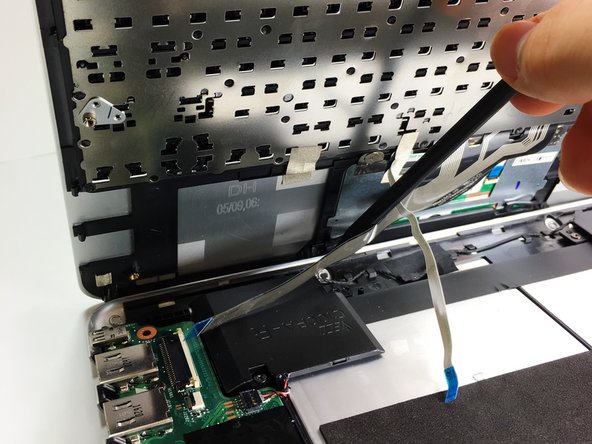
- Disconnect the touchpad cable and the keyboard cable on the palm rest assembly from the motherboard using the pointed end of a plastic spudger.
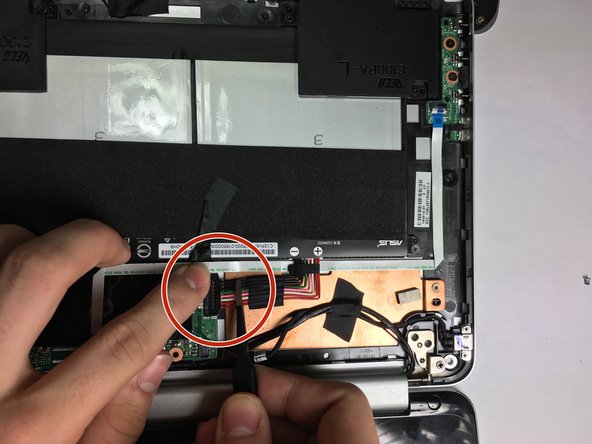
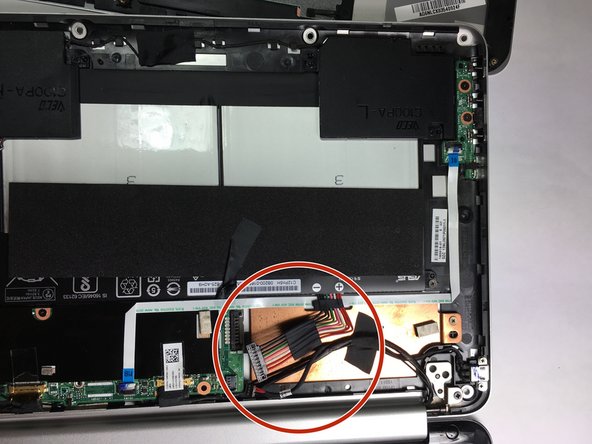
- Disconnect the DC jack cable and the battery cable from the motherboard using tweezers, the pointed end of a plastic spudger, or by simply pulling the cables apart from the motherboard with your fingers.
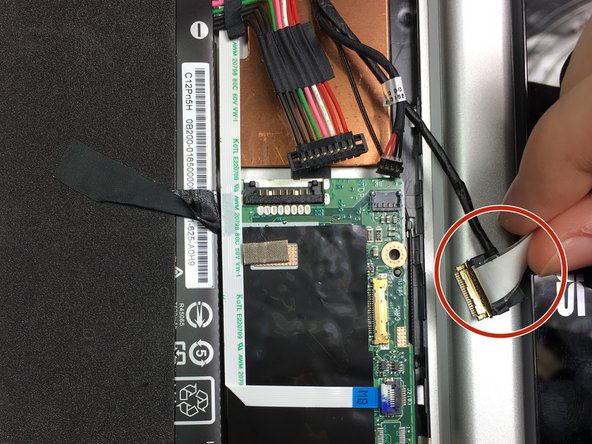
- Disconnect the LCD cable from the motherboard using the pointed end of a plastic spudger.
- Disconnect the motherboard to powerboard cable from the motherboard using the pointed end of a plastic spudger.
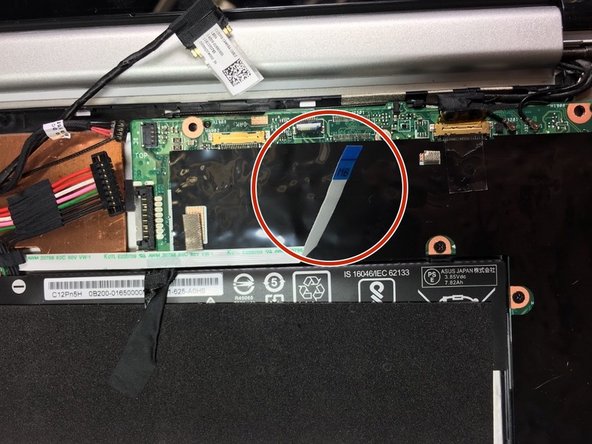
- Disconnect the digitizer board cable from the motherboard using the pointed end of a plastic spudger.
- Disconnect the two WiFi antenna cables from the motherboard using the pointed end of a plastic spudger or simply by pulling the cables apart from the motherboard with your fingers.
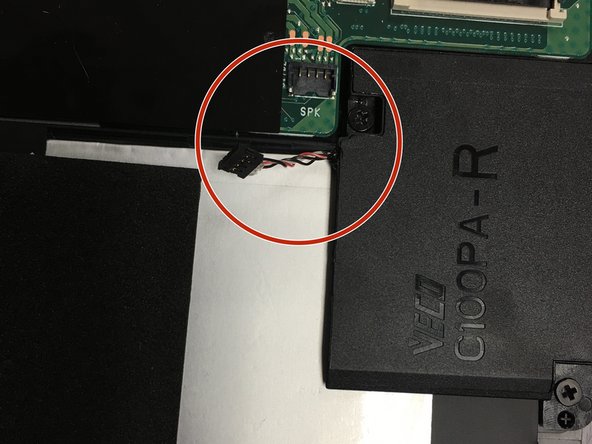
- Disconnect the speaker cable from the motherboard using the pointed end of a plastic spudger.
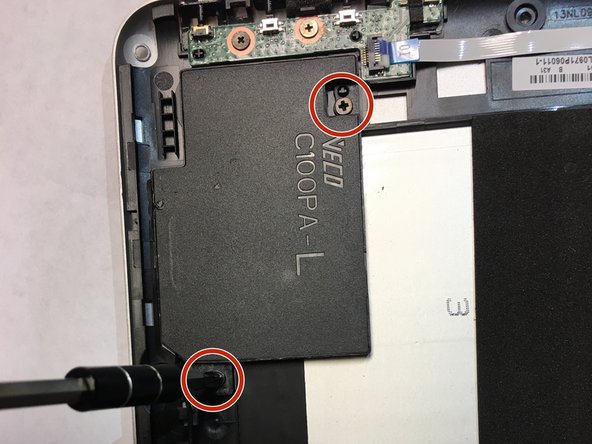
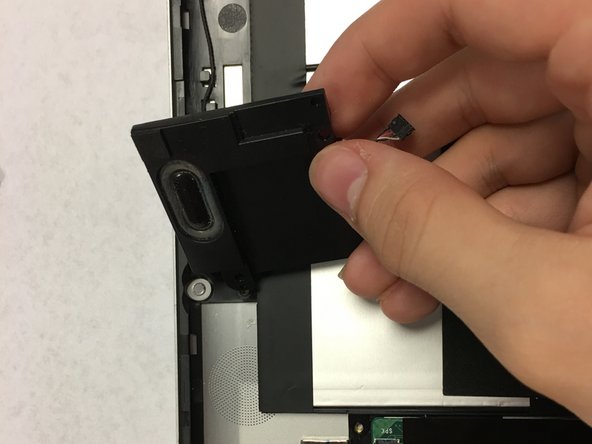
- Remove the four 4.2mm speaker screws, then remove the two speakers using a philips head screwdriver.
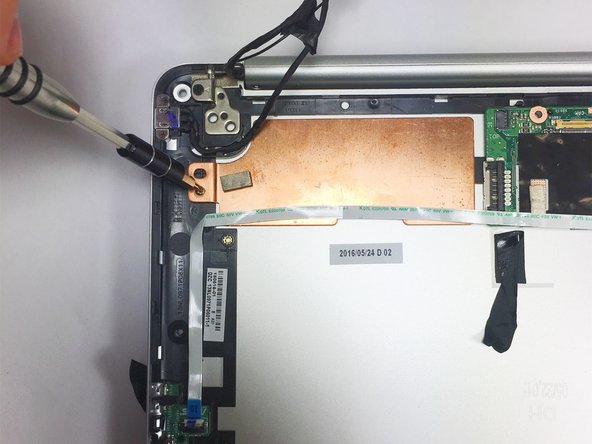
- Remove the five 2.7mm motherboard screws with a T5 screwdriver.
- Remove the motherboard.