Sony XAV-AX100 Motherboard Replacement
ID: 106717
Description: This repair guide will demonstrate how to...
Steps:
- Place the device on a flat surface, upside down, so the bottom of the screen would be facing upwards.
- Remove the ten 3.5mm Phillips #0 screws from the back plate.
- Use a plastic opening tool to remove the back plate.
- Don't remove completely as there will still be cables connected.
- Disconnect the USB cable from the display board.
- Adjust the rubber holders that are keeping the USB cable still on the motherboard, so you can remove the cable entirely from the inner compartment.
- The rubber holders are extremely sensitive to any applied force. Therefore, be careful while turning them around.
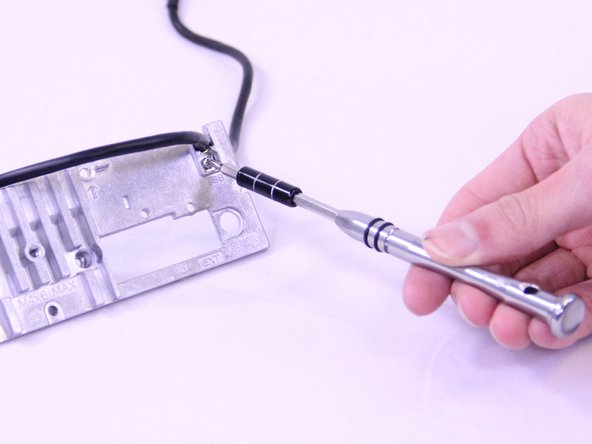
- Remove the 3.5mm Phillip #0 screw that secures the USB cable to the back panel.
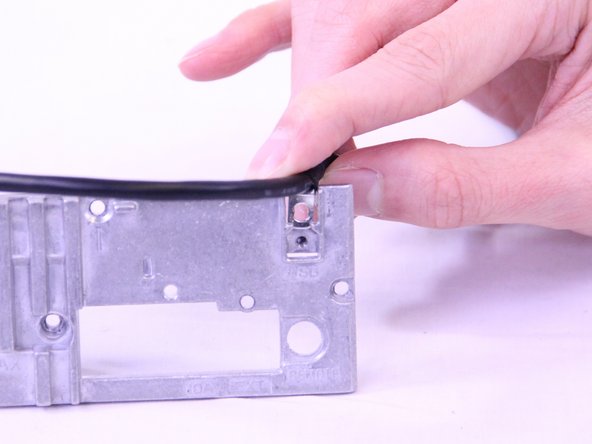
- Pull the USB cable off of the back plate.
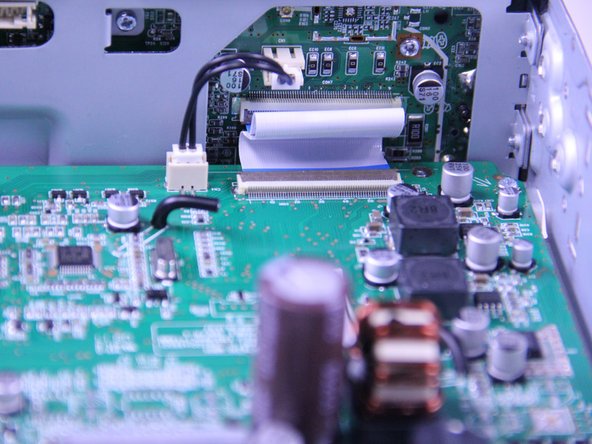
- Disconnect the display power cable from the motherboard.
- Use a spudger to flip up the retaining flap on the display ribbon cable ZIF socket.
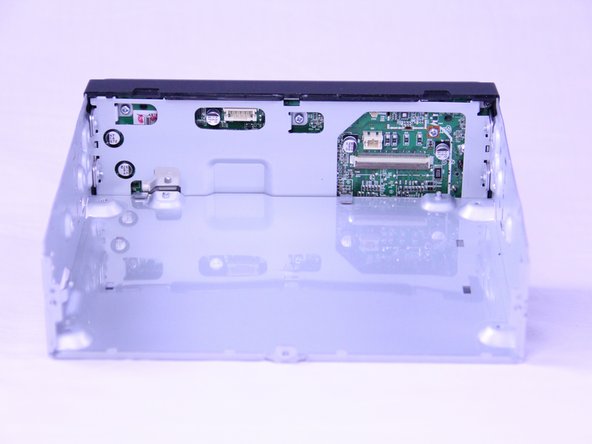
- Unscrew the four 3.5mm Phillips #0 screws from the motherboard.
- Use a spudger to gently lift the motherboard up and out of the radio.