SEGA Genesis Flashback Motherboard Replacement
ID: 108314
Description: Note: This guide should be used as a "last...
Steps:
- Scratch off the right-hand side of the sticker at the center of the bottom case using the spudger until the screw is visible.
- Remove this screw with the Phillips #000 screwdriver.
- Remove the two visible screws on the bottom with the Phillips #000 screwdriver.
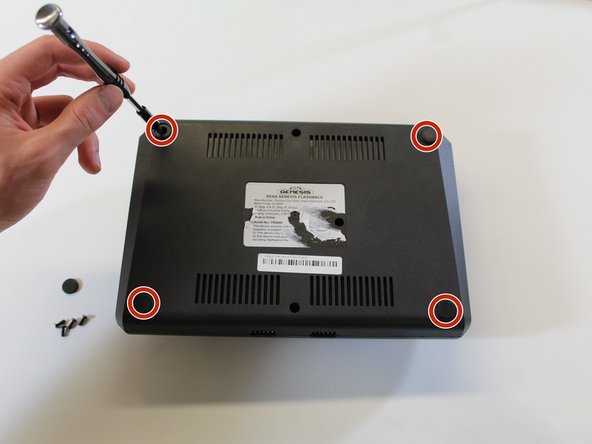
- Use your fingers to peel off the four corner rubber feet on the bottom.
- Use the Phillips #000 screwdriver to remove the four screws beneath the rubber feet.
- Flip the case to its upright position.
- Place one hand on the bottom plate of the case and one on the top plate. Gently pull apart the two plates by tilting the top plate about the front of the device. Treat the front of the device as a hinge.
- Remove the back cover from the device.
- Be sure not to rip the wire connection of the LED bulb that is still connected to the bottom plate.
- Unscrew the LED board on the inside of the top plate with the Phillips #000 screwdriver.
- Note: The top plate is no longer needed for the next steps, so you can feel free to set it aside until reassembly.
- Use the Phillips #000 screwdriver to remove the five screws circled in the provided picture.
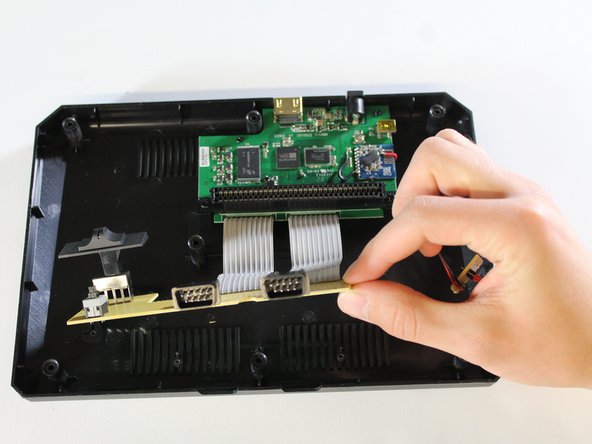
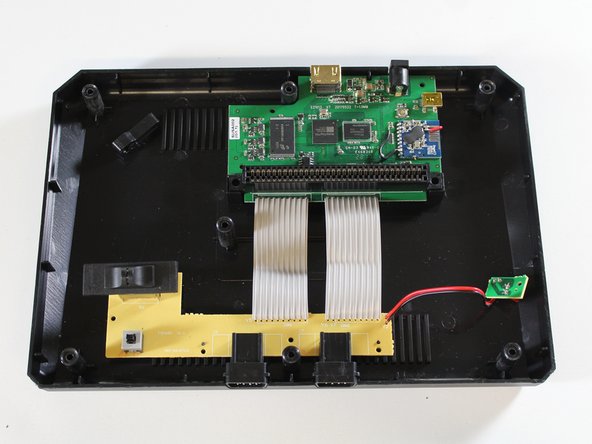
- The tan board can now detach from the rest of the case, as pictured, but you can feel free to leave it in place for now.
- CAUTION: Do not disconnect the tan power switch board from the grey ribbon cables.
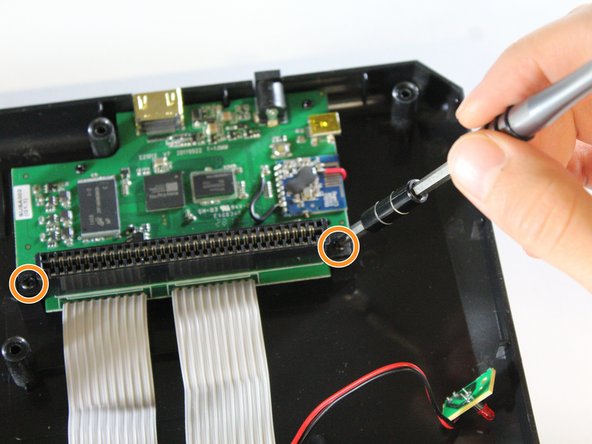
- Remove the smaller screws located on the green motherboard with the Phillips #000 screwdriver.
- Remove the two larger screws holding down the game cartridge slot with the Phillips #1 screwdriver.
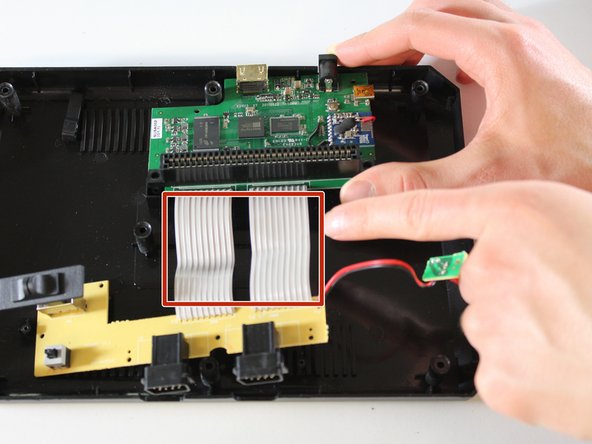
- Gently remove the motherboard and the connected tan power switch board from the bottom plate.
- CAUTION: Be sure not to rip the ribbon cables connecting the motherboard and tan power switch board.