HP Stream 11-r014wm Webcam Replacement
ID: 108368
Description: Worried the government is watching you? Take...
Steps:
- Use a plastic spudger to remove two oblong screw covers on the bottom of the computer.
- Use a plastic spudger to remove four rubber feet.
- To remove the feet you must break the glue seal holding them down.
- Remove the eleven 5 millimeter housing screws from the bottom of the computer using a #00 Phillips head screwdriver.
- Turn the computer over and open it.
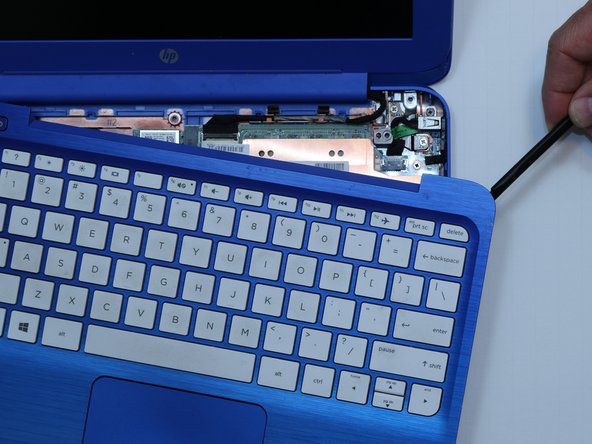
- Use a plastic spudger to pry the keyboard bezel away from the base. Pry around the edge, being careful not to jam the spudger too far underneath the bezel (potentially damaging internal components).
- The bezel is tightest near the hinge.
- Once the bezel is free, do not lift it away from the base.
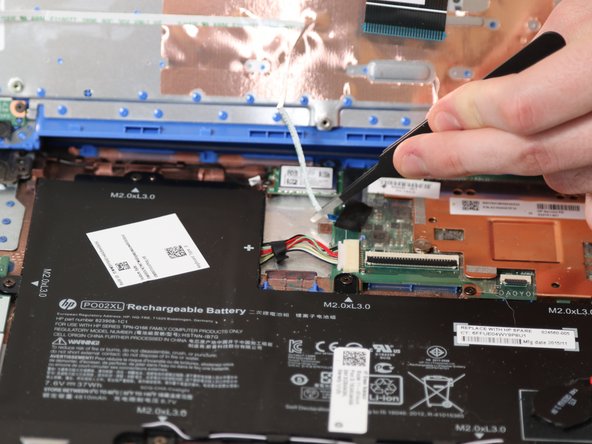
- Identify two ribbon connectors and the ZIF cable underneath the keyboard.
- Use tweezers to disconnect both ribbon cables and the ZIF connector.
- Remove five 4 millimeter hinge-screws from the hinges of the laptop using a #00 Phillips head screwdriver.
- There are three 4 millimeter hinge-screws on the right side.
- Use tweezers to disconnect the black power cable.
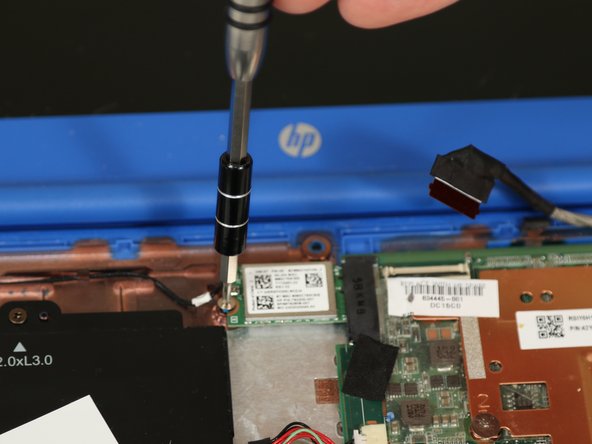
- Remove the 3.5 millimeter screw from the WiFi chip using a #00 Phillips head screwdriver.
- The upper and lower halves of the laptop should now be separated.
- Remove two 2 millimeter bezel screws using a #00 Phillips screwdriver.
- Use a plastic spudger to pry the bezel away from the screen.
- The bezel screws are covered by thin plastic.
- Remove four 3 millimeter screen screws using a #00 Phillips head screwdriver.
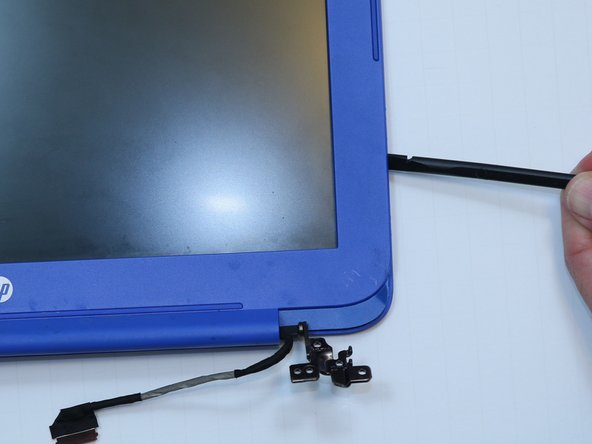
- Lift the screen with steady pressure until the glue seal breaks and releases the lid.
- Use steady pressure with a plastic spudger to break the glue seal and release the webcam.
- Use tweezers to disconnect the cable that connects the webcam to the laptop.