Canon PowerShot G7X Flash Replacement
ID: 108449
Description: This guide will help you replace the flash for...
Steps:
- Remove the five 2mm Phillips #000 screws that are under the screen of the camera.
- Remove the two 3mm Phillips #000 screws under the AV-out digital flap.
- Remove the two 3 mm Phillips #000 screws from the side of the camera.
- Remove the two 3 mm Phillips #000 screws on the side of camera with the flash toggle.
- Remove the four 4 mm Phillips #000 screws from the plate on the bottom of the camera.
- Remove the back plate.
- Remove the three 3 mm Phillips #000 screws around the dial.
- Using the nylon spudger, gently lift the ZIF tab.
- Disconnect the ribbon cable that connects the dial to the motherboard.
- Remove the dial from the device.
- Remove the three, blue 5 mm Phillips screws from the back plate.
- Remove seven 2 mm Phillips #000 screws.
- While using the plastic opening tool, gently pry the top plate off the camera.
- Using the black nylon spudger, gently lift the ribbon cable connected to the LCD screen housing until it comes out then remove the housing.
- Remove the 2 mm Phillips #000 screw underneath the top plate.
- Remove silver plate.
- Take the Phillips #000 and remove the three 5 mm screws from the front plate.
- Using the spudger, gently lift the ribbon cable from underneath the front plate.
- Remove the front plate.
- Remove flash toggle plate.
- Remove the 2mm Phillips #000 screws under the flash toggle.
- Flash contains charged capacitor. Shock hazard.
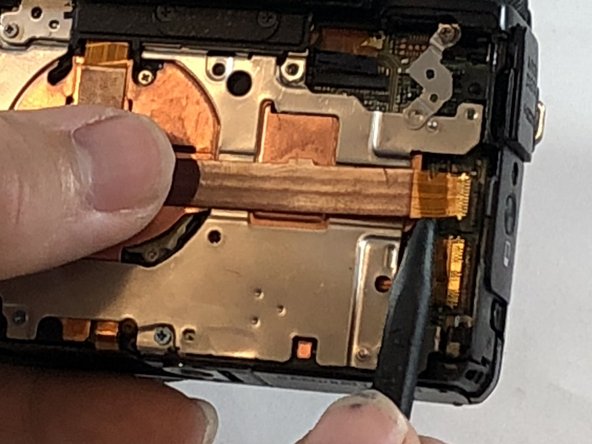
- Using the black nylon spudger, gently lift the ribbon cable that connects the flash to motherboard and remove the flash from the device.