Google Home Motherboard Replacement
ID: 108496
Description: This guide involves removing the o-ring from...
Steps:
- Removing the lid too quickly could cause you to tear the interconnect cable that attaches the base to the top of the lid.
- Pull off the Google Home’s magnetically attached base and set it aside.
- Using a Torx T6 screwdriver head, unscrew the four 1.7mm Torx screws deep in the speaker recess so that you can remove the lid.
- After all four screws are out, pop the lid off the device to open the capsule.
- Carefully remove the interconnect cable using a pair of tweezers.
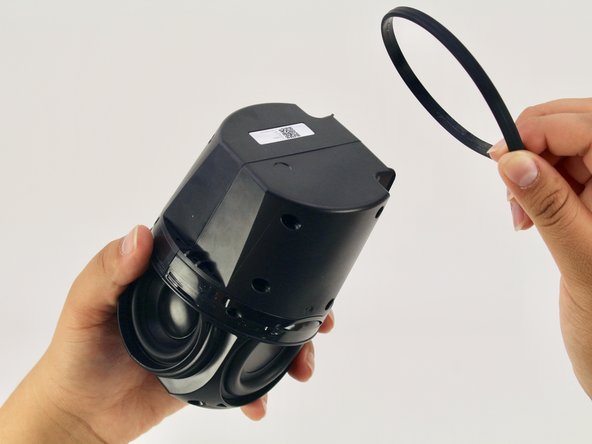
- Remove the ‘O-ring’ that wraps around the device holding the switch panel in place.
- Using a Torx T6 screwdriver head, unscrew the four black 1.7mm Torx screws.
- Remove the panel and the mute button switch. If done correctly you should now be able to see the device’s guitar-shaped motherboard.
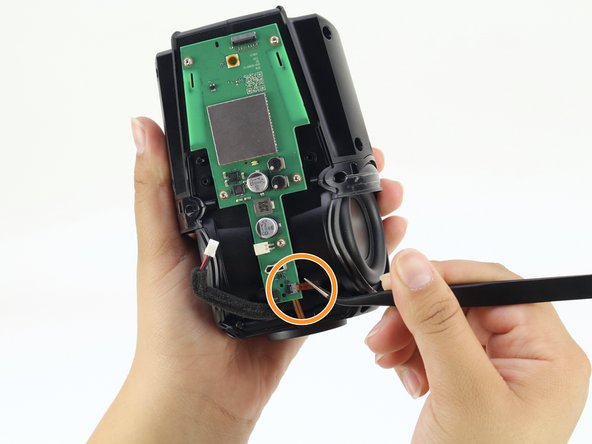
- Disconnect the foam-padded, red and black cable that connects the motherboard to the sound driver, by squeezing and pulling on the tab
- Disconnect the orange interconnect cable that connects the bottom of the device to the motherboard by pulling straight out on the orange tab.
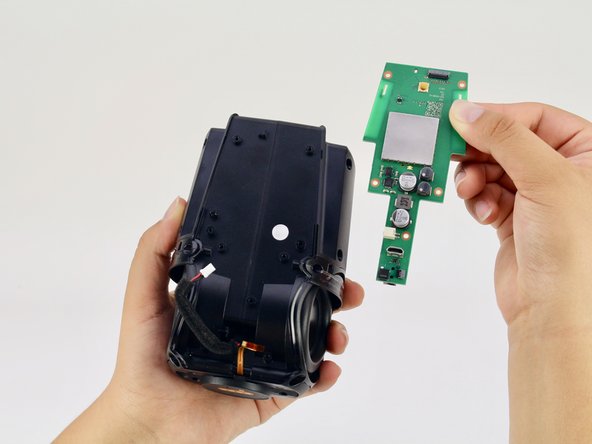
- Using a Torx T6 screwdriver head, unscrew the five silver 1.7mm Torx screws keeping the motherboard in place.
- Remove the motherboard.