HP Pavilion Sleekbook 14-b013cl Hard Drive Replacement
ID: 108498
Description: In this guide, you will learn how to replace...
Steps:
- Flip the computer over and move the battery lock switch to the "unlocked" position (marked by an orange lock icon).
- Press the switch on the right-hand side of the back of the device towards the center until the gray battery icon is no longer visible. This will eject the battery.
- Carefully pull the battery away from the device.
- Using a Phillips #0 screwdriver, unscrew all eight of the screws.
- Using a plastic opening tool, pry up on the upper edge of the keyboard.
- There is a wire connecting the keyboard to the motherboard. Do not pull the keyboard away until you have disconnected it.
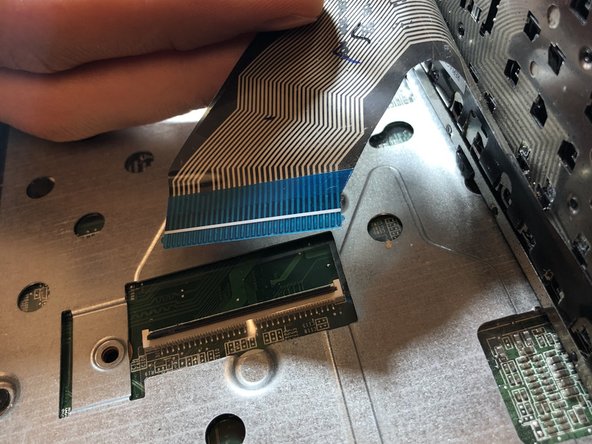
- To disconnect the wire, pry up on the latch holding it in its socket.
- Flip the laptop back over.
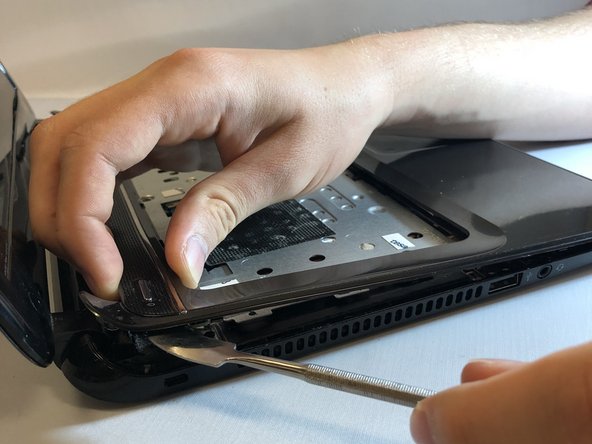
- Using a plastic or metal spudger, carefully pry the top and bottom halves of the case appart.
- Don't push the metal spudger in too far or you might damage the laptops internal components.
- Do not pull the halves apart yet as there are still wires attaching them together.
- Disconnect the touch pad wire by flipping the small black lever using a plastic opening tool.
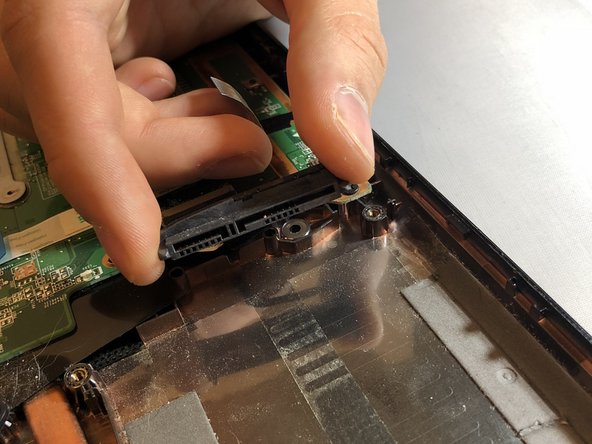
- Unscrew the small circuit board underneath the power button.
- Remove the circuit board by pulling up and away on the plastic tab.
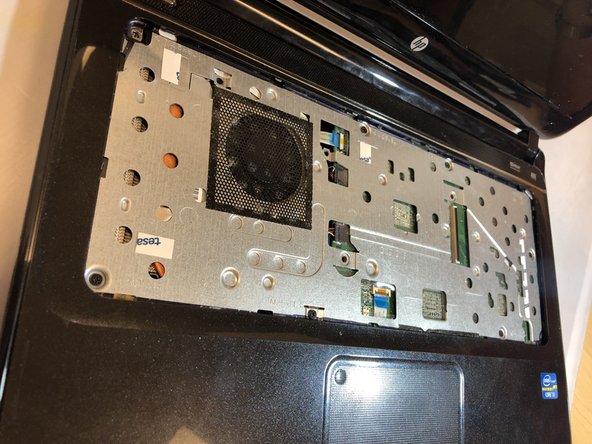
- Pull the top half of the plastic case off of the laptop.
- Remove all seven of the screws using a Phillips #0 screwdriver and pull the plate off the motherboard.
- There is double sided tape holding the plate down, as well as the screws. Sufficient force will be required to remove the plate.
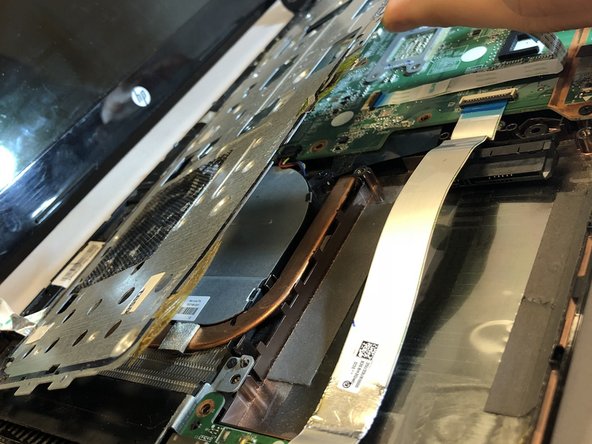
- Remove the USB wire which runs over the top of the hard drive.
- The wire is stuck to the hard drive with double sided tape.
- Remove the wire by carefully pulling towards the USB connector on the left hand side of the laptop.
- Remove the four screws securing the hard drive to the motherboard.
- Disconnect the hard drive cable by gently pulling it away from the hard drive.