Dynex DX-WBRDVD1 Power Supply Board Replacement
ID: 108511
Description: This guide was made to help people replace a...
Steps:
- Remove the four 5mm Phillips #1 screws that connect the black outer shell to the silver back of the device.
- Remove the two 5mm screws on the left and right side panels.
- There is one screw on each side that secures the cover to the body of the device.
- Lift the black cover to a 45 degree angle from the rear of the device and pull the cover away entirely.
- Check that the power cord is not preventing the device from opening or closing.
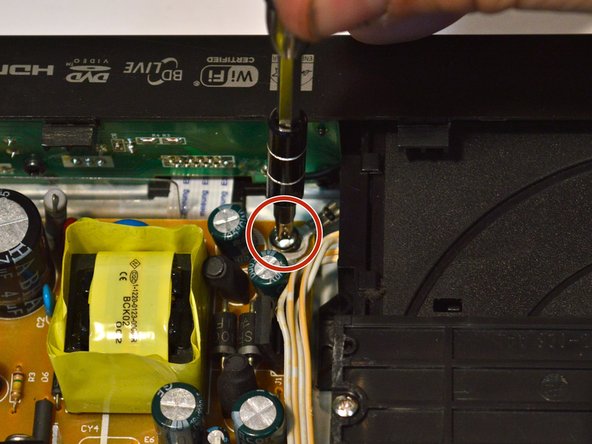
- Remove the 9-pin white wire from the power board (brown) that connects to the motherboard (green).
- Remove the front plate of the device by removing the top two screws on either side and pulling the plate away.
- Make sure to place the grounding wire between the screw and the device when reassembling.
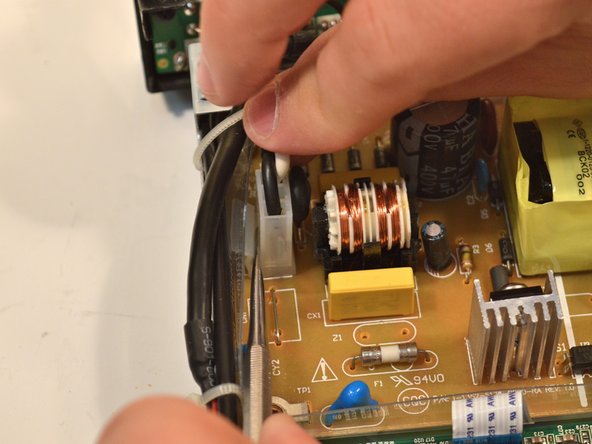
- Remove the 4 screws holding the power board to the body of the device.
- Remember to connect a grounding wire to the screw next to the front panel and optical drive when reassembling.
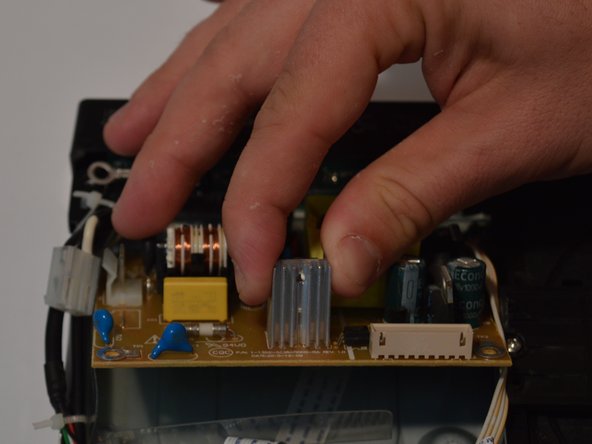
- Press down on the plastic flap to unlatch the white clip on the edge of the power supply board.
- Remove the power supply board.