Dynex DX-WBRDVD1 Motherboard Replacement
ID: 108514
Description: The motherboard is found below the WiFi antenna...
Steps:
- Remove the four 5mm Phillips #1 screws that connect the black outer shell to the silver back of the device.
- Remove the two 5mm screws on the left and right side panels.
- There is one screw on each side that secures the cover to the body of the device.
- Lift the black cover to a 45 degree angle from the rear of the device and pull the cover away entirely.
- Check that the power cord is not preventing the device from opening or closing.
- Use the metal spudger to remove the white clip from the antenna by prying the clip away from the antenna.
- Use a pointed tool and press down on the indents on both sides of the clip to loosen.
- Remove the two 7mm screws from both sides of the antenna.
- Slide the antenna inwards and gently remove.
- After removing the antenna, remove the hdmi screw (5mm)
- Fine threaded
- Remove component screw (7mm)
- Corse thread
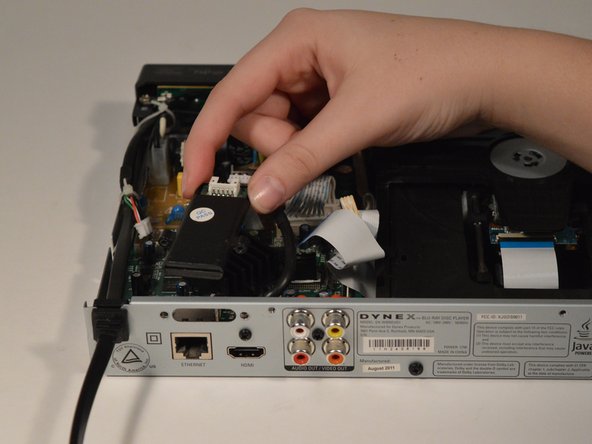
- Lift power cord and move to the side
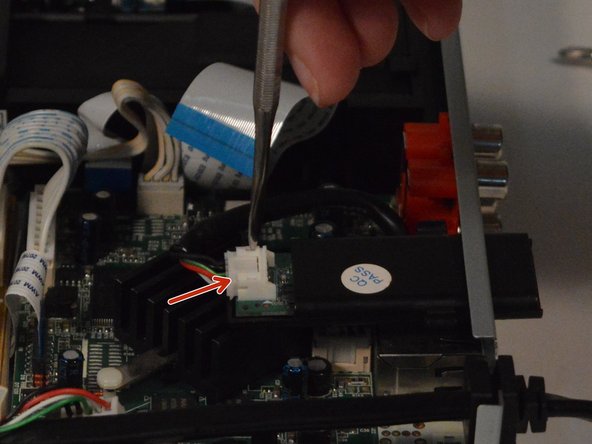
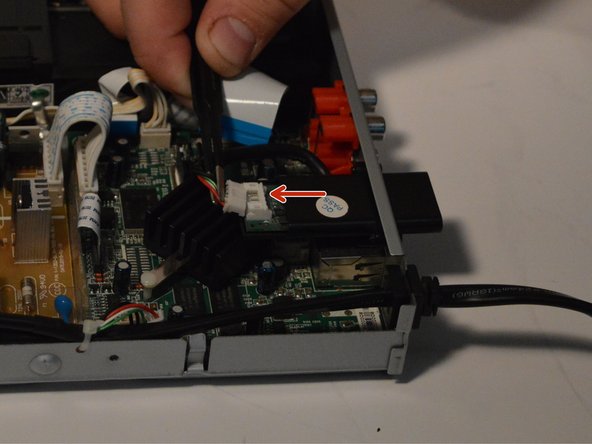
- Remove the white clip with colored wires from mother board.
- Use a pointed tool and press in on the sides of the clip to release.
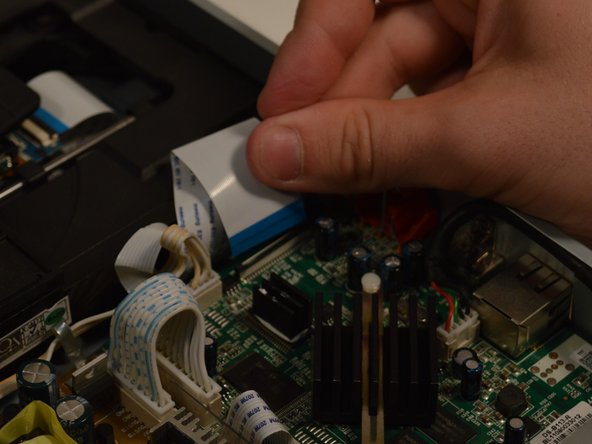
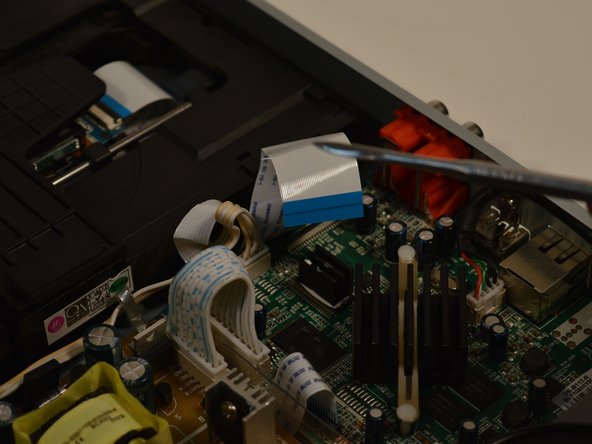
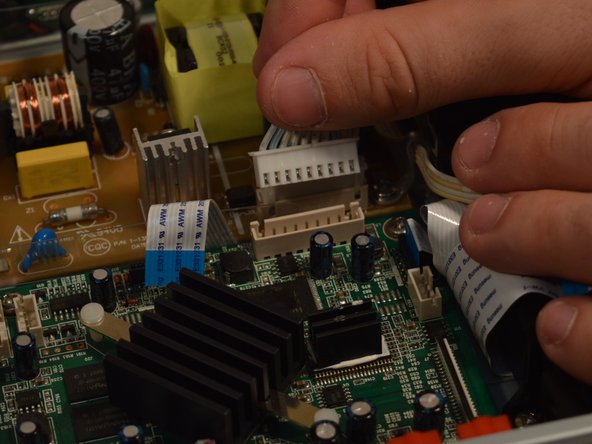
- Lift up and out to remove the large white plastic wiring strip. Lift lightly on the back clip holding it to loosen.
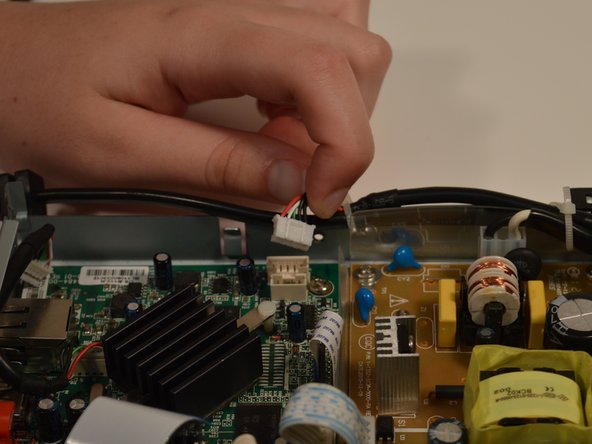
- Remove the power connection to the motherboard small white clip with 4 white wires coming out.
- Press sides and pull up the edges with sharp tool
- Pull the 1cm white tab straight up and out.
- The side with exposed wires points towards the face plate.
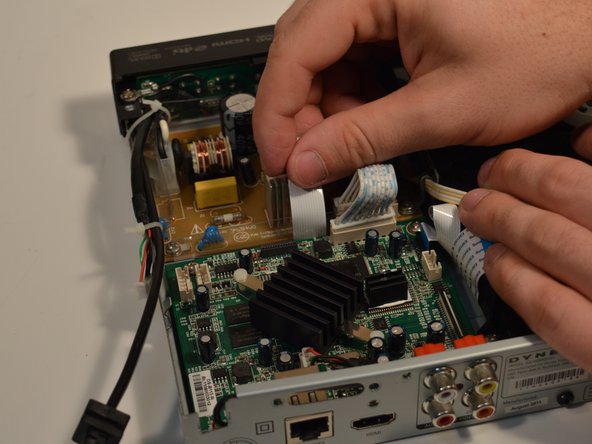
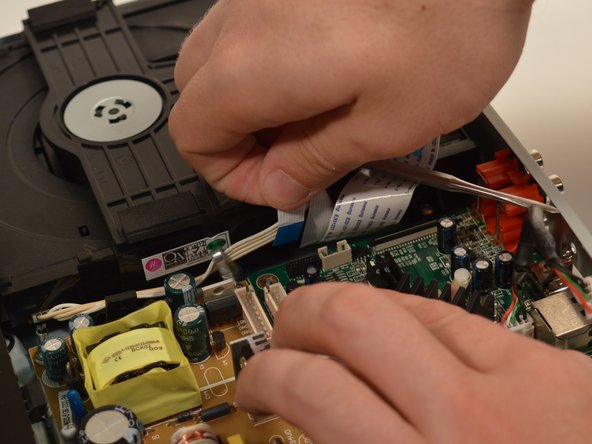
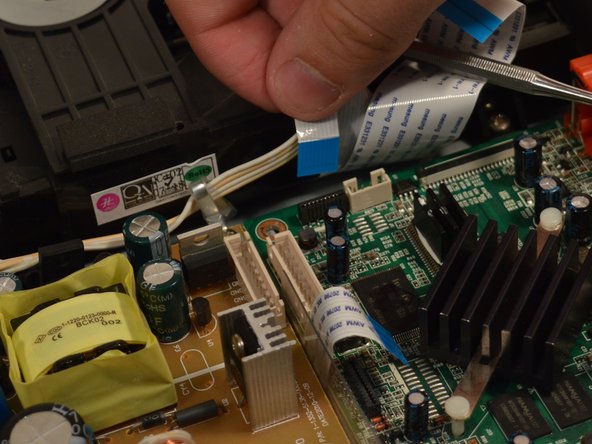
- Pull the larger white 9 pin power cord that connects the power board to the motherboard.
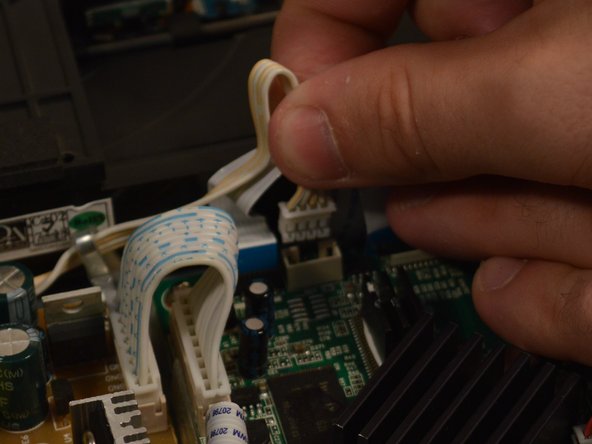
- Pull the second white 1cm wide tab between the motherboard and power supply board.
- The side with exposed wires points towards the disc drive.
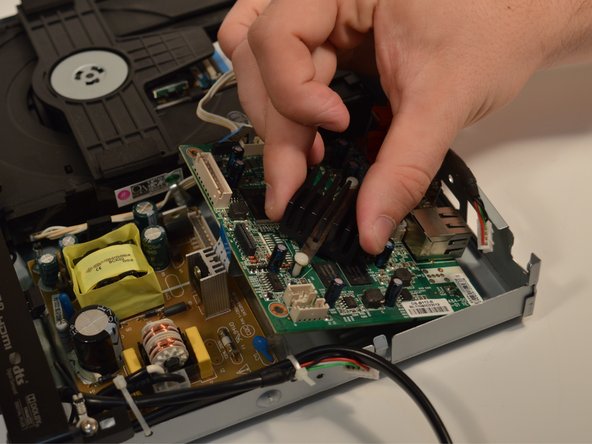
- Remove the two 5mm screws that connect the mother board to the device.
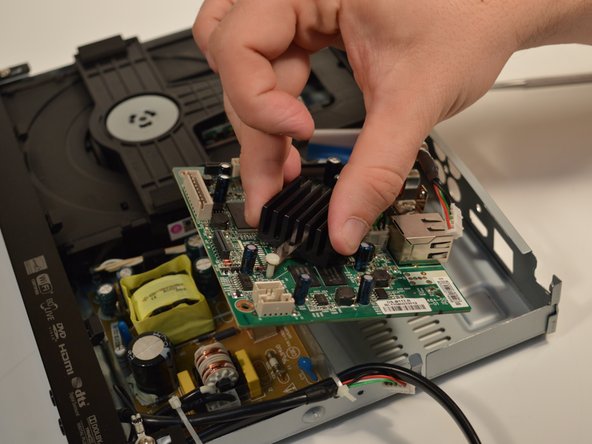
- Slide board up and out at a slight angle