Asus Q551L Repair Motherboard Replacement
ID: 109874
Description: The motherboard is the most impotent part in...
Steps:
- Unscrew the 10 screws around the edge of the back panel. Eight of the screws are 0.0793mm T5 , two of them are 0.0793 JIS #0.
- Use the plastic opening tool to pry the back panel off the base of the laptop.
- Unscrew the four screws to remove the battery.
- Un-clip both wire clips on the upper and right side of the battery.
- Lift the battery out of the device.
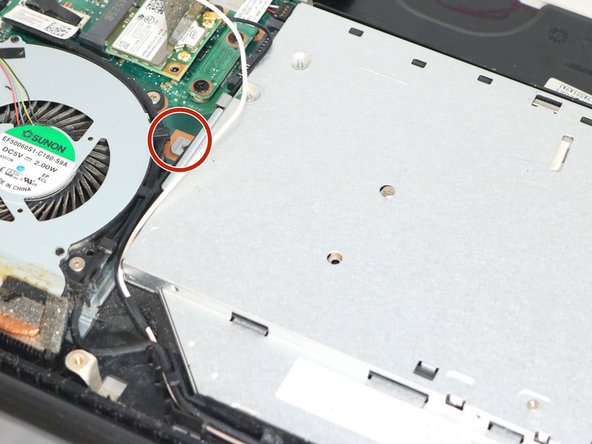
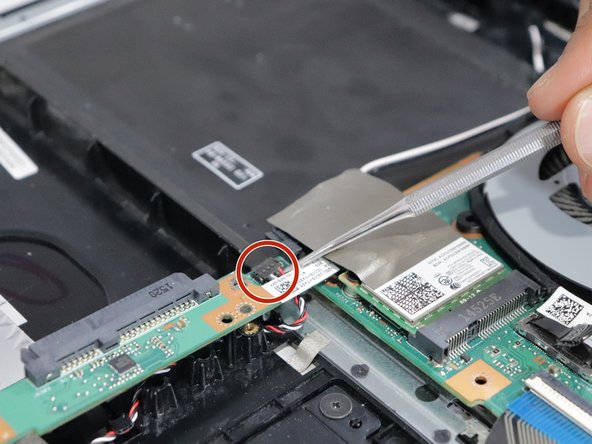
- Lift up the sticker that sticks between the motherboard and the optical drive. Then, unscrew the one screw where it is marked and slide it out gently.
- Watch out for the wires around the optical drive.
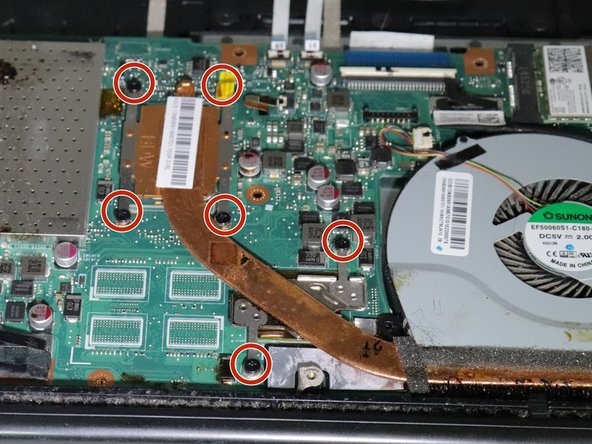
- Remove the fan by unscrewing the nine screws shown in the images.
- The four colored wire and the black cable need to be pulled out gently.
- There will be wires around the fan. Make sure they are not stuck to it.
- You want to keep the fan if it still in good conditions.
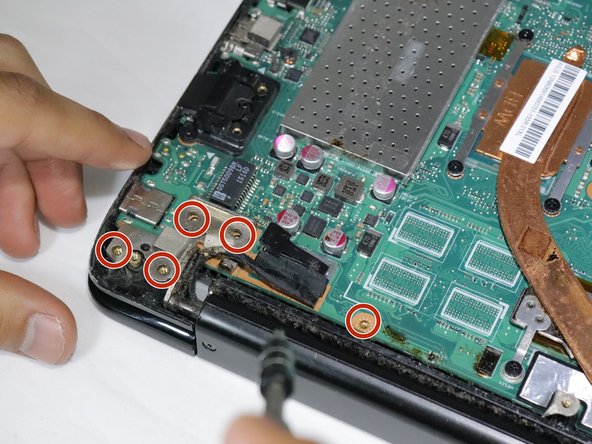
- Unscrew the seven screws Phillips Head 0.0793 MM on the edges of the motherboard.
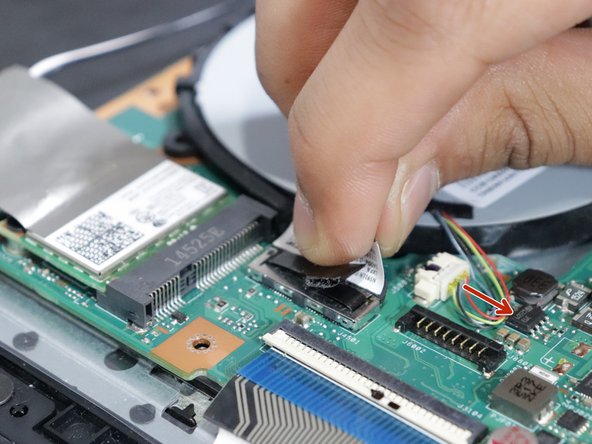
- Disconnect any cables that hold the motherboard.
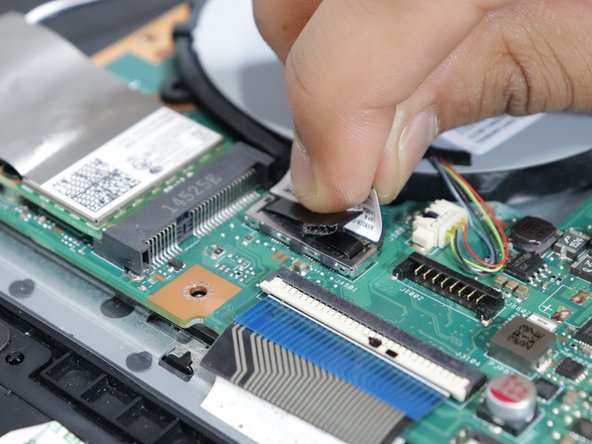
- Open up the white adjustable latch first to pull out the tapes.