Acer Thin Bezel Monitor Disassembly
ID: 113106
Description:
Steps:
- Unplug your monitor
- Place it on soft flat surface
- Make sure you have enough room
- And all the listed tools
- There are 3 Phillips screws in IO panel
- There are no screws behind the product label
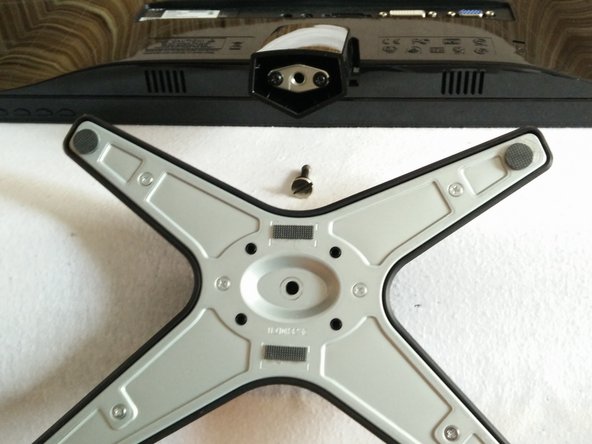
- The stand base is fixed by big flat head screw
- No other screw needs to be removed
- Remove the metal plate and be careful because the 2 Phillips screws are fixed to long plastic tubes that may crack when you apply too much torque
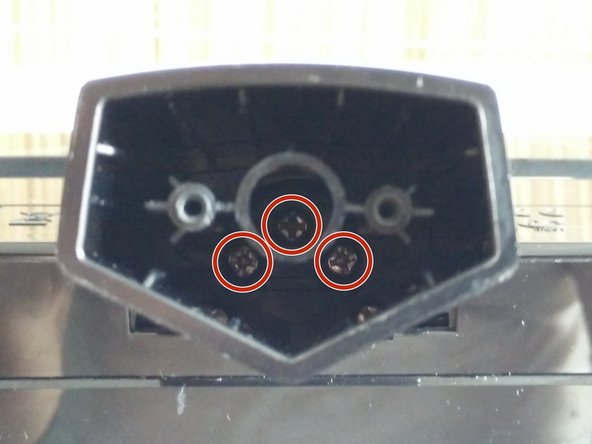
- Behind the metal plate there are 3 Phillips screws
- I highly recommend magnetic Phillips screwdriver with long thin neck for this step
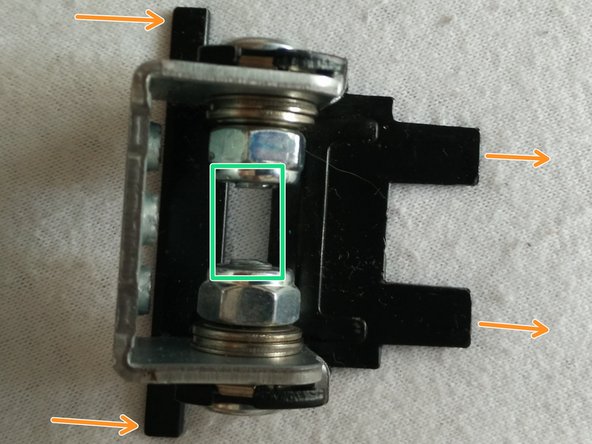
- Tilting mechanism will be revealed
- The tilting mechanism can be easily slide out when you gently push on the plastic lock clamp situated between/below the 2 bolts
- Also remove the two long Phillips screws that are below the tilting mechanism to loosen the monitor's plastic back
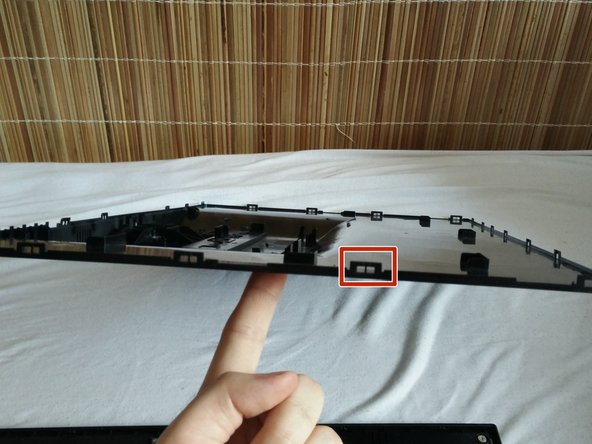
- At this point the back is hold in place by over 20 plastic locks
- Use your pry tool and screwdriver to loosen them all
- Be careful and patient if you don't want to leave marks.
- I recommend to start at the bottom (on the side without the monitor's control panel/buttons) and continue on the side, over the top to the other side of the bottom edge and carefully work around the control panel.
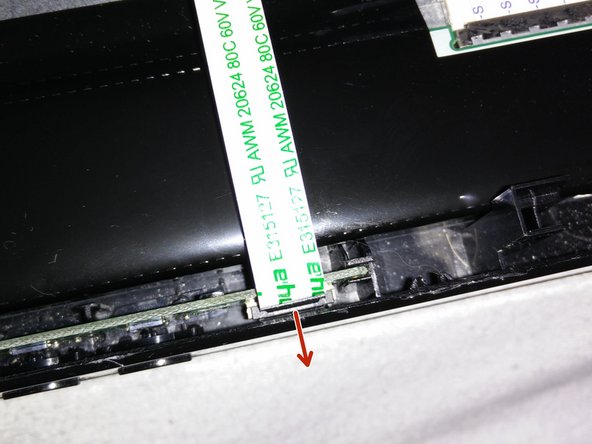
- Before we can remove the monitor's plastic side frame we have to disconnect the control panel
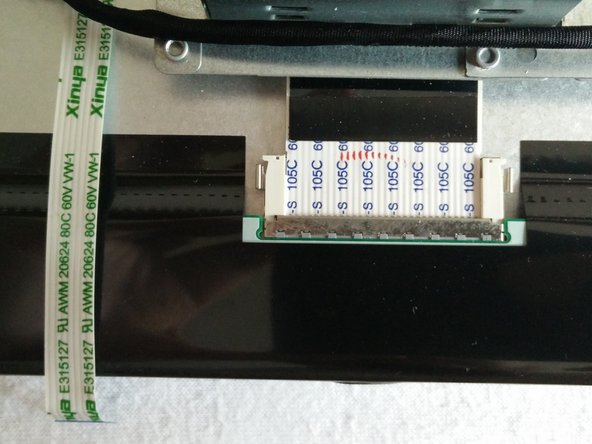
- It is connected with single flat ribbon cable that is connected in clamp connector
- Use a screwdriver to push on the clamp to open it and loosen the ribbon cable
- Carefully remove the ribbon cable using a little force. You can wiggle the cable a little.
- WARNING: try not to touch the monitors electronic to prevent any electric discharge.
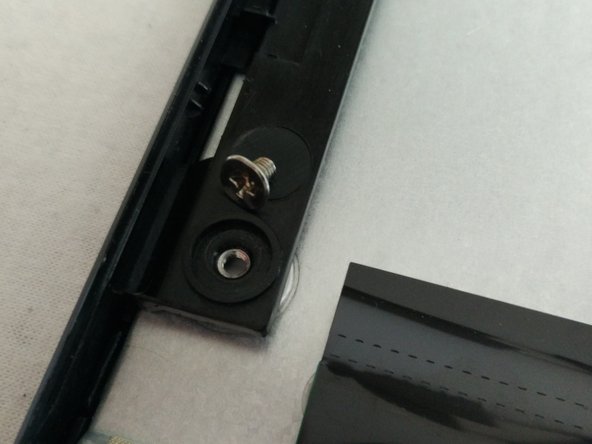
- Remove the screws in the plastic frame
- Be careful around the cabling when you are removing the frame
- Notice that the screws were screwed in with specific torque, try to remember the force you needed to unscrew them and reapply it on reassembly. Or at least don't use too much force on reassembly to prevent damage.
- This step is optional, but it will let you separate the LCD and backlight layer wider
- The metal strip is hold in place using mechanical locks so it is easy to remove and reassemble
- On reassemble you may need to bend the metal strip a little to get good grip
- There are 3 layers in your monitor: backlight, diffuser sheet, LCD.
- On top of the LCD layer there is the outermost front facing protective plastic/glass. This is glued on the LCD layer and can't be removed.
- Below is freely laid diffuser sheet that you can remove and clean up.
- And at the bottom there is the backlight layer that might be removable but I didn't try.
- You may find bugs between the diffuser and LCD layer, like I did.
- Reassembly is easy, just follow the steps backwards.
- Make sure you don't leave any dust or particles between the backlight and LCD layer.
- Don't overtighten your screws.
- I also include some extra images from the disassembly.