Siemens coffee machine Water Tank Seal Replacement
ID: 113135
Description: If water drips out of the machine from in...
Steps:
- Unplug your coffee maker!
- Remove the water container, the brew group and the drip tray with pomace container.
- Using a spoon, remove as much of the coffee beans as possible from the coffee bean container.
- Depending on the model, additional sensors with cables may be installed on the top and side panels. You have to remove these before you can completely remove the housing parts.
- Remove the two Torx T10 screws on the top.
- Remove seven T10 Torx screws on the back.
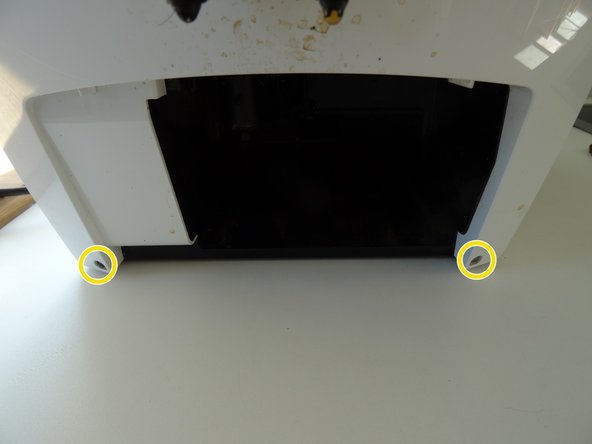
- The two screws at the bottom of the front can remain.
- Press with a flat-head screwdriver into the openings on the side with the water tank. This releases the latches on the top.
- Press the flat-head screwdriver into the opening on the side with the brew group. This will release the last notch on the top.
- Lift the top off.
- On some models, a cable leads to the sensor on the powder tray. Unplug the connector on this cable first.
- Slide the side section of the brewing unit about 2 cm to the rear. This sometimes gets stuck and may require some force to remove.
- Remove the two tabs from the power switch.
- Take off the side panel with the brew group.
- Do the same with the panel on the other side.
- To remove the water tank hose simply pull it of the pump.
- Remove the side panel.
- Turn the coffee maker so the side panel faces you.
- Press the two plastic expansion rivets together with pliers and push them out.
- Turn the side panel over again
- Lift the cap over the gasket.
- Remove the seal.