HP Pavilion 15-p066us Screen Replacement
ID: 113398
Description: Remove the old screen on your laptop and...
Steps:
- Make sure your personal HP Pavilion is powered off and the charger is disconnected from the laptop.
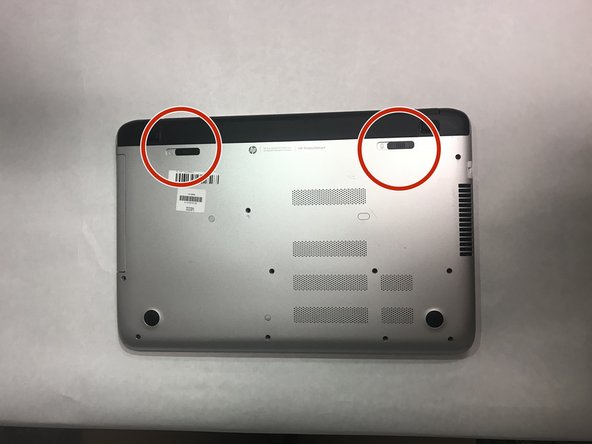
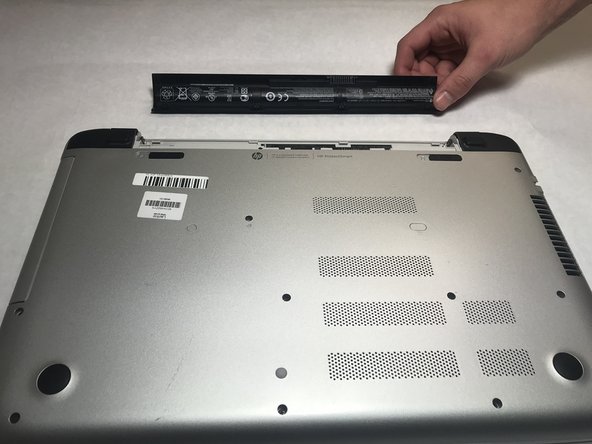
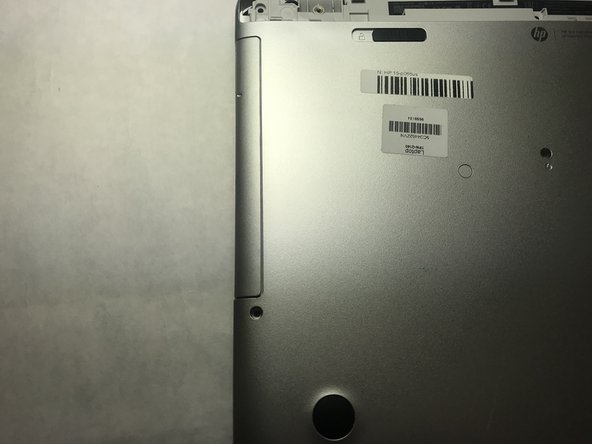
- Flip over your HP Pavilion to the backside, so you see the battery release and battery unlock slide mechanisms.
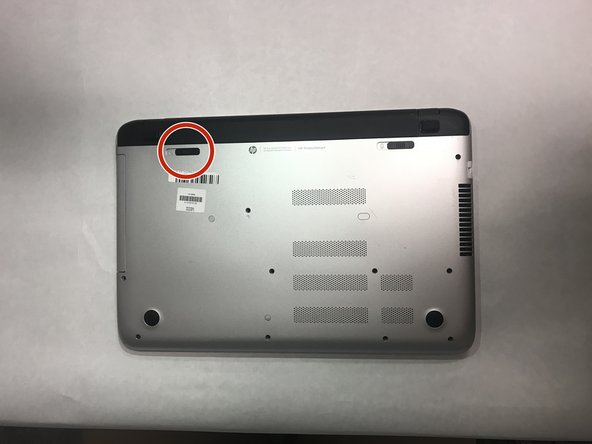
- On the left side on the back of the laptop, you will put your thumb on the unlock slide mechanism and slide it to the right.
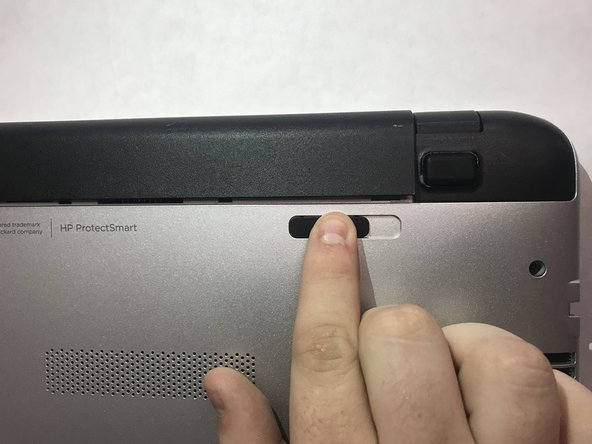
- On the right side of the laptop you will see the slide release mechanism and slide it to the left, then the battery will pop out.
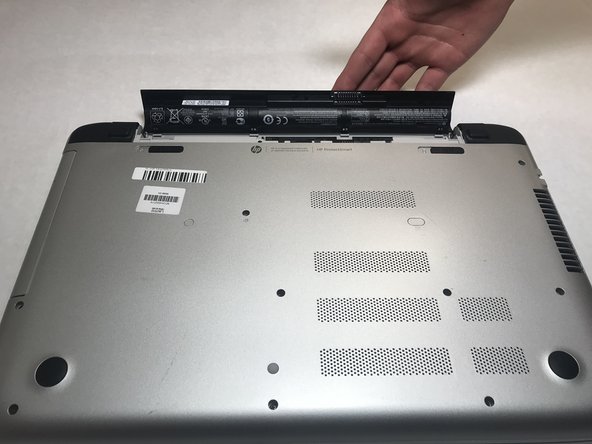
- Remove the battery.
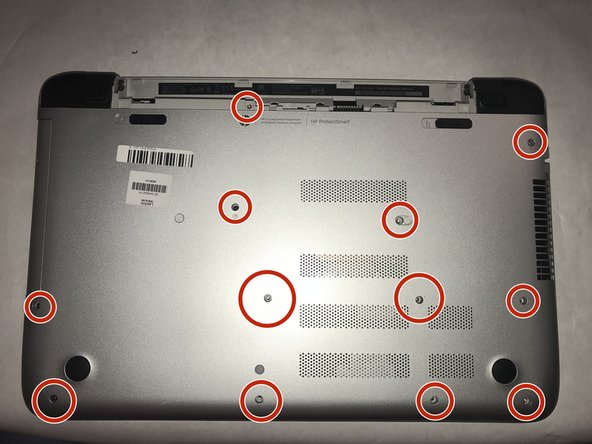
- Remove the twelve 6.4mm #JIS 0 screws from the back of the laptop.
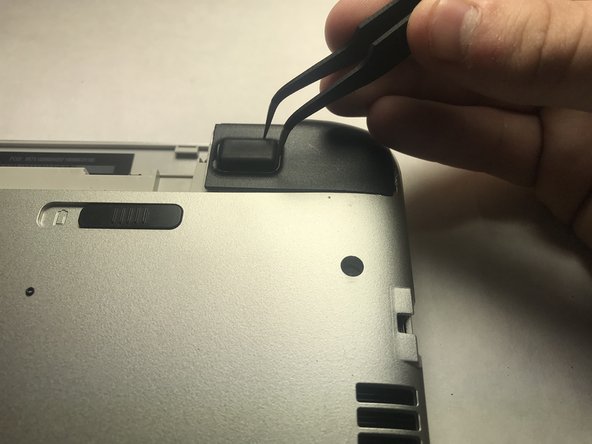
- Remove the bottom bumper pads and use tweezers to lift and remove the pad.
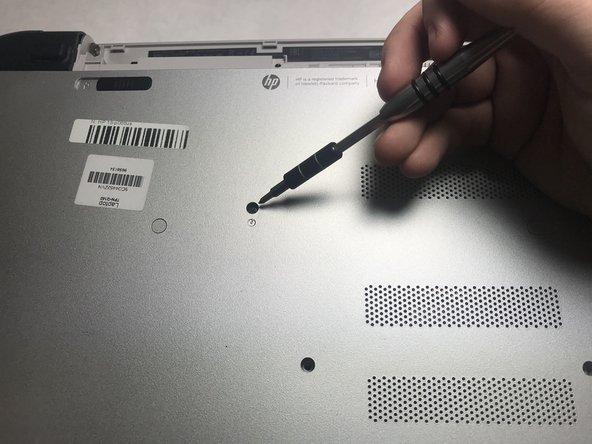
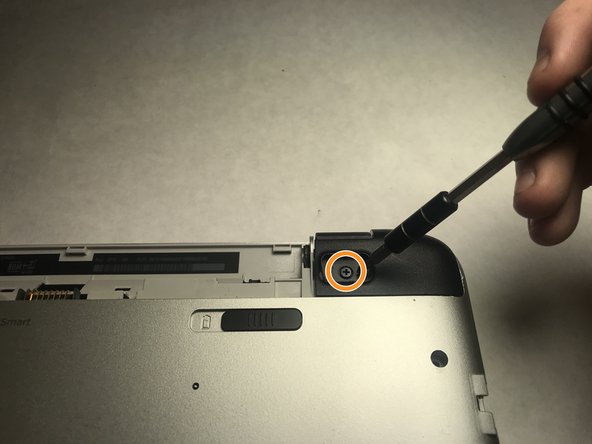
- Remove the 7.9mm JIS #0 screw.
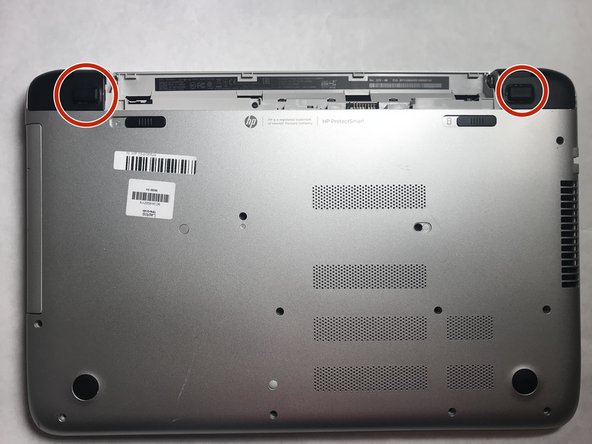
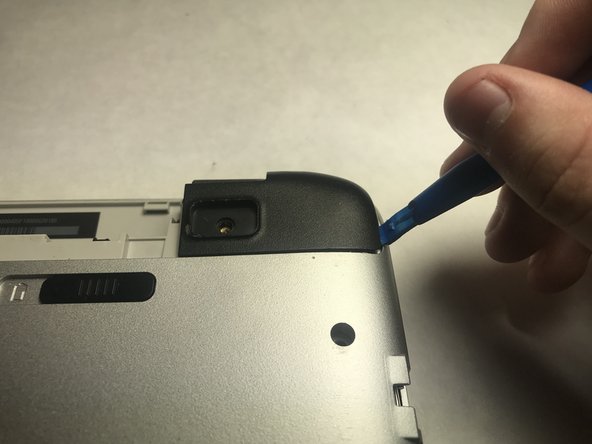
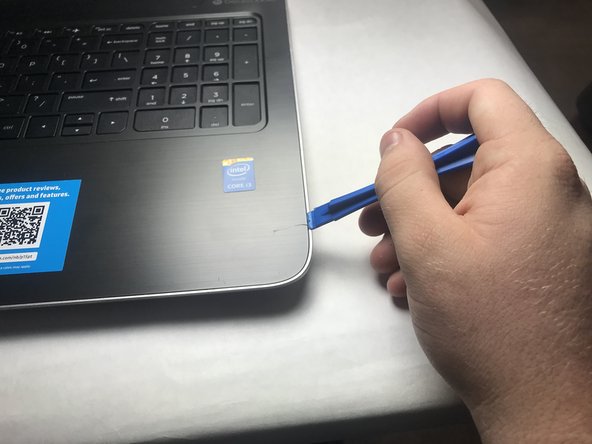
- Use the plastic opening tool to remove the black casing on both sides of the laptop.
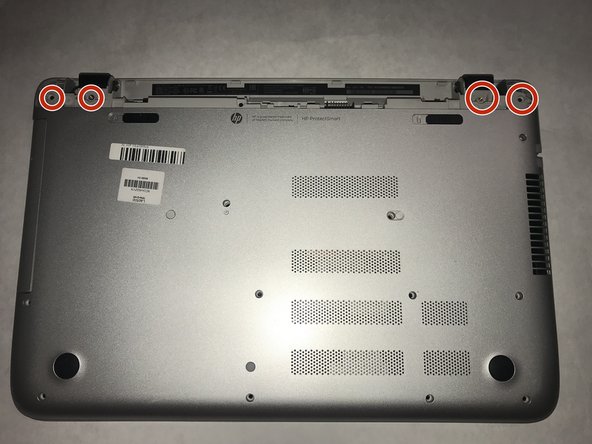
- Remove the four 6.4mm JIS #0 screws.
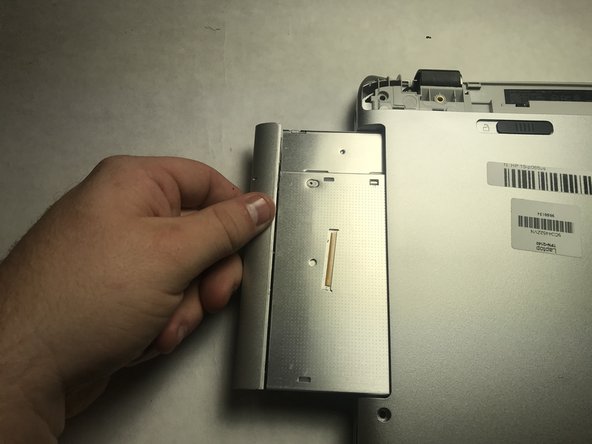
- Remove the CD player on the left side of the laptop.
- Gently pull the CD player out to access the screws that need to be removed.
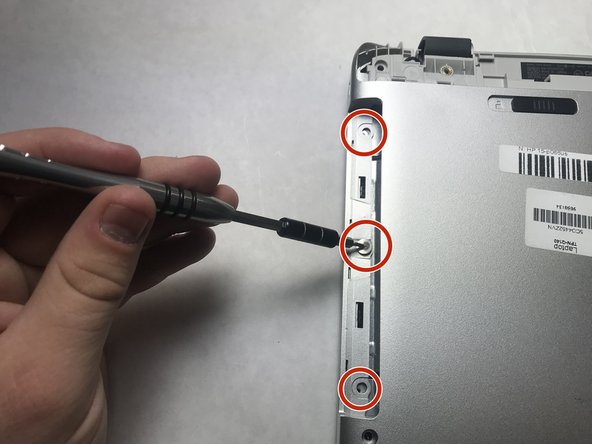
- Remove the three 1.6mm JIS #000 screws under the CD player.
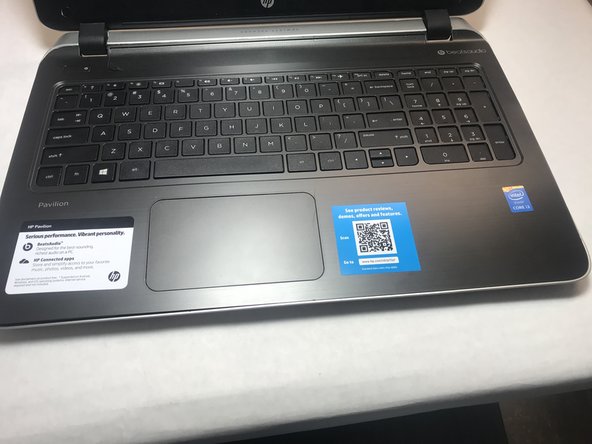
- Open the laptop so you can see the laptop keyboard.
- Use the plastic opening tools to remove the plastic casing as shown.
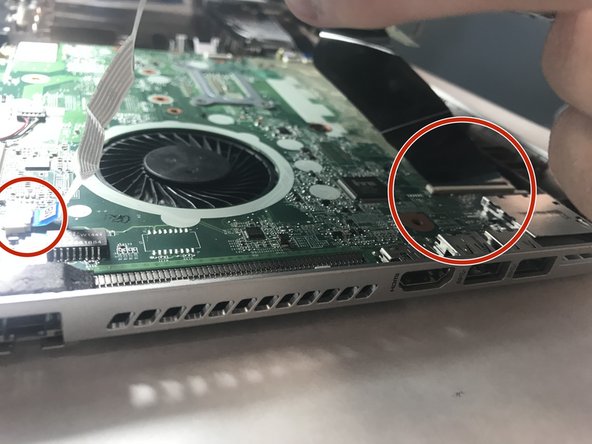
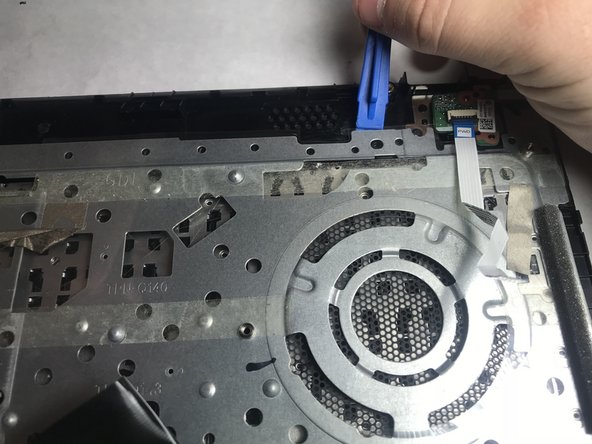
- Using the plastic tool gently raise up the plastic connectors that connect the ZIF connectors.
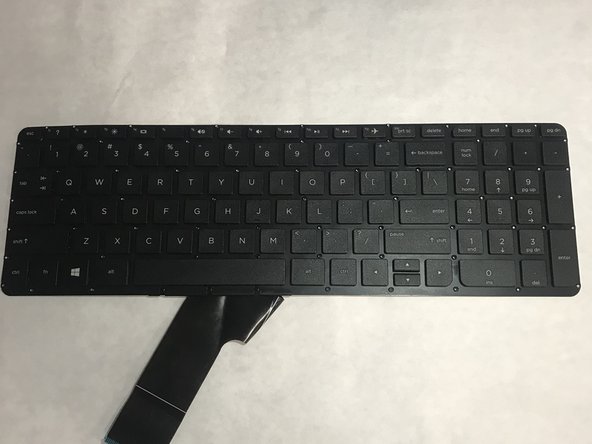
- The keyboard should come out as shown.
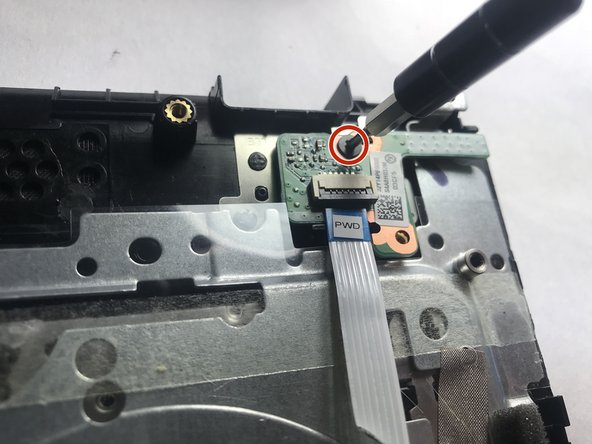
- Remove the single 1.6mm screw that is connected to the motherboard.
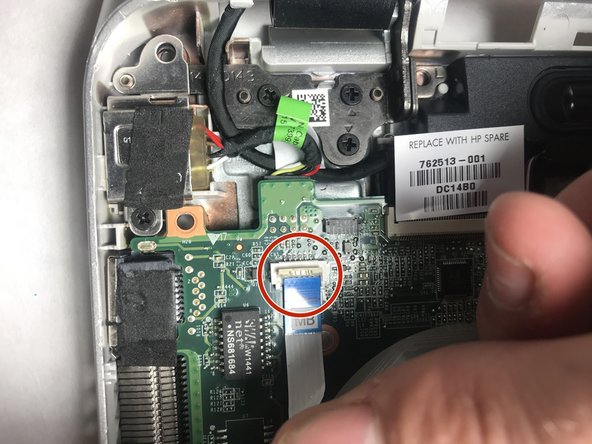
- Disconnect the ZIF connector with a plastic opening tool.
- Use the plastic opening tool to then pop the rivets out of the keyboard.
- Laptop should be open as shown in the photo.
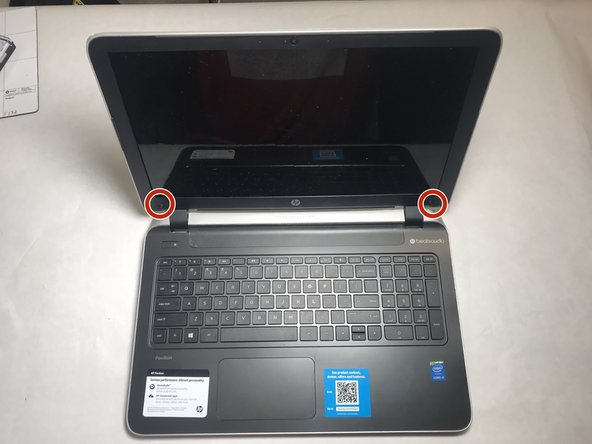
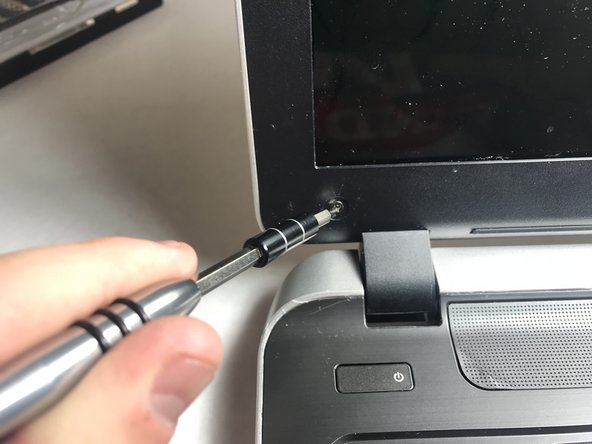
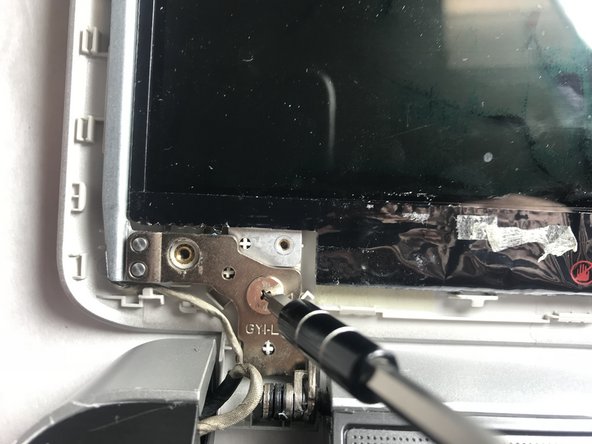
- Remove the 1.6mm JIS #000 screws on the bottom on each side of the screen.
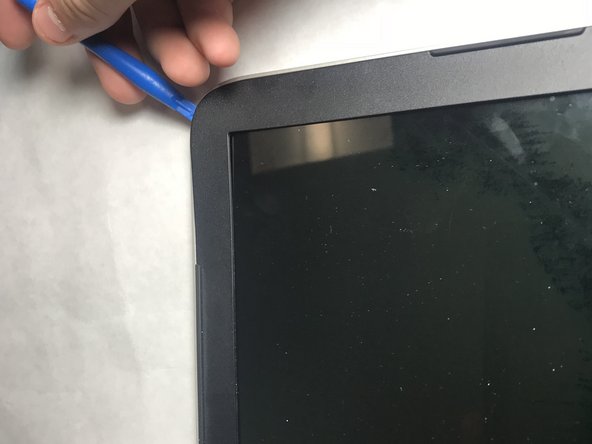
- Using the plastic opening tool. Pry up the plastic coating and remove the plastic black border.
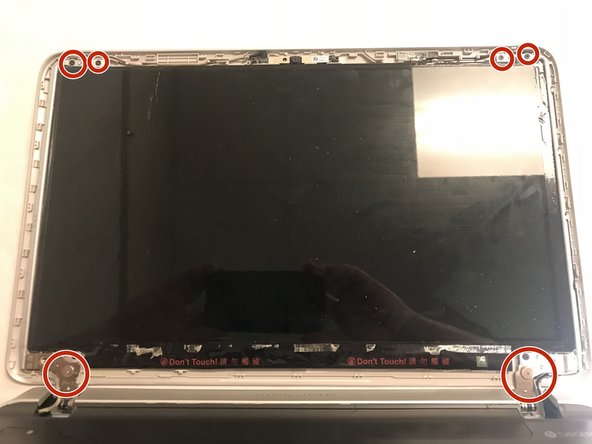
- Remove the eight 1.6mm JIS #000 screws.
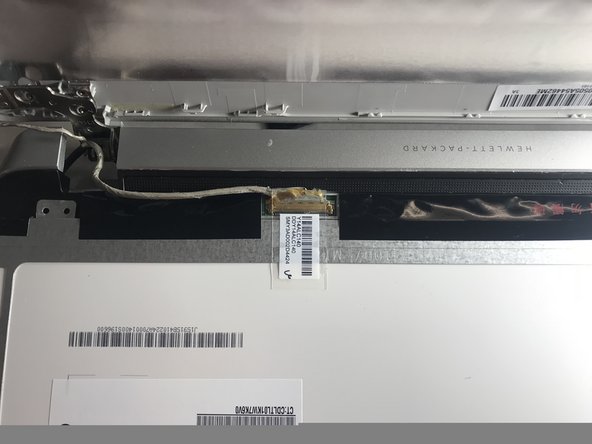
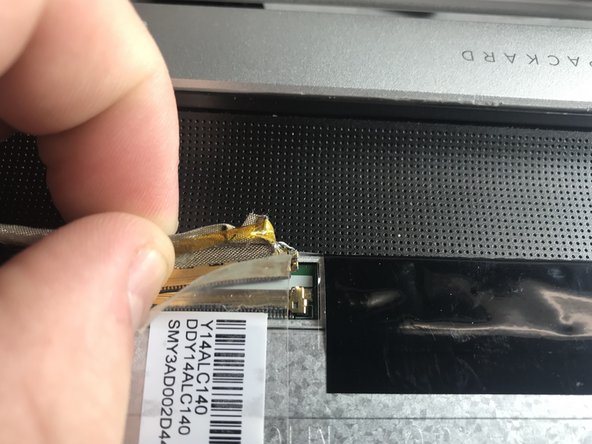
- Once screws are removed, the screen will come out. Lay it on keyboard area, then there will be a cable attached to the screen that must be removed.
- Remove the cable by lifting up the clear tape and gently pulling away from you to remove the cable connector.
- The screen should now be completely removable.