Sony Vaio SVE15112FXS Hard Drive Replacement
ID: 113447
Description: If your laptop is experiencing performance or...
Steps:
- Power laptop off before beginning.
- Turn the laptop over so that it is positioned top down with the model number facing you.
- Use a #0 Phillips screwdriver to remove the two 4.0 mm screws securing the hard drive cover.
- To avoid losing any parts, we recommend that you place the loose screws on a magnetic project mat.
- To expose the hard drive, remove the cover by sliding it toward you and pulling up on the panel.
- Use a #0 Phillips screwdriver to remove the two 4.0 mm screws attaching the hard drive to the laptop.
- Pull the clear plastic ribbon to the left until the mount is detached from the laptop.
- There will be some resistance as the hard drive is disconnected. If it does not move at all, check that all anchor screws are removed.
- Lift the hard drive out of the well.
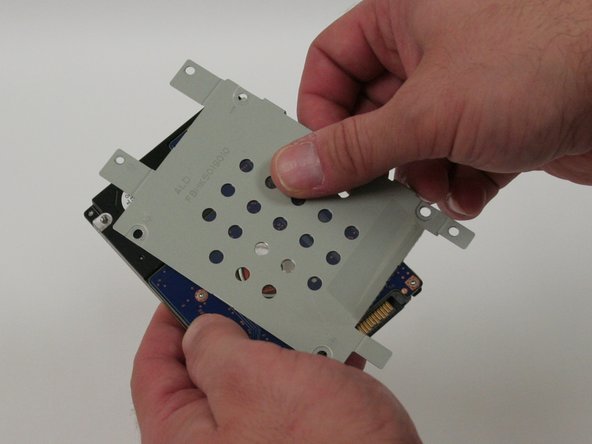
- Use a #0 Phillips screwdriver to remove the four 4.0 mm screws attaching the mount to the hard drive.
- Slide the hard drive away from the mount until it is completely detached.
- Take note of how the mount is positioned when attached to the hard drive.