Acer One 10 S1003-19GY Rear/Front Camera Replacement
ID: 113686
Description: Replacement guide for a damaged front/rear...
Steps:
- Power off the device and make sure it is disconnected from any external devices.
- Use a plastic opening tool to create a gap between the front and back casing of the device.
- Slowly maneuver the plastic tool around the entire perimeter of the tablet to separate the front and back.
- Set the device screen side down and remove the back casing.
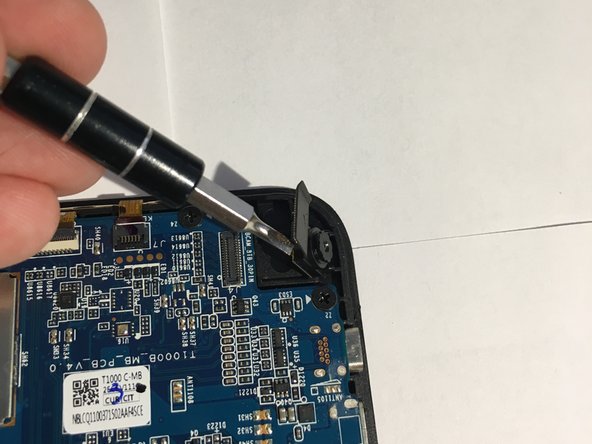
- Locate the Rear Camera in the upper right hand corner of the motherboard.
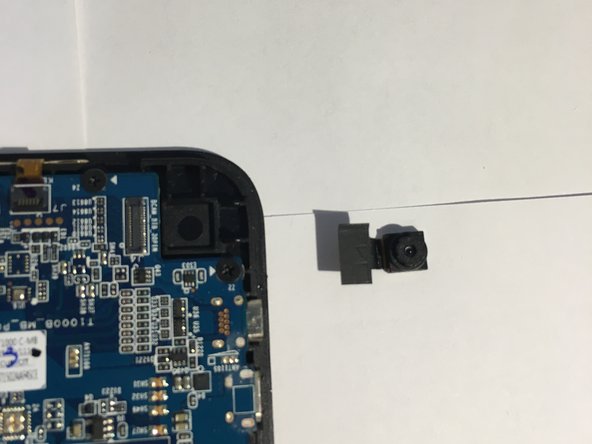
- Using a relatively thin flat head screwdriver, pry the camera connection from the motherboard.
- The connection should remove easily as it just snaps to the motherboard.
- Remove the five screws on the outer edge of the motherboard using a Phillips #0 screwdriver.
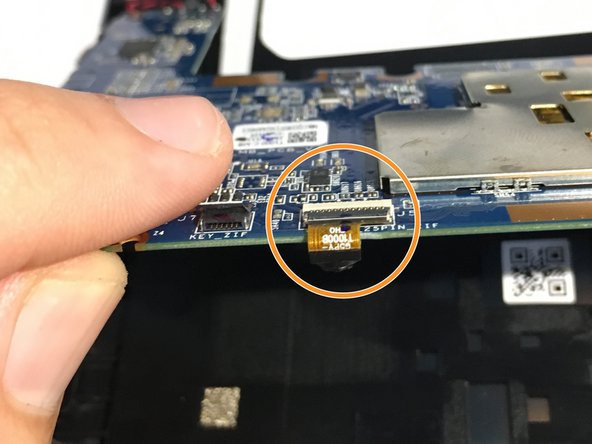
- Open the black flap on the connection and gently pull the ribbon from it.
- Slightly raise the motherboard from the upper side to remove the camera as shown.