Kambrook 600W Power Drive Blender Disassembly
ID: 113708
Description:
Steps:
- Firstly, take off lid by twisting anti-clockwise.
- Remove the glass jar from the blender base by again twisting anti-clockwise.
- The blender blade is attached to a base component at the bottom of the blender jar.
- To remove the blade, simply twist the attachment according to the direction written, in this case, turning anti-clockwise.
- The blade could be then easily taken out from the jar, if difficulties occur at this stage, simply adjust the blade's angle when removing so.
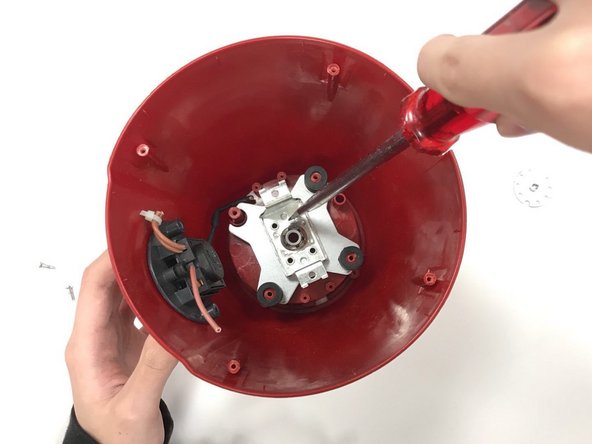
- Remove four screws from the base of the blender
- Take out the ventilation opening from the base. Keep screws aside.
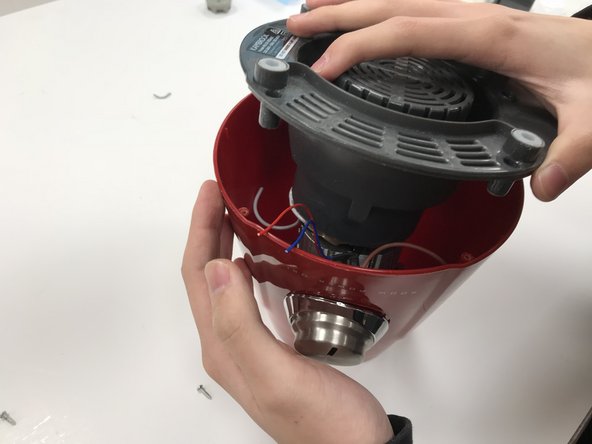
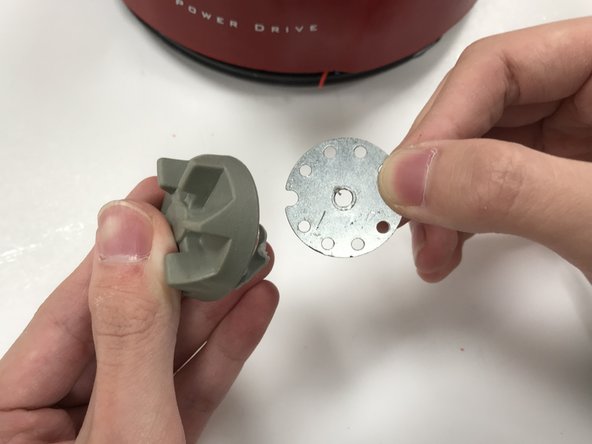
- The clutch is attached to the bottom of the blender. This can be twisted out directly with hand.
- The disk attached inside the clutch can be pulled out after the clutch is removed from the blender bottom.
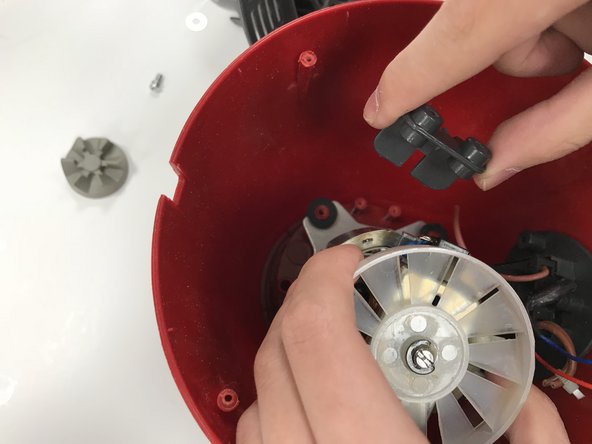
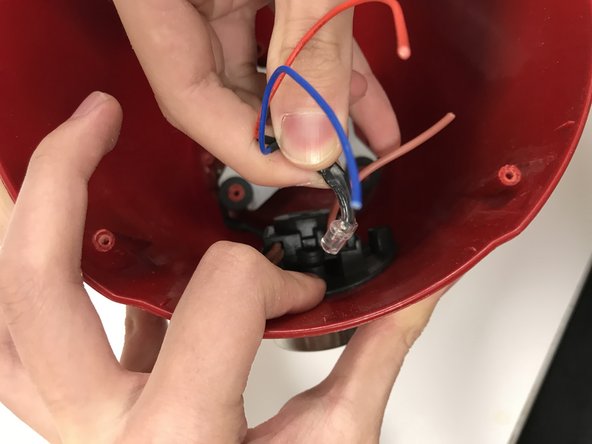
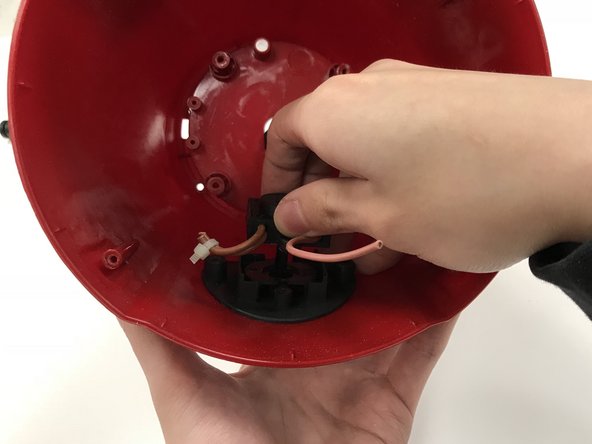
- This little component is used to stabilise wires. It can be taken out after cutting the wires.
- Lift out the major electronic part of the blender.
- Cut off two pieces of wires, then take out the mini light bulb.
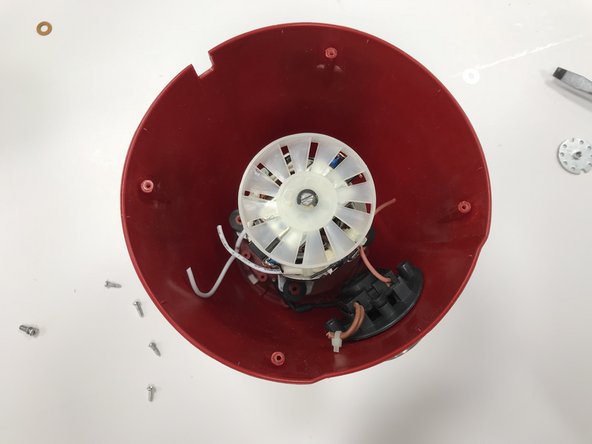
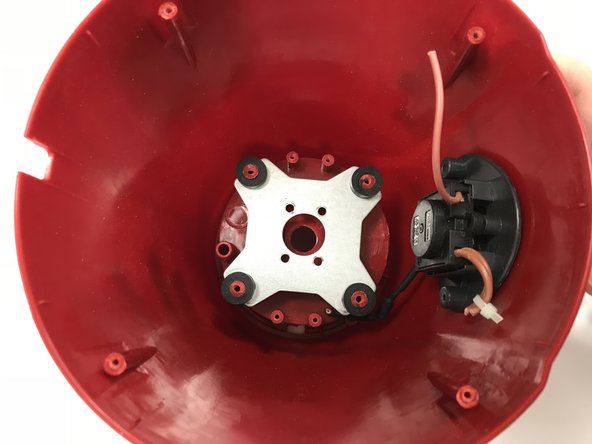
- This is how the blender base should look like at the moment.
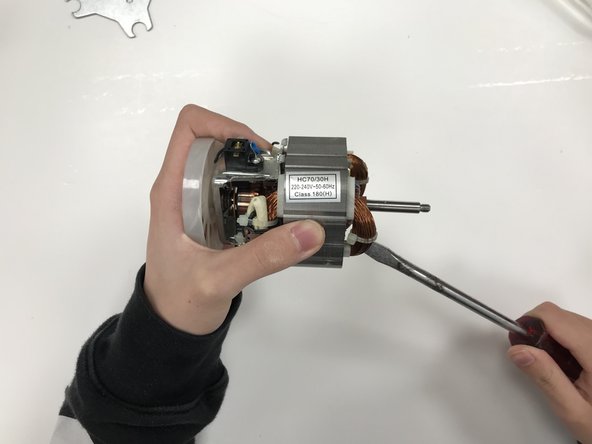
- Unscrew the two screws from both sides of the clasp to detach all component, this includes the motor of the blender
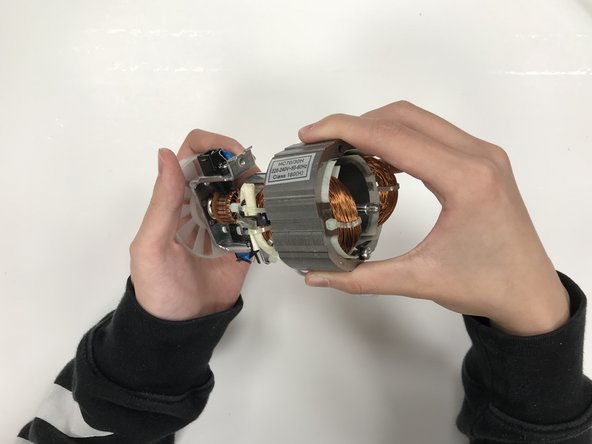
- Insert wisdom here.
- To take out the back of the of blender speed dial, unscrew two screws that are located opposite each other.
- After taking out the back of the speed dial, the dial will fall out itself.
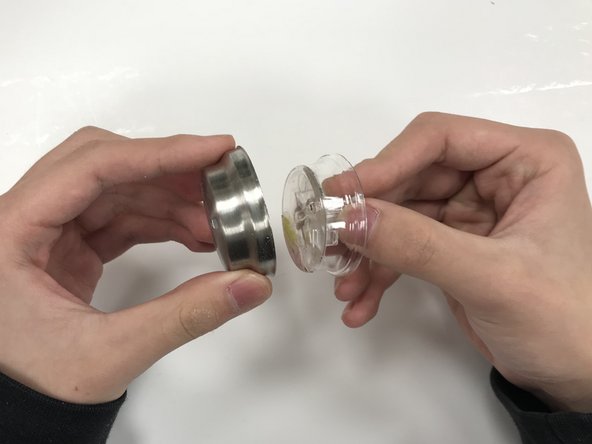
- There are three individual pieces that make up the speed dial: the ring, the metal and plastic casting.
- The final disassembly, with all the blender parts and screws, will look like this.