HP Mini 210-2070NR Wi-Fi Card (WLAN Module) Replacement
ID: 11450
Description: The Wi-Fi Card is also called a WLAN Module,...
Steps:
- Before beginning, make sure that your computer is turned off and all external power cords are disconnected.
- Close the laptop and turn it over so that the underside is up and the silver battery bay is facing towards you.
- The battery locking latch is on the bottom right corner; slide it inward to unlock the battery.
- Slide the battery release latch inwards.
- Pull the battery towards you to remove it.
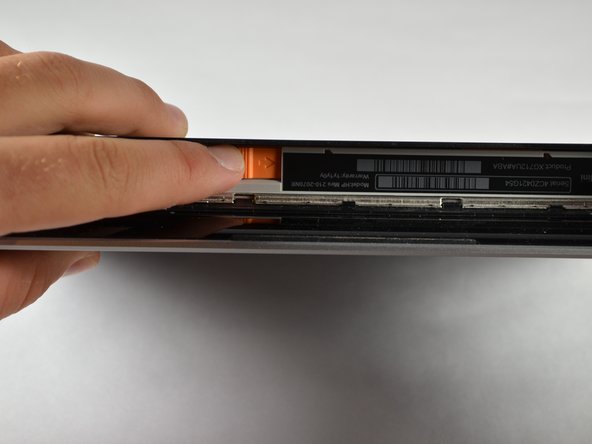
- Slide the service access cover release lever to the right.
- While holding the lever to the right, lift up the laptop's bottom cover gently and remove the cover.
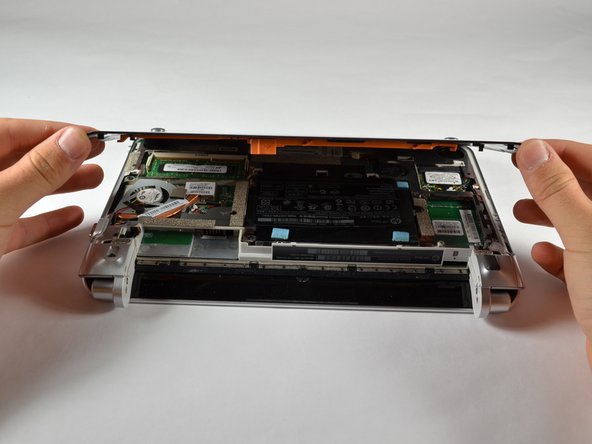
- Orient the computer as shown in the picture.
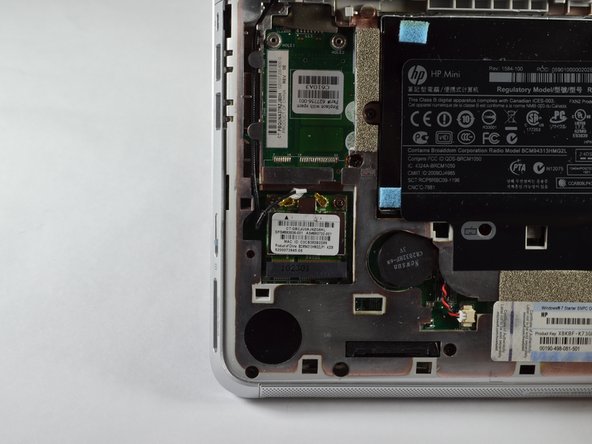
- Locate the Wi-Fi Card (WLAN Module), near the computer's bottom left corner.
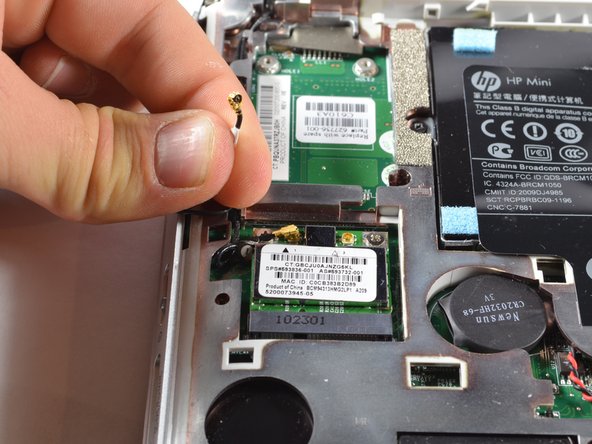
- Disconnect the two cables from the Wi-Fi card by gently lifting them away from the card.
- There should be two black cables, one labeled with a white sticker, connected to the module.
- Remove the two 2.0 x 3.0 screws securing the Wi-Fi card using a Phillips #00 screwdriver
- The card should tilt up away from the laptop at an angle after removing the screws.
- Remove the Wi-Fi card by gently pulling it out of its slot at an angle.
- Potential for device damage: Be sure to pull gently and at an angle away from you. If the card is pulled straight up, there is a chance it could break or bend.