HP Deskjet 1055 Ink Cartridge Replacement
ID: 11491
Description: Install the ink cartridge(s) when the printer...
Steps:
- Turn on the printer by pressing the power button.
- Place your index finger in the opening on the front of the printer (right side below scanner/copier) and pull the door down.
- Pull down on the tab that lies in the middle of the newly-exposed gray cover.
- The tri-color cartridge sits on the left side; the black cartridge sits on the right.
- Grab the cartridge from the top and bottom and pull down until it clicks.
- Pull out the freed cartridge.
- Take the replacement cartridge out of its packaging and pull off the plastic tab.
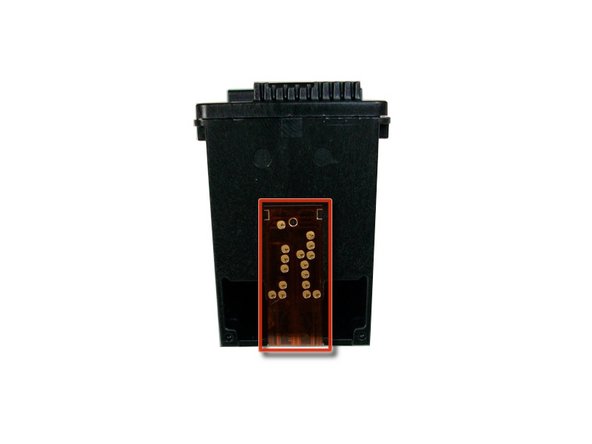
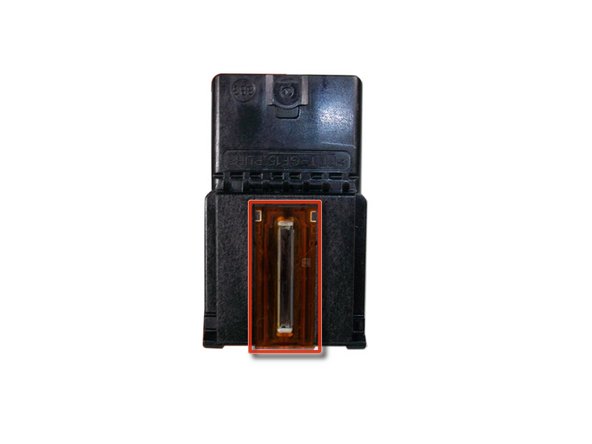
- Do not touch the electrical contacts or ink nozzles. Touching may cause malfunctions.
- Hold the cartridge on both sides with the title sticker facing upwards.
- Slide the cartridge directly into open slot (tri-color on the left, black on the right).
- Push it forward until you hear it snap.
- Close the gray access door.
- Wait 30 seconds for the alignment page to print.
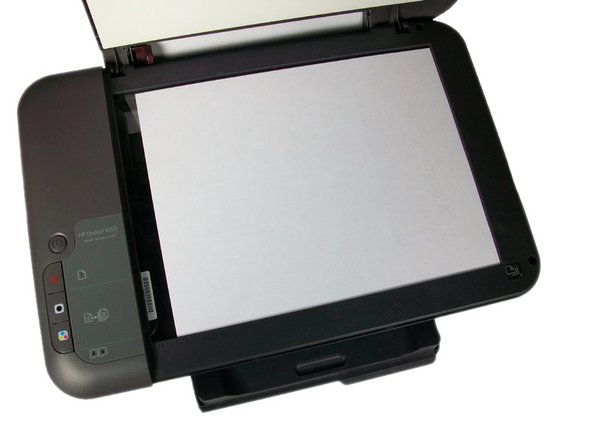
- Open up the scanner lid and place the alignment page face-down in the right-front corner of the glass.
- Close the lid.
- Press the color copy button to begin scan.
- Wait until the power button stops blinking.