Dyson DC14 Motor Replacement
ID: 11532
Description: This guide will show you the necessary steps to...
Steps:
- Turn off the vacuum and unplug it from the outlet.
- Lay the vacuum on its top so that the brush bar faces you.
- Using a quarter, turn the three soleplate fasteners 90 degrees to the left.
- Holding the soleplate on both sides, tilt it down and away from the vacuum.
- Remove the soleplate from the vacuum.
- Turn down the squared tabs on the brushbar so that they face outward.
- Use a screwdriver to pry the belt up from the brushbar.
- Be careful not to cut the belt with the screwdriver.
- While holding the belt, pull the brushbar to the left and remove it from the vacuum.
- You can let go of the belt when it's free from the brushbar. The belt will not retract into the vacuum.
- During reassembly, insert the brushbar with the tabs facing outward, then rotate the tabs up to lock the brushbar in place.
- Place vacuum upright, with the canister facing you.
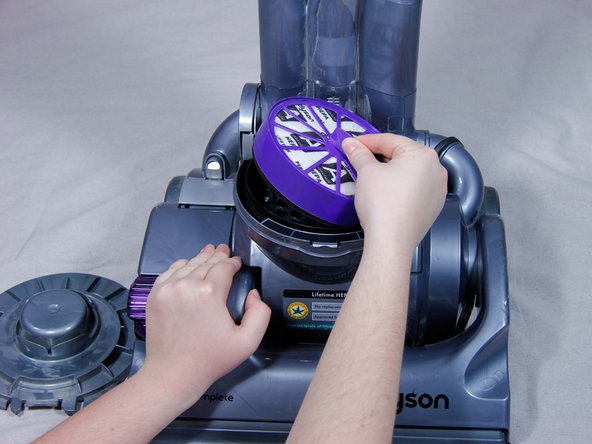
- Remove the canister, setting the canister aside.
- Insert flathead screwdriver under each latch and pry up gently.
- Do not try to lift the latches up very far, they could snap off!
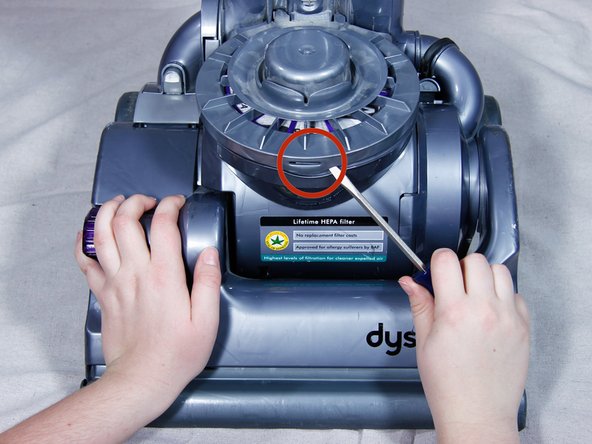
- Open the cover, remove the exhaust filter, and set the filter to the side
- Place vacuum face down.
- Remove the u-bend pipe that connects the canister to the telescopic wand.
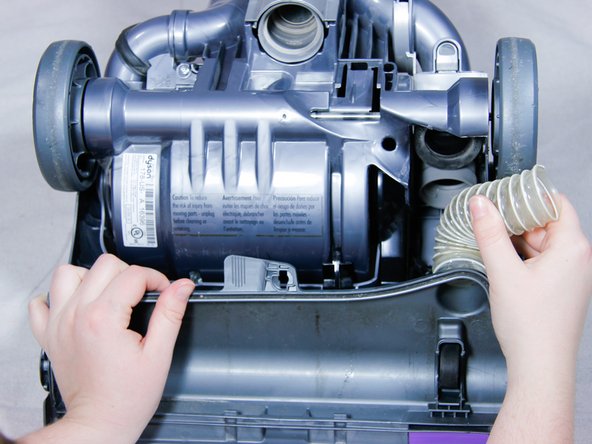
- Pull the clear hose out of the gasket on the right side of the vacuum under the axle.
- Pull the hose straight back towards you.
- Remove brush-bar housing by prying the housing out of the clips that hold it.
- Pull brush-bar housing toward you while keeping vacuum stationary.
- Remove the three T15 torx screws that secure the cover to the brush clutch belt.
- Pull the cover of the brush clutch belt out towards you.
- Pull belt to the right to remove the belt from the brush clutch axle.
- To reassemble your vacuum, pull the belt with your finger towards the axle. (Using a screwdriver, or a similar device, will delay access to the axle.)
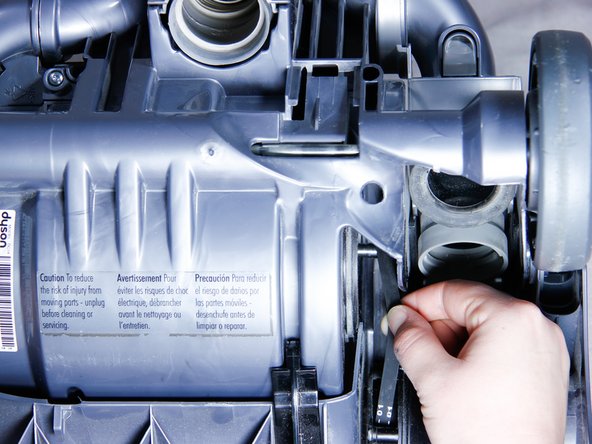
- Insert a flat-head screwdriver into the two locking rings to remove the rings, which are located above the wheels on both sides.
- These rings secure the bottom assembly of the vacuum to the rest of the unit.
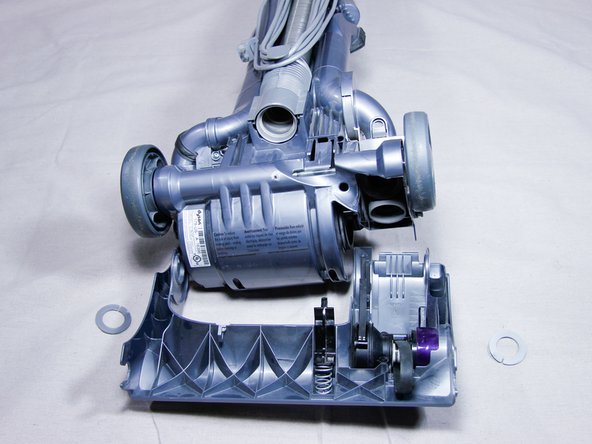
- Remove the four T15 torx screws that secure the motor housing to the vacuum.
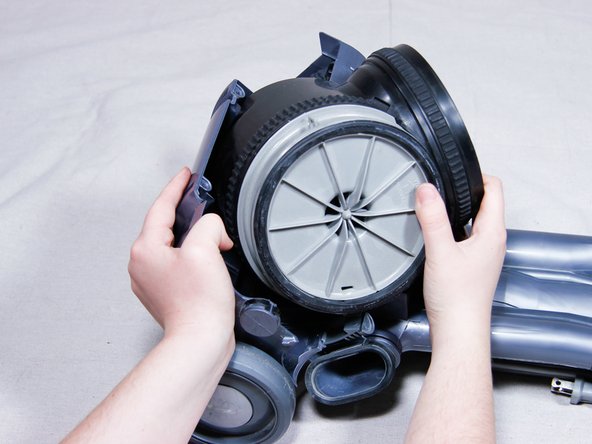
- Remove the elbow-bend pipe on the right-side of the vacuum.
- Press the two release latches on either side of the elbow-bend pipe. Pull it out and away from the vacuum.
- Place the vacuum right-side up and leave it standing up.
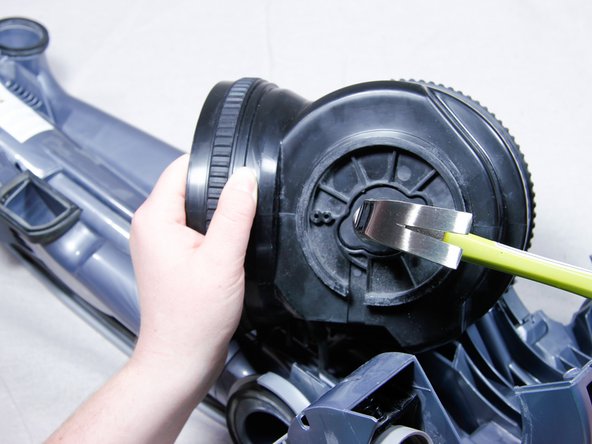
- Remove the right side cover by pushing the release latch down while lifting the cover towards you.
- Set vacuum the on its back.
- Pull away the plastic cover of the motor housing.
- A bit of force may be needed.
- Insert flat head screwdriver between gray motor housing and black motor.
- Pry motor cover housing away.
- Release the motor assembly from its housing by strongly hitting the brush clutch axle with a hammer.
- The rubber grommets covering the motor may be greasy.
- Remove motor from housing slowly.
- Do not pull the motor completely out of the housing. The motor is connected to the vacuum by two wires.
- Remove the power terminals from both sides of the motor.
- Do not pull by the wires when removing terminal. This can result in damage to your vacuum.
- These terminals will only fit one way (i.e. only one end is long enough to reach to the far side of the motor).
- Remove the motor from the housing completely.
- Remove the two rubber grommets from your old motor, then transfer them to your new motor.