Hover-1 Matrix Pad Replacement
ID: 115333
Description: The pads on Hover-1 Matrix are weight...
Steps:
- Remove the screws on the back of the hoverboard using a Phillips #1 screwdriver.
- Remove the back shell from the hoverboard.
- Remove the screws from the metal layer inside the hoverboard using a Phillips #1 screwdriver.
- Separate the upper shell of the hoverboard and the metal layer inside.
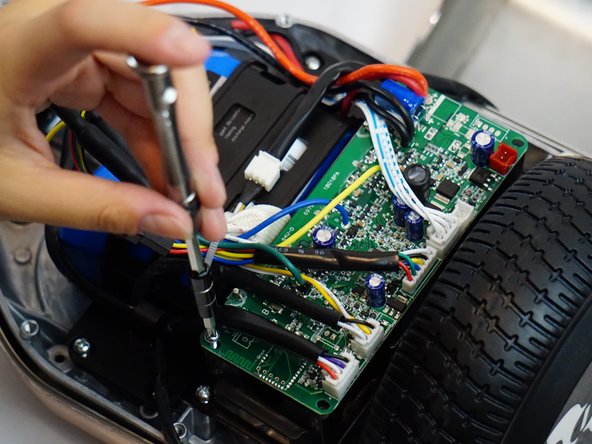
- Start by identifying the motherboard, which is the green pad shown in the picture.
- Remove the screws on the corners of the motherboard with the Phillips #1 screwdriver and take it off.
- There are cables attached to the motherboard so go ahead and unattach them.
- Use picture 1 as a guide and move the motherboard to the other side.
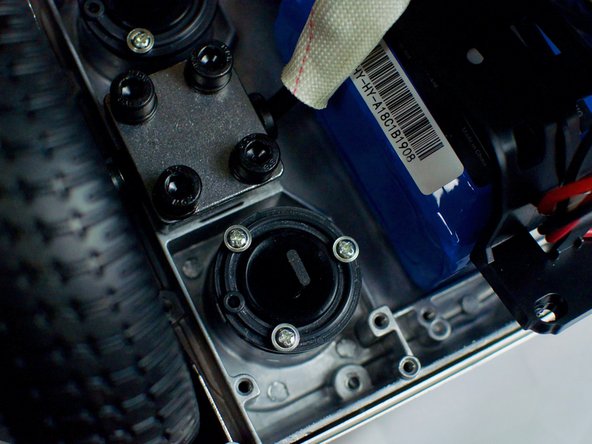
- Identify the two black rubber buttons that are shown in the second picture.
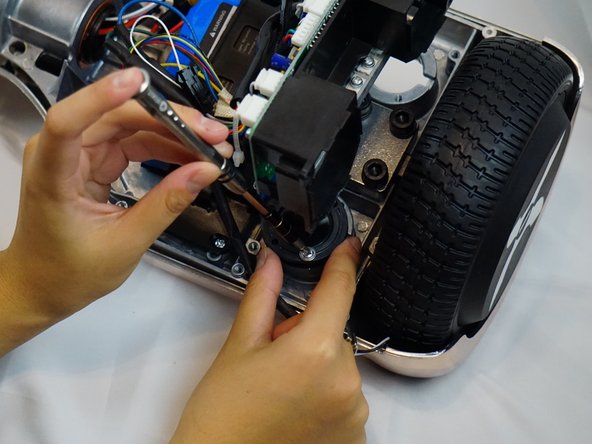
- Remove the two rubber buttons using the Phillips #1 screwdriver.
- Removing the rubber buttons in the previous step allows you to take the pad off.
- Finally, take off the old pad and put on a new pad.