Mac mini Late 2018 Disassembly
ID: 115396
Description: This is a member-submitted teardown. iFixit’s...
Steps:
- So here it is, exactly the same form factor as the previous Mac mini, but now in Space Gray
- Once flipped over, a familiar black cover is revealed.
- Pry open the lid to release it from the three large screws
- The lid had a soft foam inside to dampen the vibrations of the beefed up fan
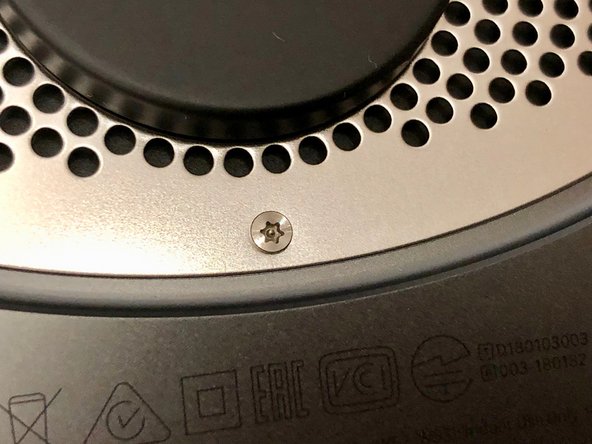
- The lid is secured with the same TR6 screws as the 2014 model
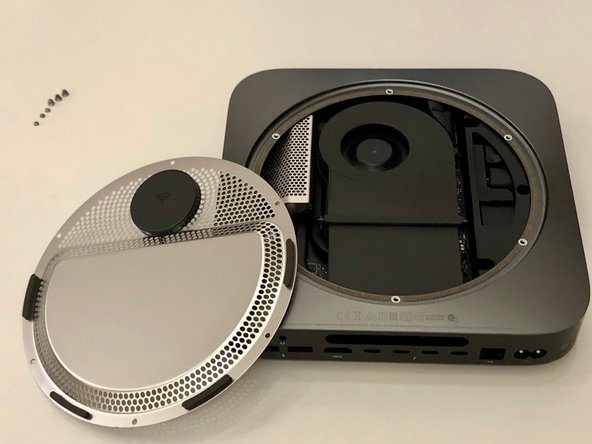
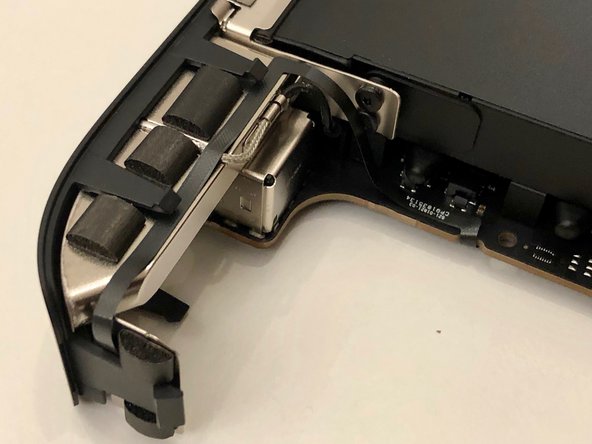
- The antenna cable is very short, so watch out; rotate the cover to reveal the internals
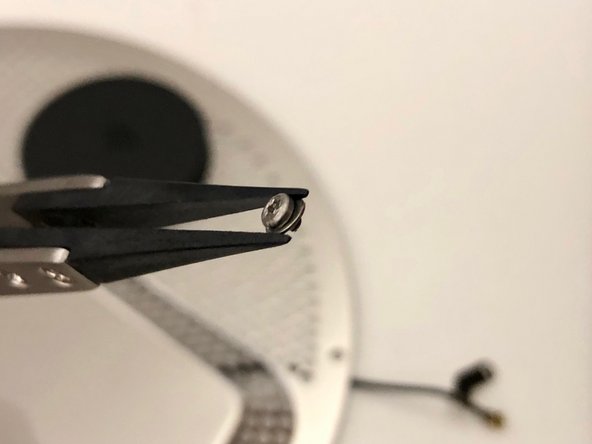
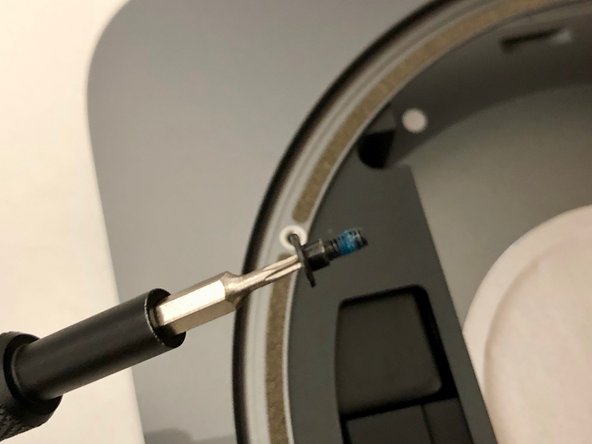
- The antenna cable is held down with a little TX6 screw
- It has a tiny washer to make sure no stress is applied to the cable
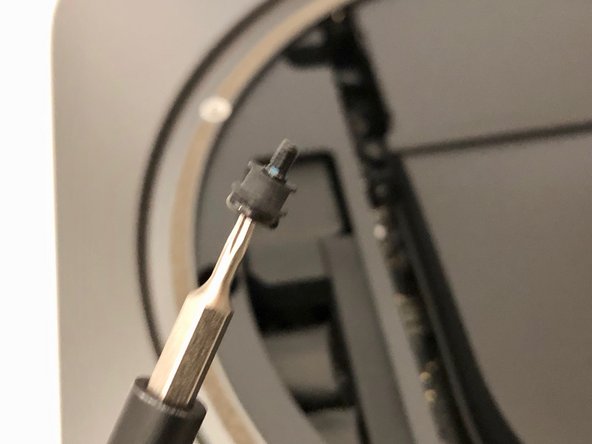
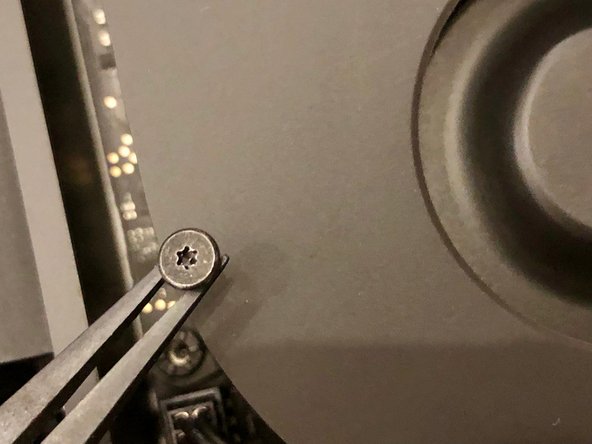
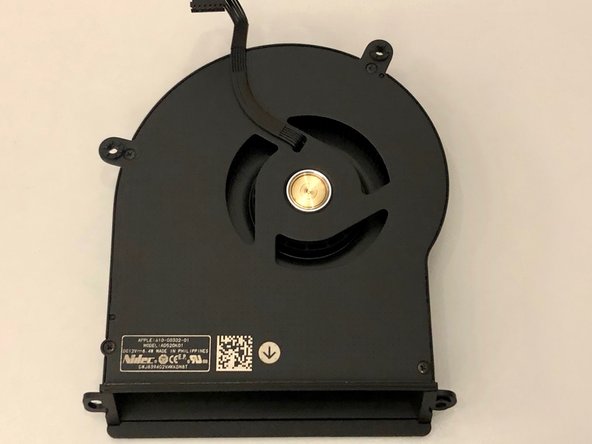
- The fan has four identical TX6 screws holding it down
- The screws go trough a rubber tube to reduce vibration
- Underneath the fan the connector pops off easilly
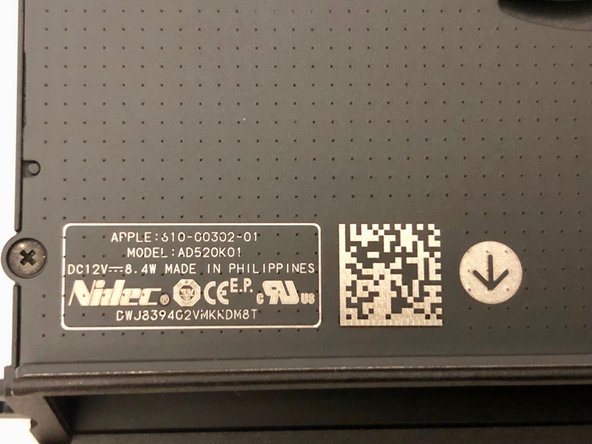
- The fan feels solid. Much better than previous models
- Now, lets take out the motherboard
- Massive (for the mini) TX10 screws secure the motherboard to the chassis
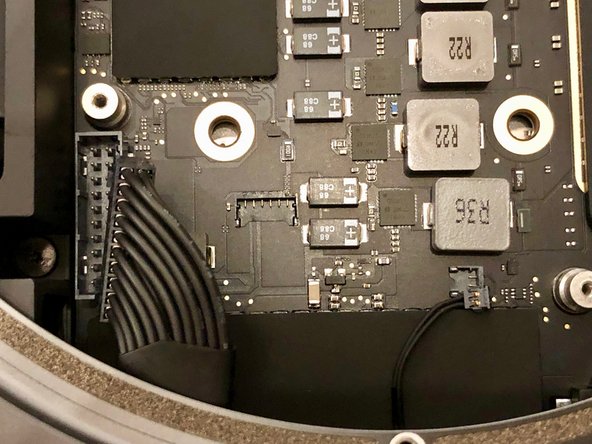
- The power supply can be unplugged by as many wires as possible between your iFixit tweezers and pull upwards
- Also take off the tiny power led connector
- Slide the motherboard out by gently applying pressure to the heatsink
- Some interesting design choices made here. A full size CMOS battery
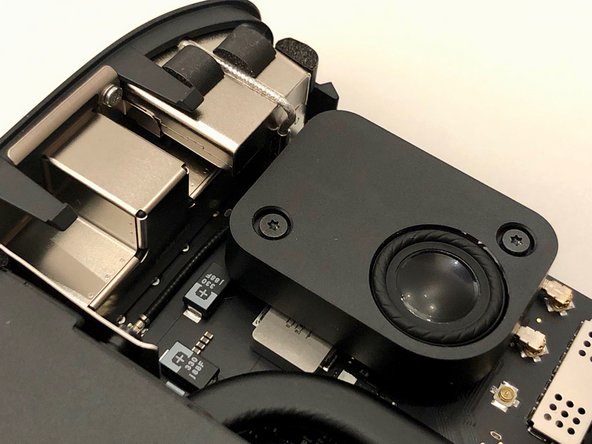
- The wifi wiring runs underneath the large speaker
- The power button is attached to a ultra flat cable that runs in an arc along the heatsink
- We flip over the motherboard to see a massive amount of tiny components
- Also some familiar pieces of foam all over the place
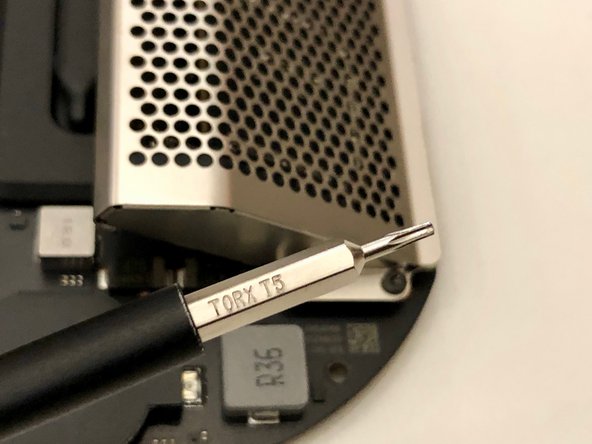
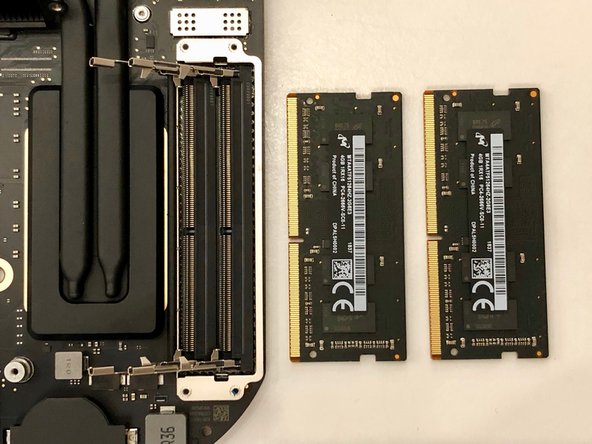
- But now what we are all here for. The RAM
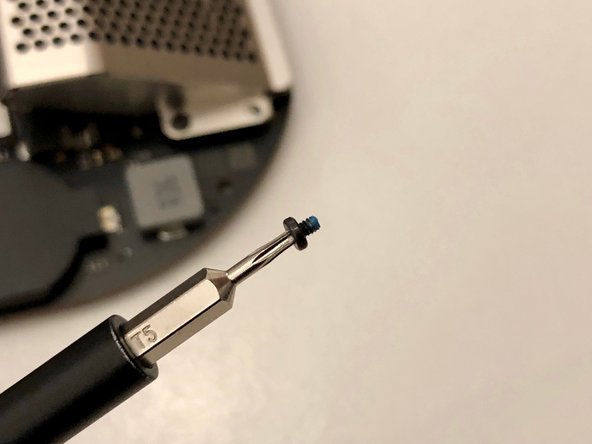
- Four TX5 screws holt it down
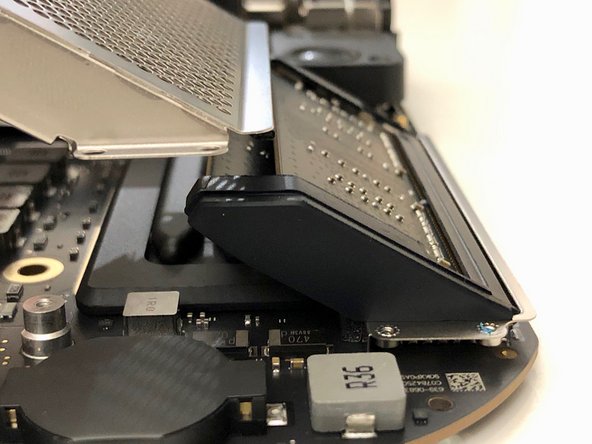
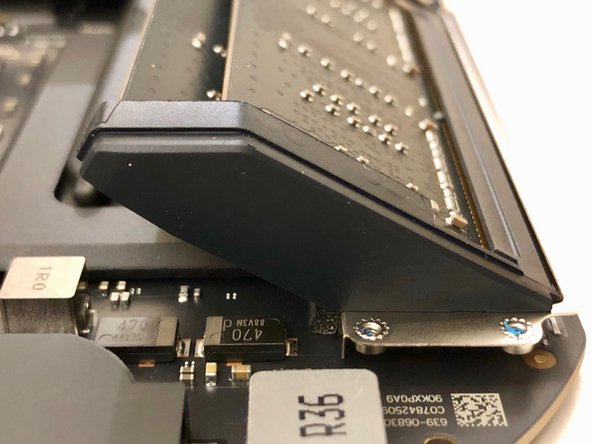
- The memory cover slides off at an angle
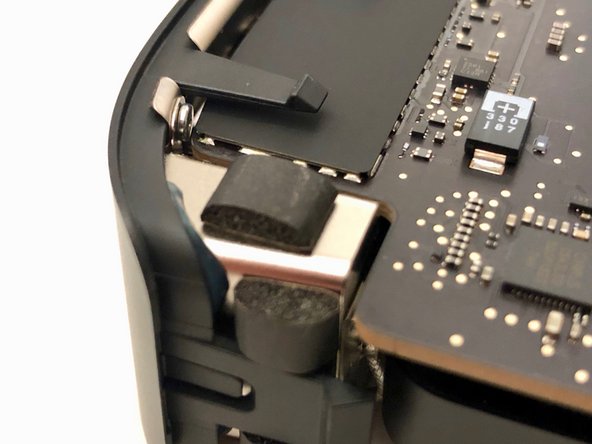
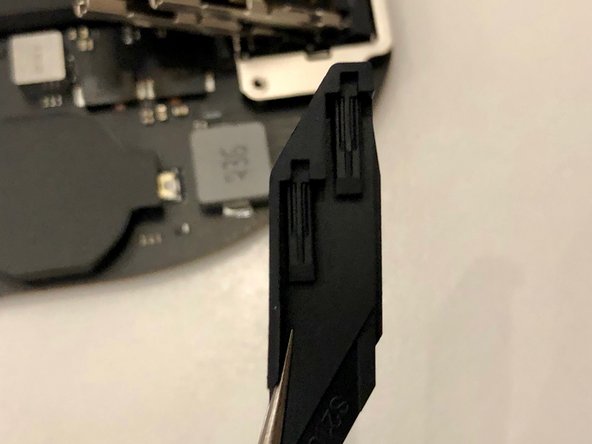
- These rubber parts will be a pain to put back on later.
- There are tiny pieces of rubber in it that need to slide into the metal clips holding the memory in place
- The memory itself sits upside down in its sockets
- The springs are very strong and will shoot the memory in your face if you're not careful!
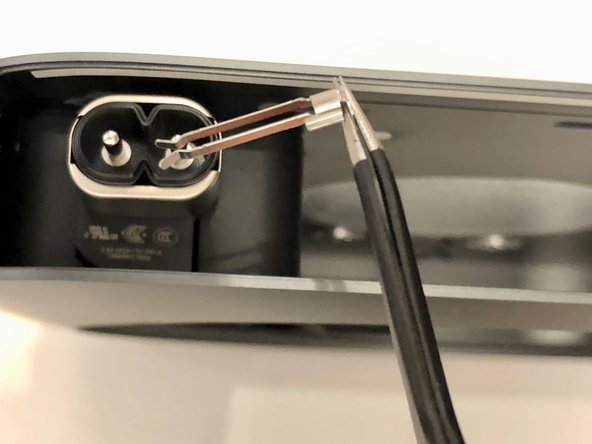
- The power supply is secured in a similar way as with the previous models
- A little clip has to be removed, and the connector can be rotated
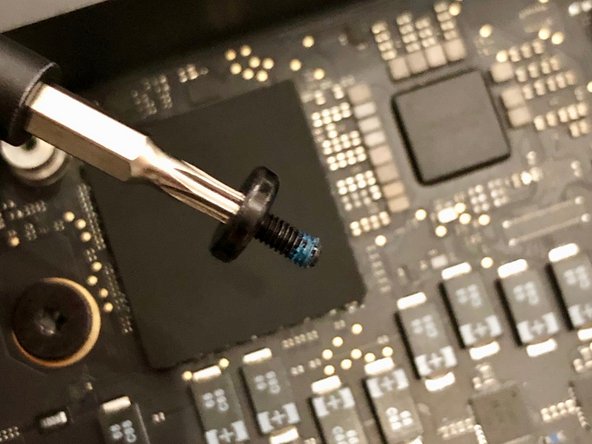
- The power supply is held down with three TX6 screws
- They look just like the fan screws, but they appear just a little bit thicker and with longer thread
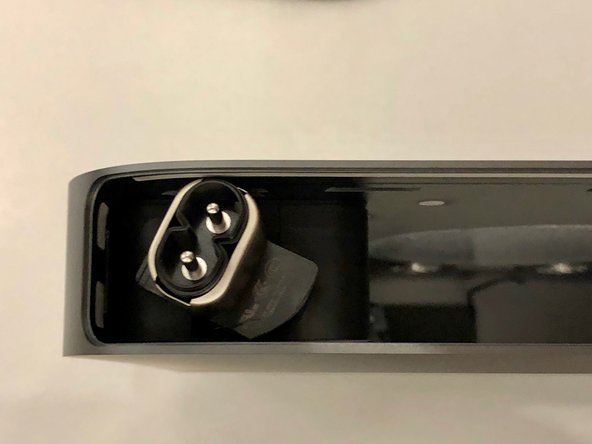
- After taking out the power supply we are left with an empty shell
- I really enjoyed taking this mini apart. My verdict is it's much easier than the 2014 model as cables are in a more logical place


