HP Chromebook 11-2210nr LCD Screen Replacement
ID: 115398
Description: This guide will show you how to safely remove a...
Steps:
- Remove adhesive tabs using fine point tweezers or a metal spudger.
- These adhesives are typically located at the bottom left and right corners of the screen.
- Remove the one 3 mm screw located underneath both adhesive layers using a Phillips #0 screwdriver.
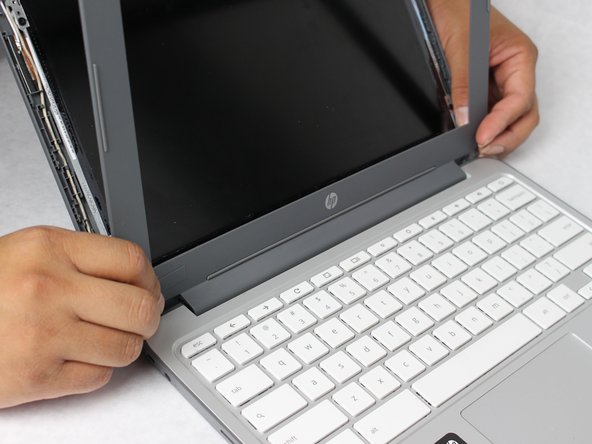
- Using a metal spudger, gently pry the front plastic frame (or bezel) off of the device by inserting the tool along the inside edge of the bezel.
- Completely open the screen as far as possible to remove the bottom edge of the bezel from the laptop.
- Be sure to disconnect the bezel from all the way around the screen before completely removing.
- Remove the four black 3 mm screws along the left and right sides of the LCD screen using a Phillips #0 screwdriver.
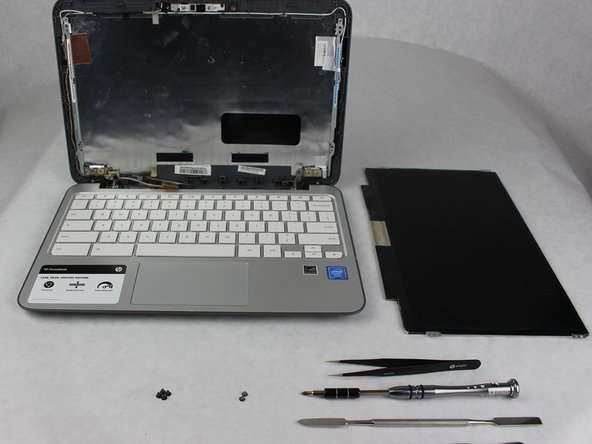
- After removing all screws, gently lower the LCD screen onto the keyboard.
- The LCD screen will not be completely disconnected from the laptop just yet.
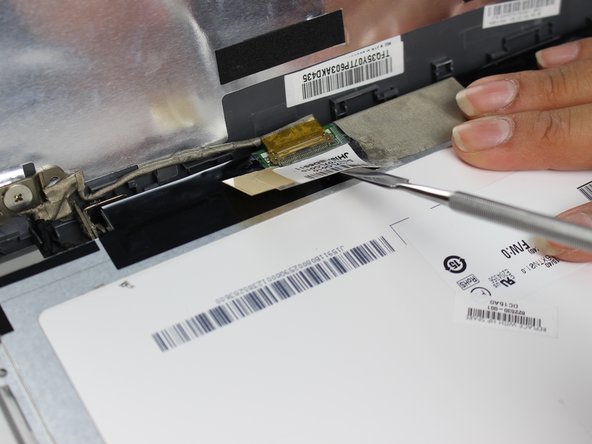
- Gently use the spudger to pry off the tape on top of the gold chip. You may also use your hands to gently remove the tape.
- Remove the display cable by gently sliding out the cable away from the LCD screen.
- This action disconnects the LCD screen from the rest of the device, allowing it to be completely removed.