Rain-X Chipped Windshield Repair
ID: 115463
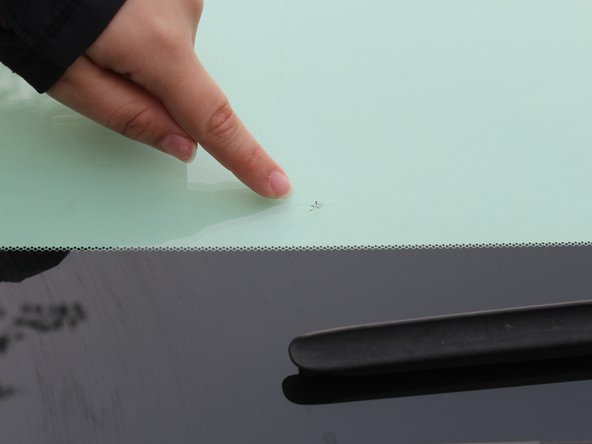
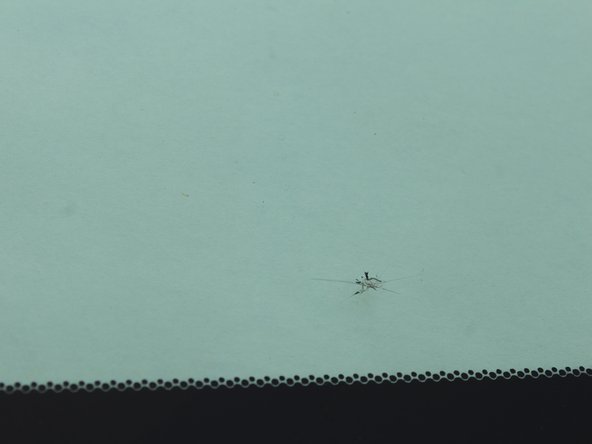
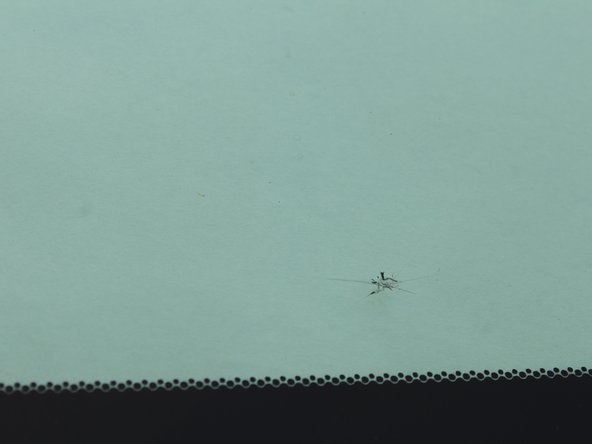
Description: This guide is applicable for any chip that is...
Steps:
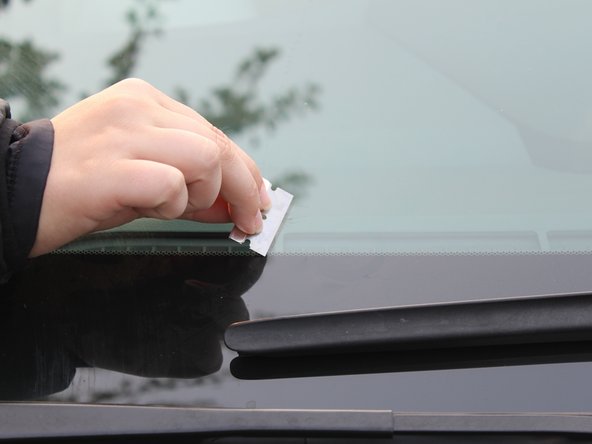
- To remove excess glass, scrape over the surface of the chip with the included razor blade.
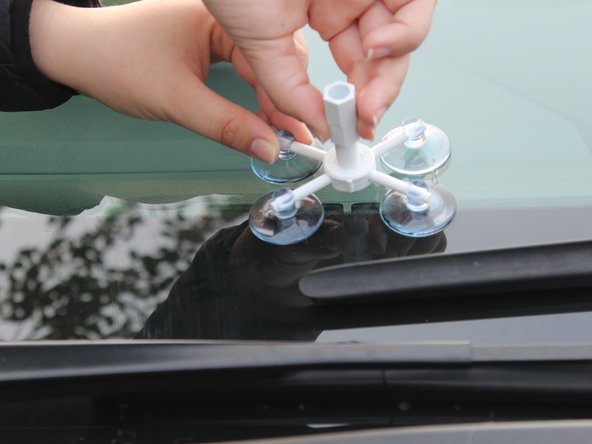
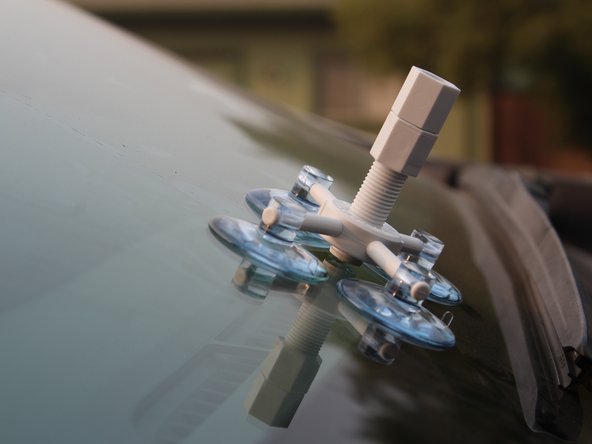
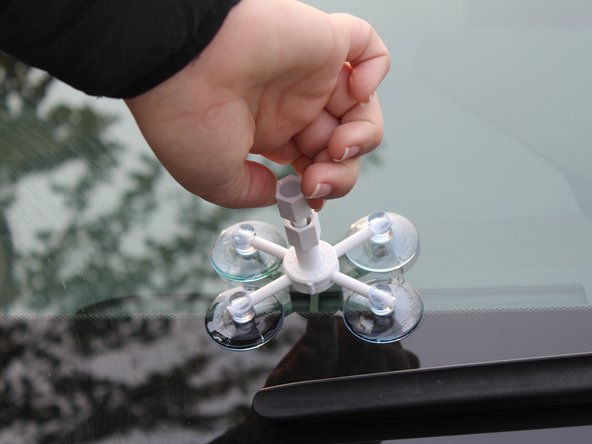
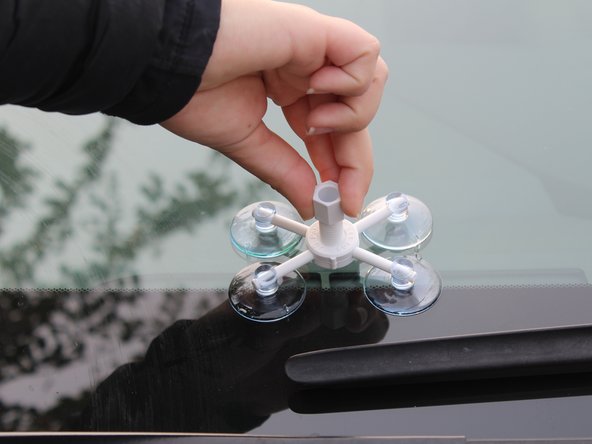
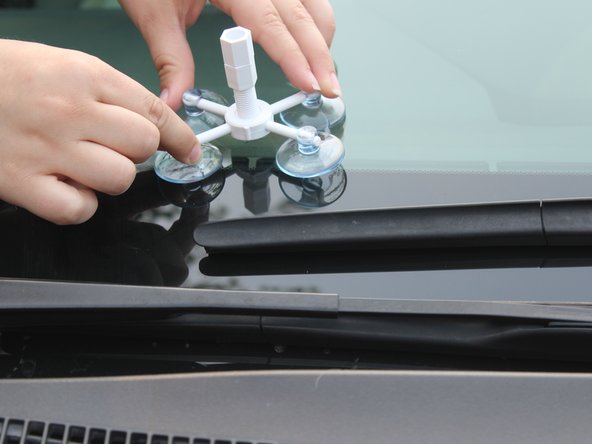
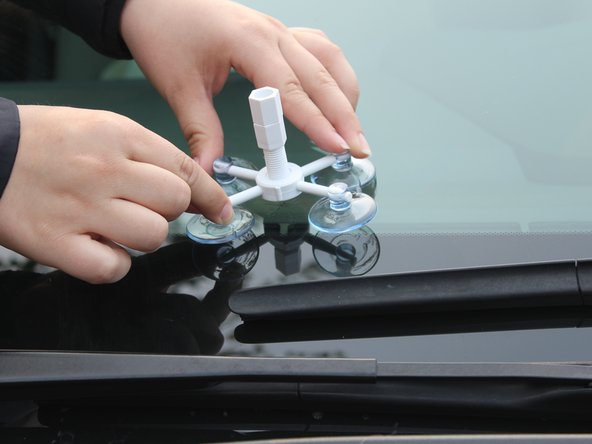
- Attach the Rain-X applicator base to the windshield, with the center of the base directly above the chip.
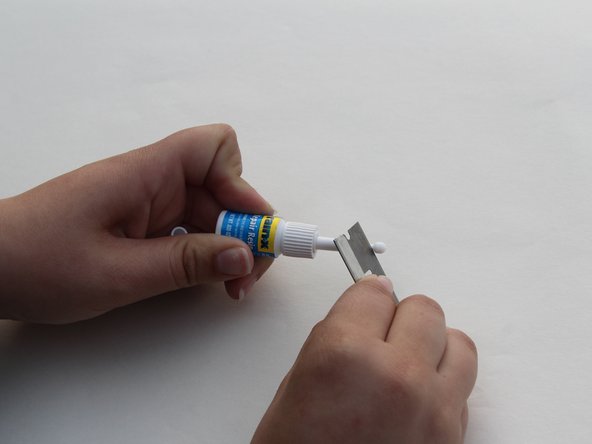
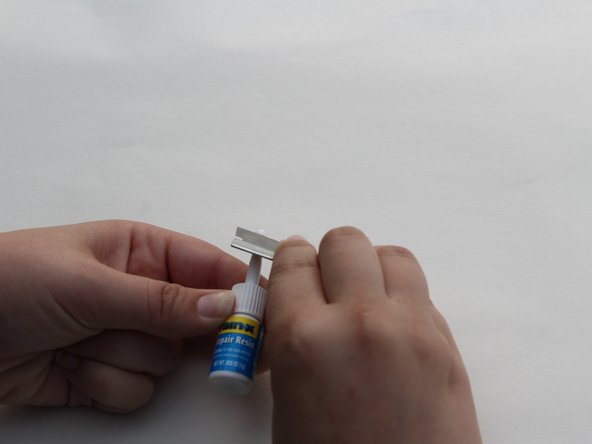
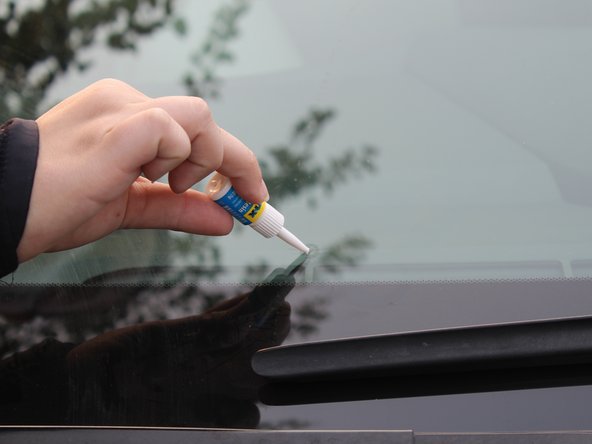
- Cut the tip of the repair resin bottle using the razor blade.
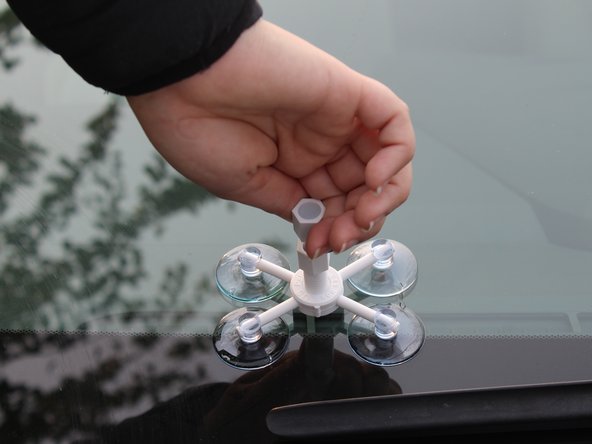
- To attach resin chamber, screw the chamber into the center ring of the applicator base.
- Screw the resin chamber clockwise until it is in contact with the windshield.
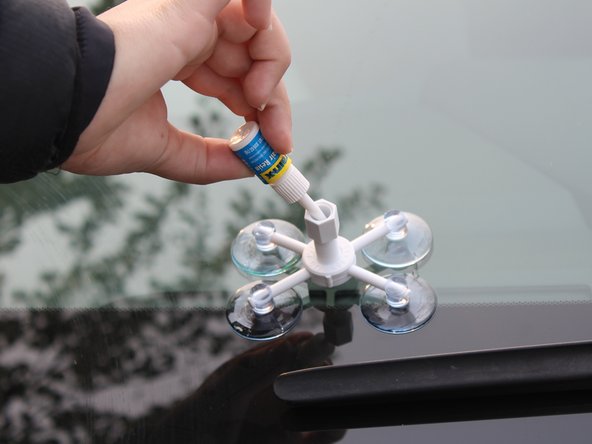
- Apply 3-6 drops of resin from the resin repair bottle into the resin chamber.
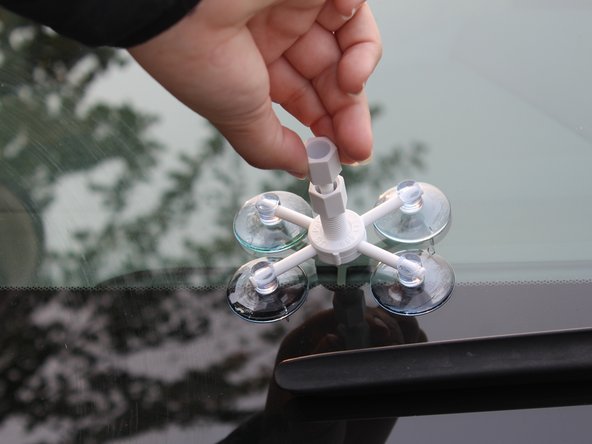
- To add the pressure driver, screw the driver clockwise into the resin chamber.
- Make sure to tighten almost all the way.
- Make sure the pressure driver is in contact with the windshield.
- Set timer for 4-6 minutes - Let the adhesive absorb into the chip for 4-6 minutes.
- To determine if the repair resin has absorbed properly, look at the glass from a 45 degree angle.
- After the 4-6 minutes end, unscrew the pressure driver, turning it counter clockwise. Remove it to release any trapped air.
- Reinsert pressure driver by twisting clockwise.
- This will discard any air remaining in the chip.
- To check for remaining damage, look for a dark color to appear.
- Leave to cure for 5-10 minutes.
- Once finished curing, remove the resin chamber and the pressure driver by screwing counter clockwise.
- Remove the applicator by using the tabs on the suction cups.
- Clean off any excess adhesive from the windshield.
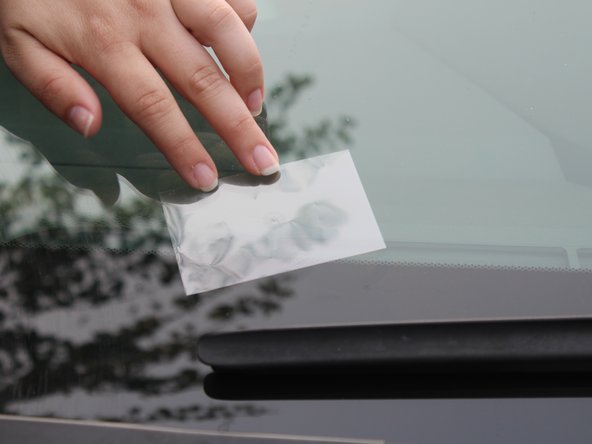
- Cover the chip gently with a curing strip.
- Move the car into direct sunlight and leave for 4-6 hours.
- Remove the curing strip and enjoy.