How to Repair a Ripped Ribbon Choker
ID: 115475
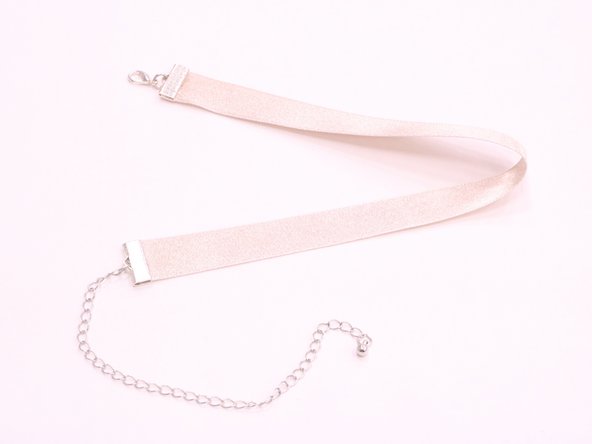
Description: You will be fixing a torn ribbon choker and...
Steps:
- Use a pair of scissors to cut right before the tear.
- Cut off the crimp on the other end.
- Try to cut off the least amount of fabric.
- If you cut off too much fabric, the choker will no longer fit around your neck.
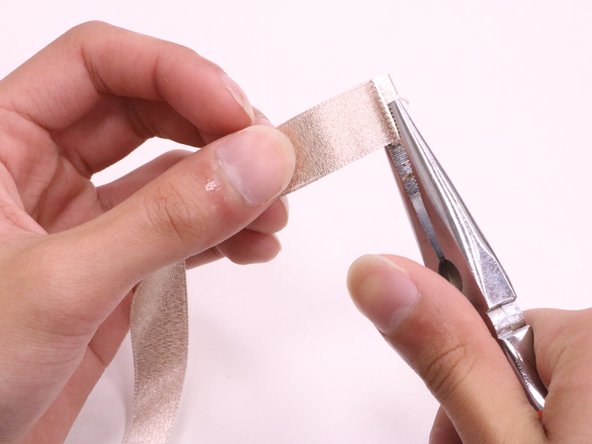
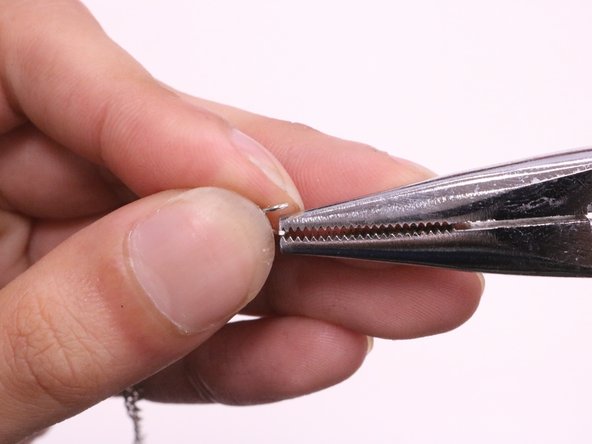
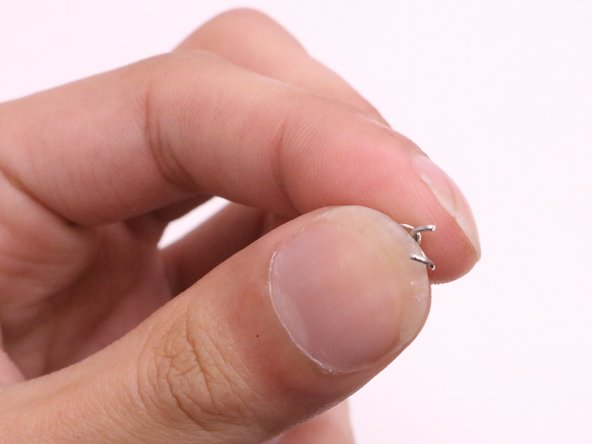
- Using the long nose pliers, place the new crimp to the end of the ribbon and squeeze the crimp shut.
- Make sure that the crimp is securely attached in place by pinching the crimp hard.
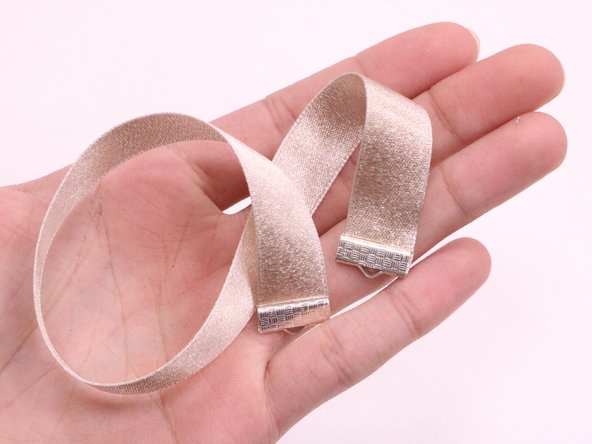
- Repeat step 2 to the other end of the ribbon to complete attaching the crimps.
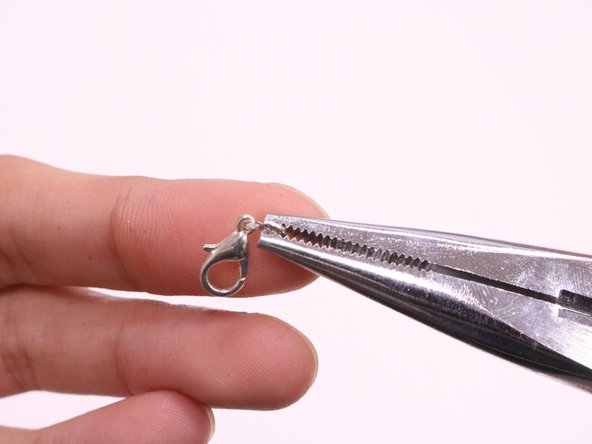
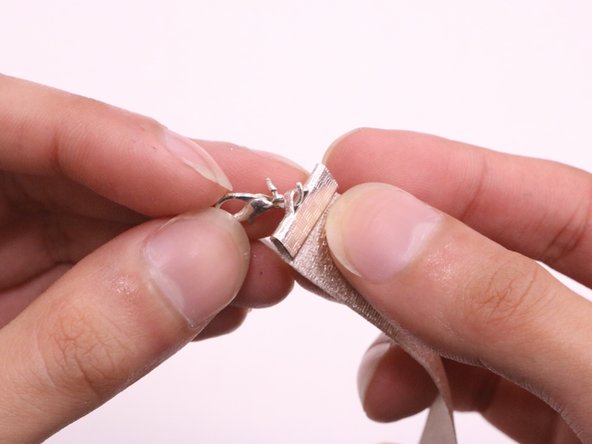
- Using the long nose pliers, open up the circular ring attached to the new clasp.
- You can manually open up the ring with your hands if it is difficult to open with the pliers.
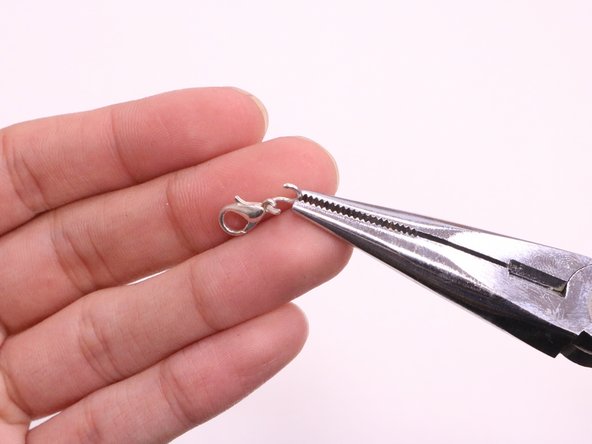
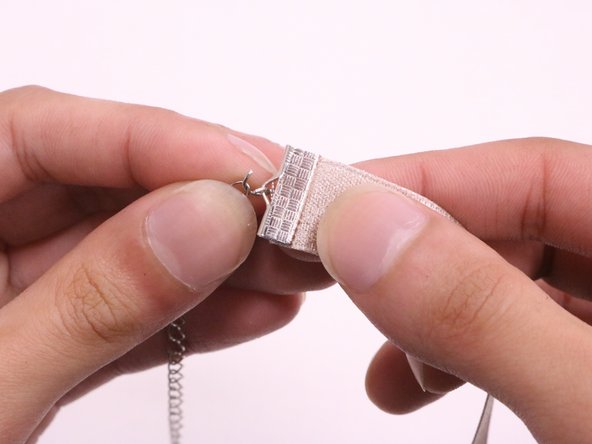
- Place the open ring on the crimp by putting it through the hole on the end of the choker.
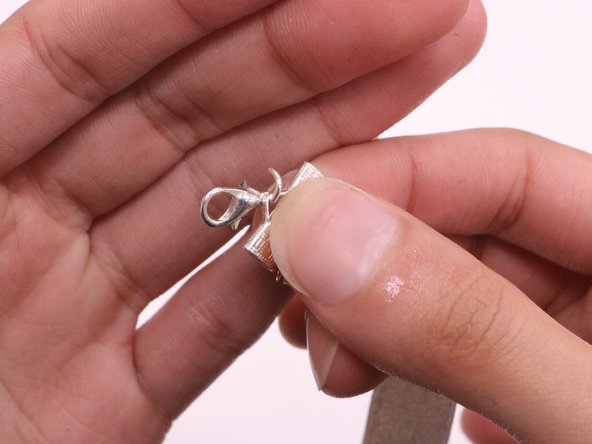
- Using your fingers, secure the clasp by squeezing and closing the ring shut.
- This step can be tricky because of how small the ring is. Use one hand to hold and keep the ring from moving while your other hand squeezes it shut.
- If you cannot squeeze the ring shut, you can use your long nose pliers to squeeze and secure the ring.
- Use the long nose pliers to open up the circular ring attached to the chain.
- Similar to step 4 and 5, you can use your hands instead of the long nose pliers if it is easier for you to open the ring.
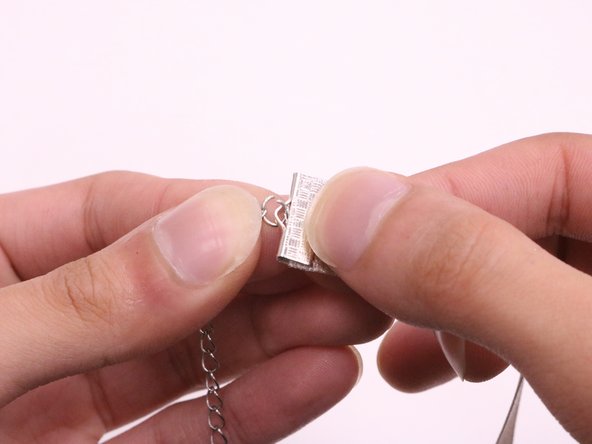
- Place the open ring on the crimp by putting it through the hole on the end.
- Using either the long nose pliers or your hands, secure the ring of the chain to the other side of the crimp.
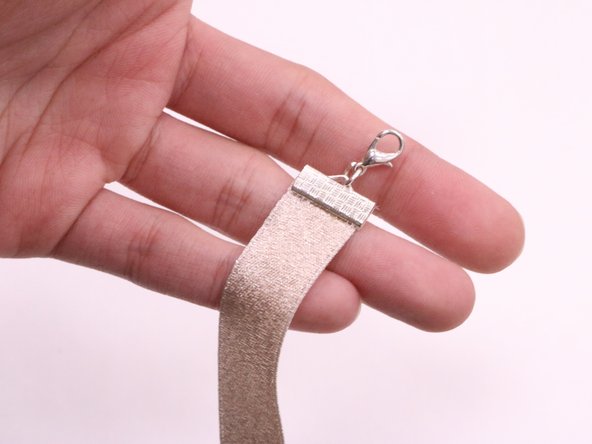
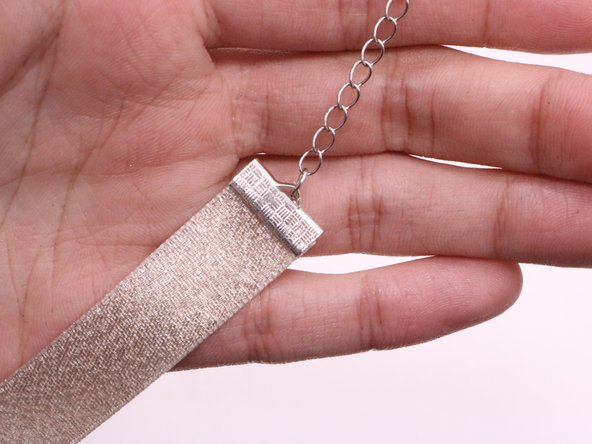
- Check the following before wearing your newly fixed ribbon choker.
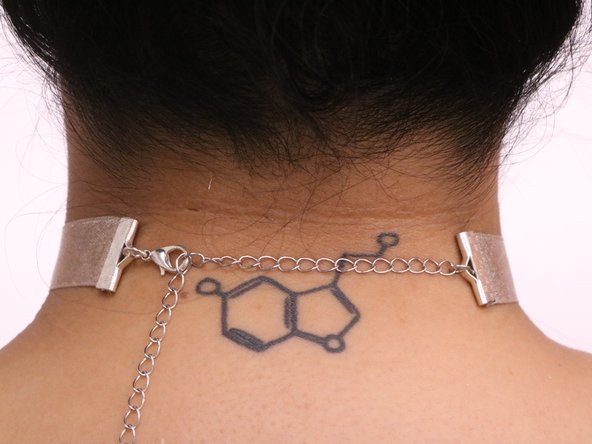
- Test out your new choker by putting it on.
- When wearing the choker, make sure that the crimp, clasp and chain is secure.
- If the crimp, clasp, or chain feels loose, take the choker off and retighten the rings and crimps to ensure that it will not fall off.