How to Rebind a Hardcover Book
ID: 115512
Description: Old books are often recycled or thrown away...
Steps:
- Remove the dust jacket from the book.
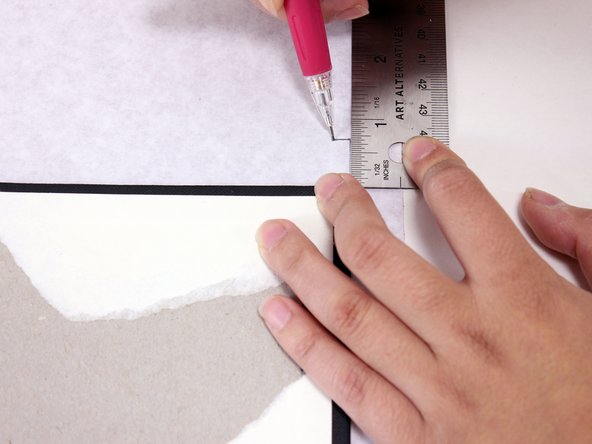
- Use the Xacto knife to cut the existing endpaper along the crease.
- Be careful not to cut the pages of the book!
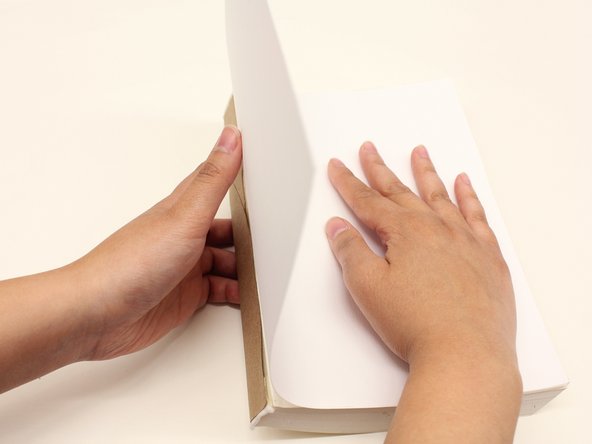
- Separate the book cover and set the pages aside.
- Put the new bookcloth on the worksurface with the back side (paper side) up.
- Lay the book cover on the new bookcloth.
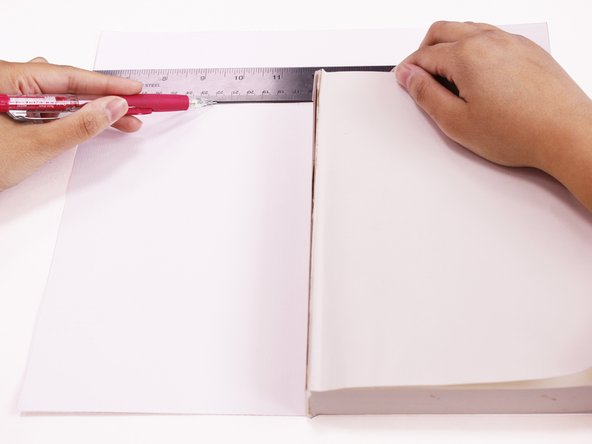
- Use the ruler to measure a 3/4 inch margin on all sides of the book cover.
- Trace outlines for the margins on the bookcloth.
- Trace the outline of the existing cover and spine on the new bookcloth.
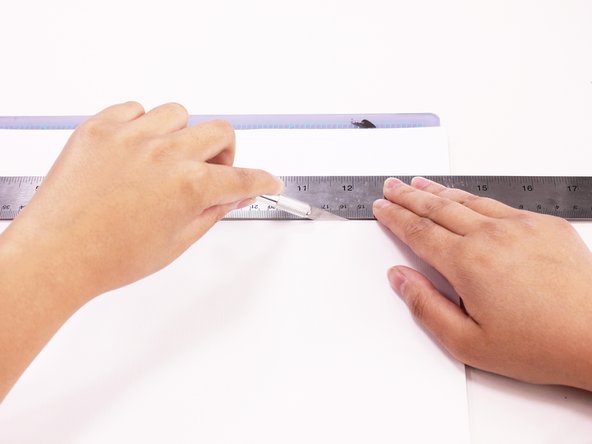
- Cut the new bookcloth along the margin outlines.
- Use the ruler as a straight edge to cut a clean line.
- Carefully remove the existing endpaper enough to expose the edges of the existing covers.
- Cut out the existing covers.
- If the endpaper does not separate from the covers easily, measure the covers and spine with a ruler and draw these dimensions onto the chipboard.
- Trace the outline of the existing cover and spine on the chipboard.
- Cut out the new covers and spine.
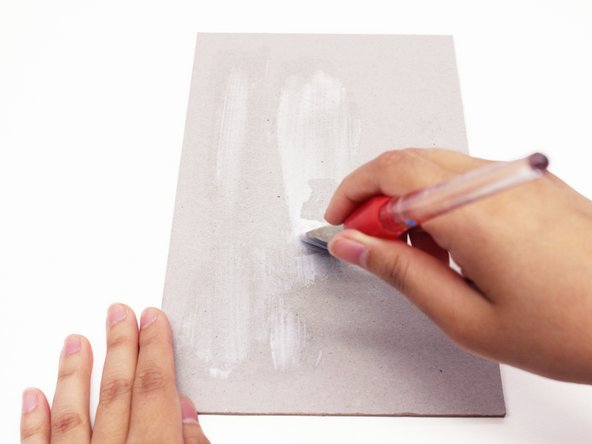
- Use the paintbrush to apply the bookbinding glue to the covers and spine.
- The glue dries fast so make sure to apply quickly and have all materials ready for the next step.
- Align the two covers with the outlines of the existing cover.
- Place the new spine on the book cloth, centered between the covers.
- Apply bookbinding glue to the left and right margins.
- Fold the margins over the covers.
- Apply glue to the top margin.
- Fold the corners of the top margin to meet the top edge of the book covers.
- Press on the corners with your fingers until secure.
- Fold the top margin over the covers and spine.
- Repeat these steps on the bottom margin.
- Press the gaps between the spine and covers until secure. Repeat this step on the bottom margin.
- Close the book cover and fold the edges of the spine.
- Measure the existing endpaper from the book.
- This measurement is twice the width of the book pages.
- Trace the dimensions on the new endpaper.
- Cut the new endpaper with the Xacto Knife.
- Apply glue to one side of the book.
- Attach the end page to the glued side.
- The edges of the endpaper should be aligned with edges of the pages.
- Let the glue dry.
- Repeat steps on other side.
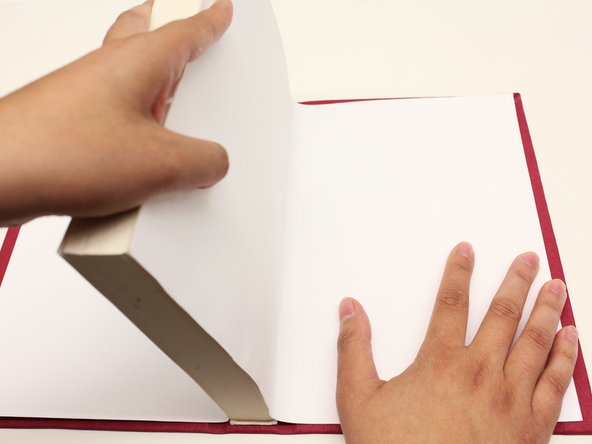
- Apply glue to the back of each endpaper.
- Align the book pages to be centered on the spine.
- Attach the endpapers to the new cover.
- Press down until secure.
- Close the book.
- Put other books or another heavy object on top of the books.
- Let the new book cover dry.
- Put the dust jacket back on the book.