Making a low cost photography light stand
ID: 115533
Description: If you need a light stand for photos, this...
Steps:
- Before disassembling on the lamp, it MUST be unplugged!
- If the bulb is worth keeping, this can be reused.
- If the lamp has a lightbulb installed, remove it from the lamp.
- MOST LAMPS WILL BE SIMILAR, but designs can vary.
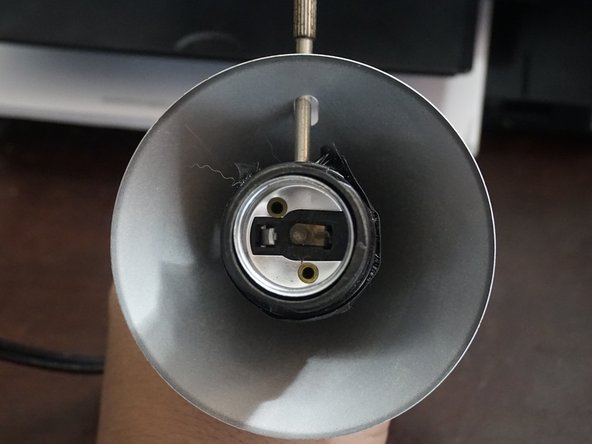
- Remove the switch handle. Note: While this can be optional, it was required on this lamp. If it looks tied into something, it probably has to be removed.
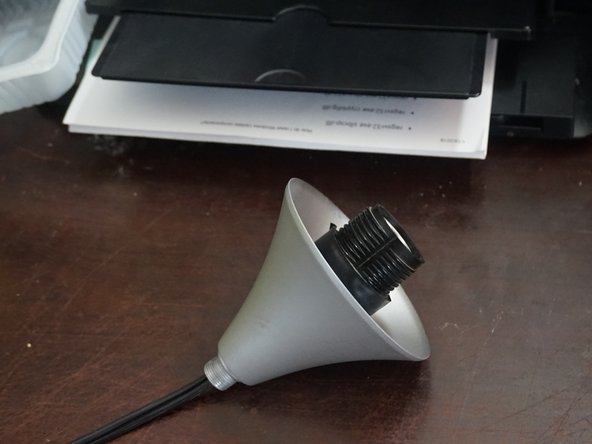
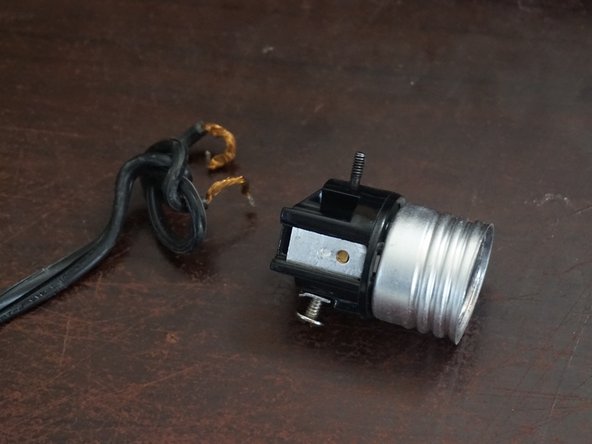
- Remove the socket cover. Once removed, remove the bulb socket.
- Sockets that hold the cord in with a press-fit design are hard to reuse by design. Unless you can depress the cord, cut the cord at the socket and discard the bulb socket.
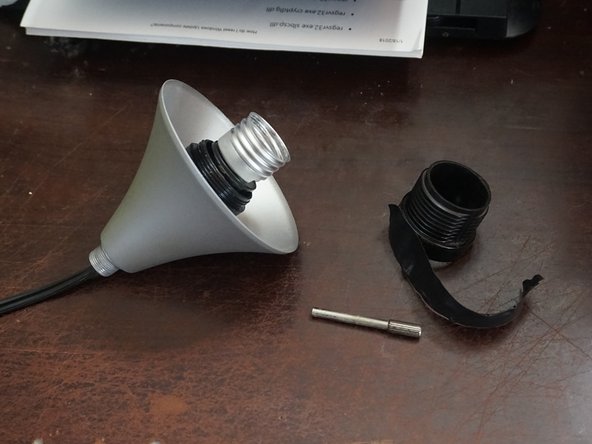
- After removing the plastic cover and switch, remove the bulb socket with a Phillips #2 screwdriver. If your socket is press fit, these are generally not reusable. Cut the cord unless you can pull the cord and not compromise the socket.
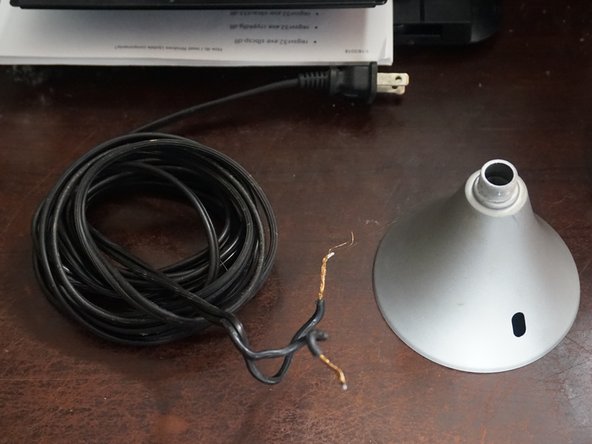
- Discard any broken or unwanted components.
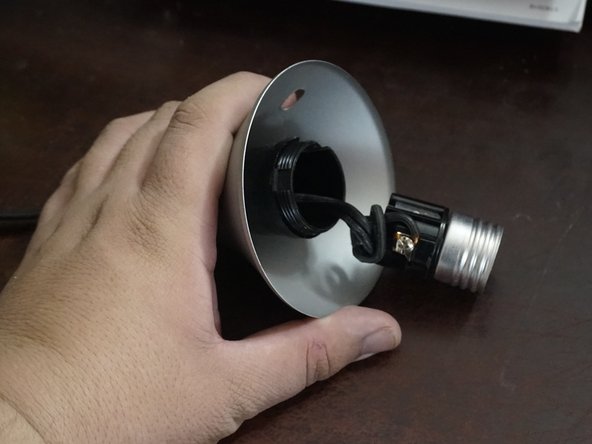
- Keep the cord if it is in good shape. These are excellent to keep around to repair other lamps (or anything in need of a similar cord).
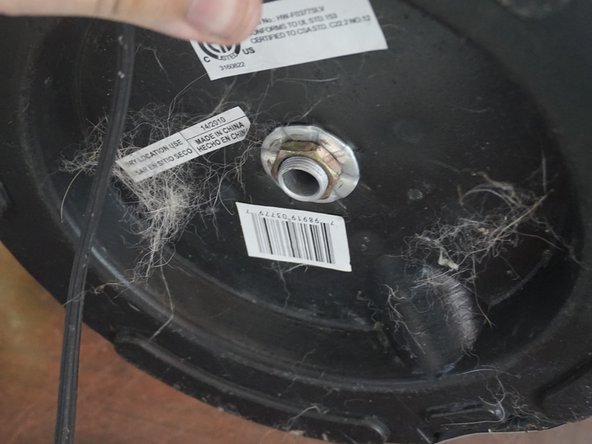
- After removing the bulb socket, remove the power cord.
- After gutting the lamp, find a good spot to clamp a workshop light on like the one shown. Additional changes like height reduction can also be done at this stage.