HP Mini 210-2070NR Hard Drive Replacement
ID: 11555
Description: Is your HP Mini 210-2070NR failing to boot,...
Steps:
- Before beginning, make sure that your computer is turned off and all external power cords are disconnected.
- Close the laptop and turn it over so that the underside is up and the silver battery bay is facing towards you.
- The battery locking latch is on the bottom right corner; slide it inward to unlock the battery.
- Slide the battery release latch inwards.
- Pull the battery towards you to remove it.
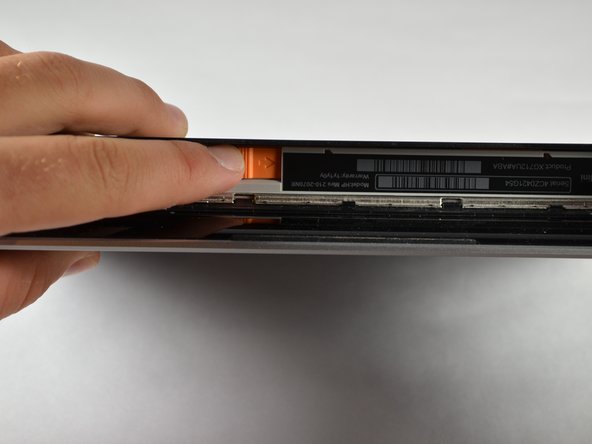
- Slide the service access cover release lever to the right.
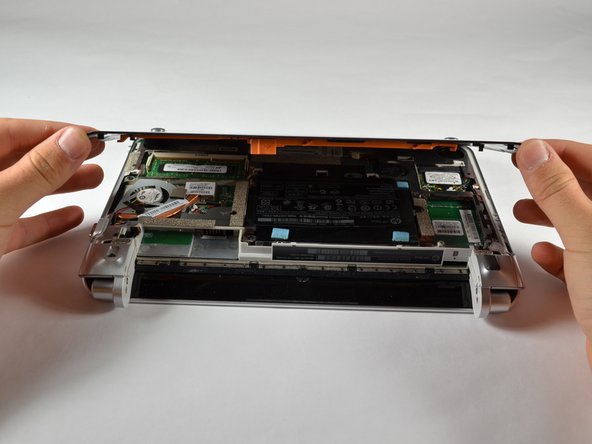
- While holding the lever to the right, lift up the laptop's bottom cover gently and remove the cover.
- Orient the computer as shown in the picture.
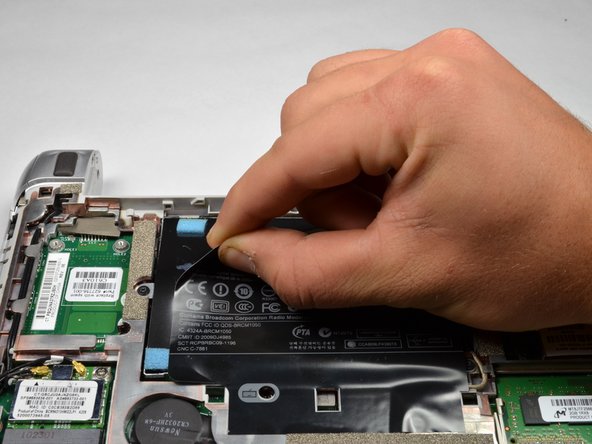
- Remove the HP product sticker.
- Be careful not to pull up the black hard drive plastic connector with the sticker. Also, removing this sticker will void your warranty.
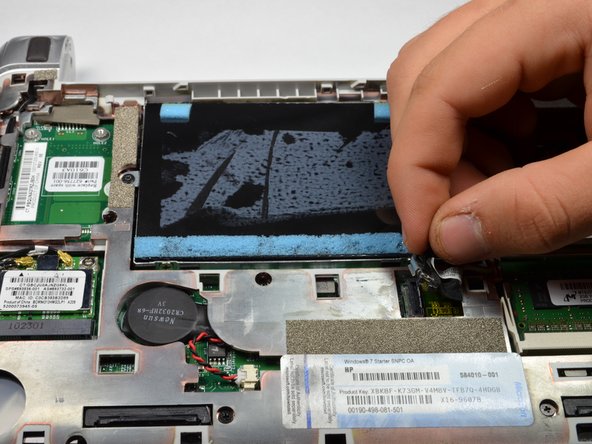
- Locate the hard drive, where the HP Product sticker used to be.
- Locate the hard drive cable, connected to the hard drive.
- Disconnect the hard drive cable by gently pulling upward.
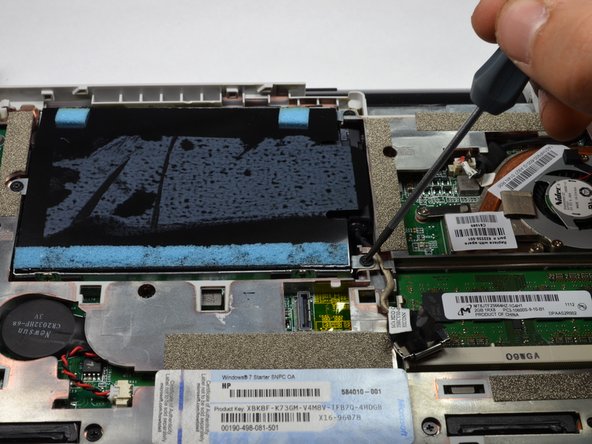
- Using a #00 Phillips screwdriver, unscrew and remove the three 2.0 x 4.0 Philips screws holding the hard drive in place.
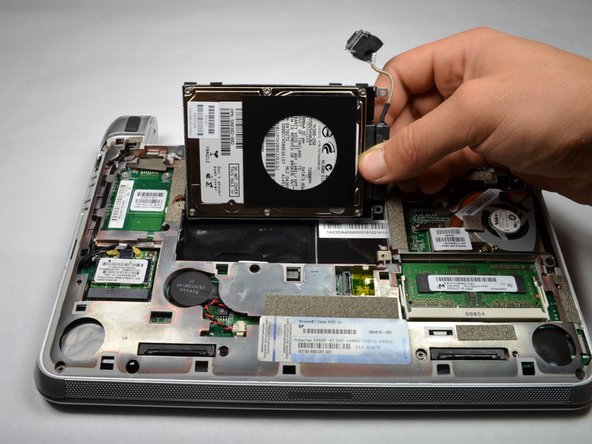
- Use the Mylar Tab located on the right side of the hard drive to pry up the hard drive.
- Remove the hard drive.
- Lay the hard drive down with the underside facing up.
- Pull and remove the hard drive pin connector from the hard drive.