How to Replace Velcro on a Baseball Cap
ID: 115553
Description: Over time, the velcro that secures a baseball...
Steps:
- Use a seam ripper to remove the stitching between the velcro and the hat.
- Make sure to fully remove the velcro by also seam ripping the fold inside the hat.
- Repeat this step on the other strap.
- Use a measuring tape to measure how much velcro you will need.
- Cut the precise amount of velcro to be sewn onto the hat.
- Pin the new velcro onto the hat.
- This will make sure both pieces stay in place when you start to sew the velcro in place.
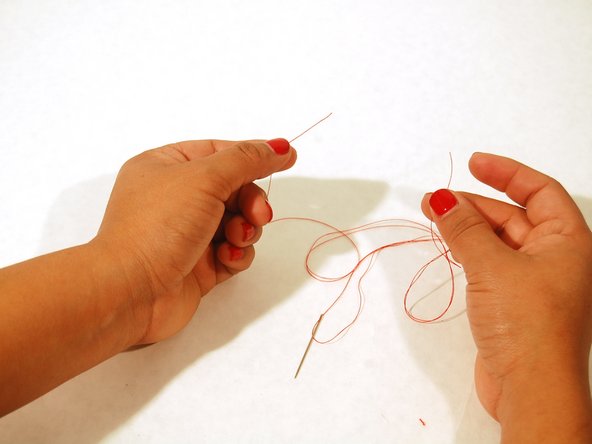
- To prepare for sewing, thread the needle with a thread color of your choice.
- Pull the thread through the loop.
- Measure about 24 inches
- Make sure to leave an even amount of thread on either side of the needle.
- 12 inches on each side
- Cut the thread.
- Knot the ends of the thread together to secure.
- Use a running stitch to secure the velcro to the strap of the cap.
- To do a running stitch: bring the needle up through the cap side of the strap and then the velcro until the knot at the end of the thread hits the fabric.
- At this point, bring the needle back down through the velcro a few millimeters from where you started, following the direction you're trying to sew.
- Keep bringing the needle up and down through the strap and velcro, moving the same distance each time. Repeat this until you have sewn around the entire piece of velcro to secure it.
- When you come to the end, knot the thread next to the last running stitch to finish it.
- Repeat steps 4 - 7 on the remaining strap using the other side of the velcro.
- Once finished, the velcro should be securely sewn on the baseball cap and ready to use.