AARP RealPad MA7BX2 Screen Replacement
ID: 115631
Description: This guide will show you in depth how to...
Steps:
- Loosen the back cover using the suction cup.
- Pull up on the center of the back with the suction cup.
- Pull up on all four corners of the back with the suction cup.
- Remove the back cover by gently placing the small opening tool in the crevice created by loosening the back.
- Slide the opening tool around the edges of the device.
- Wedge it open using the opening tool.
- Use the suction cup again if you're having trouble removing the back cover.
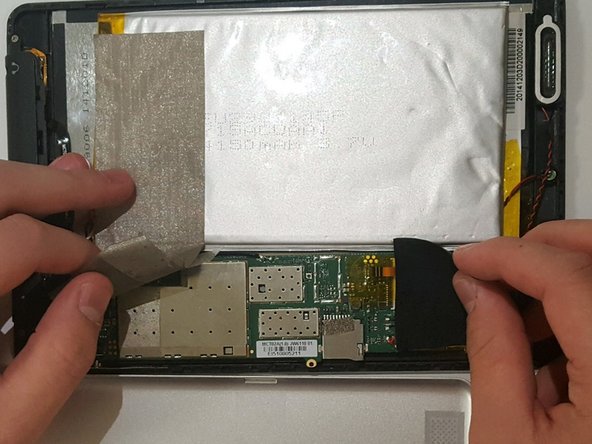
- The black tape is stuck to delicate wires; remove with caution.
- Peel off the silver tape.
- Gently pull off the black tape.
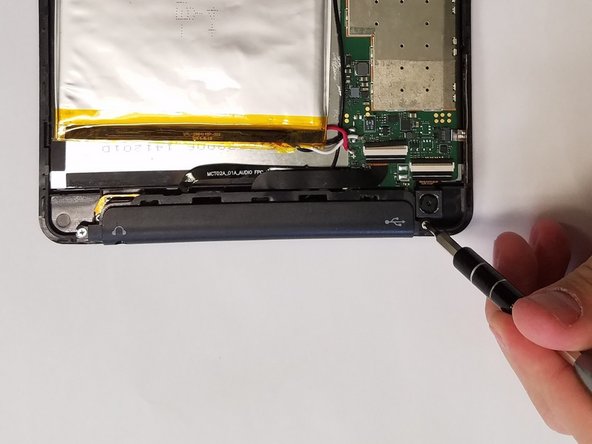
- Using a JIS #000 screwdriver, remove the two 2.5 mm screws.
- Lift off the black audio cover.
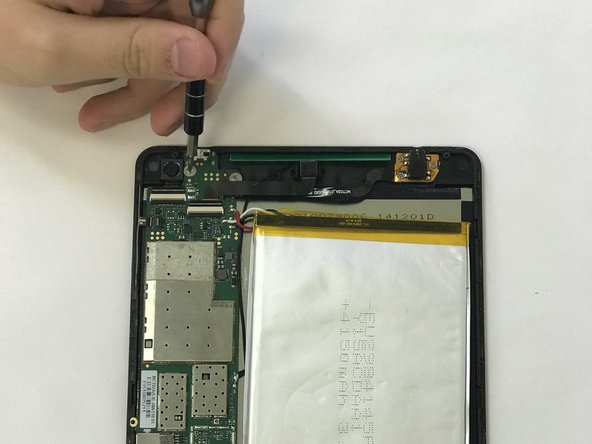
- Remove the two JIS #000 screws.
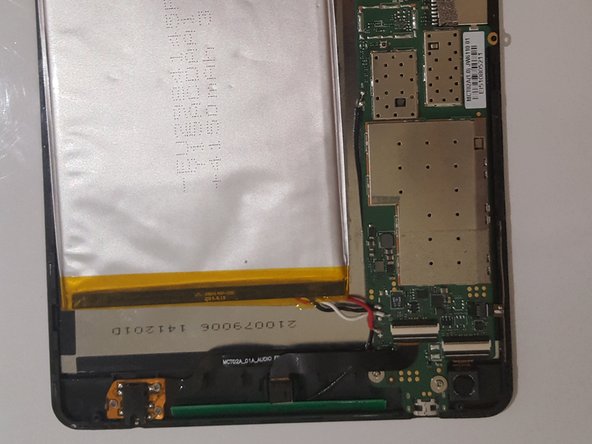
- Flip up the small black connectors using a spudger or your nails.
- Be careful when flipping them up. Too much force can cause them to break.
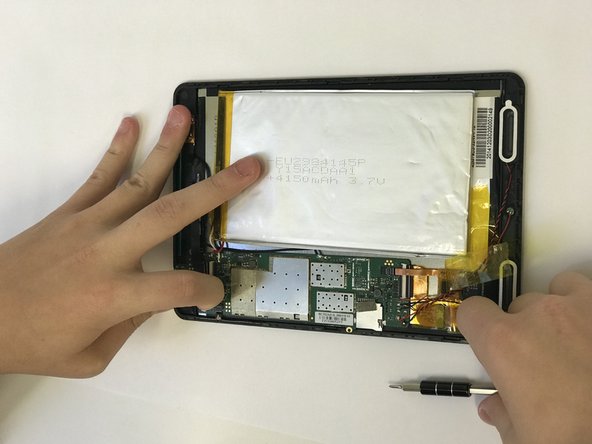
- Remove battery.
- Removing the battery may need some force. Be careful as to not break anything.
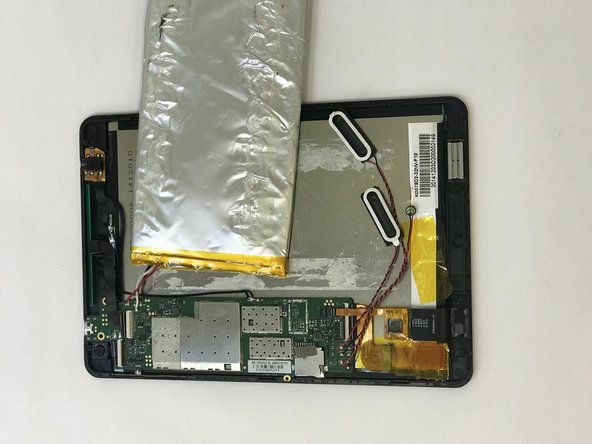
- Use the tweezers to loosen up the sides of speakers by going into the gaps, before picking it up.
- There are magnets holding down the speakers. Be careful as to not pick them up with the speakers.
- The top of the speakers are very fragile and may fall out at the slightest touch. Be careful when picking them up.
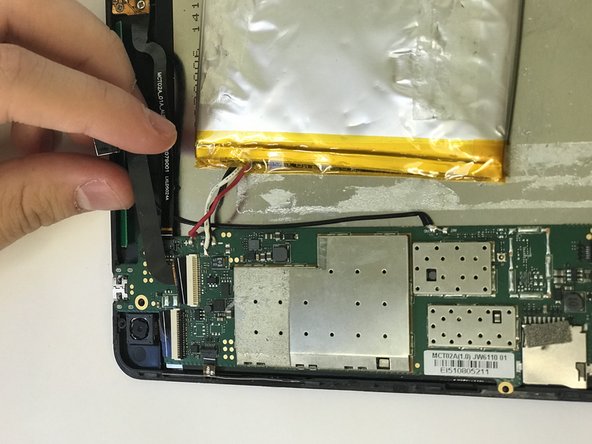
- Remove all wire connections by sliding them out of the connectors.
- Be careful as to not forcefully pull out anything because the wires are very delicate.
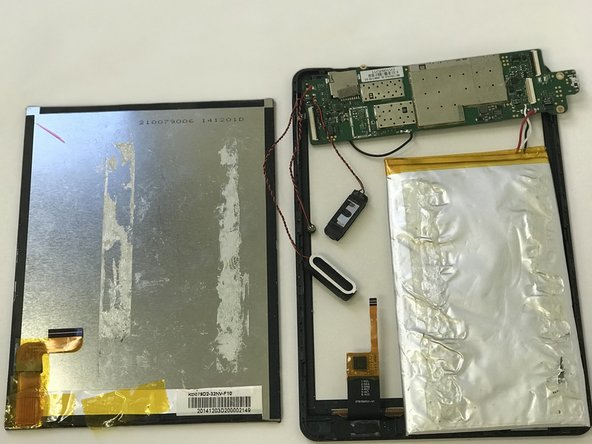
- Take off the motherboard and set it aside. Your Finished product should look like this.
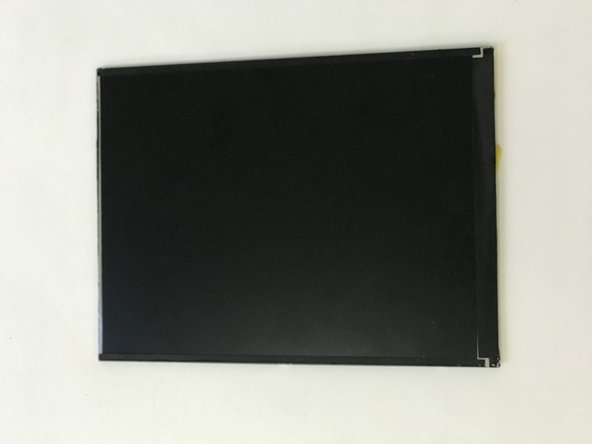
- Use the suction cup to loosen and pull up the screen.
- Be careful when pulling up screen. Too much force can lead to you breaking it.