HP 15-f162dx Motherboard Replacement
ID: 115703
Description: Technical problems with a motherboard, caused...
Steps:
- Pull back the lock.
- Take off the battery
- Use a Flathead 2.5 mm Phillips screwdriver to remove all of the screws on the backside of the laptop.
- There are 14 screws on the back plate in total, make sure to remove them all before proceeding.
- Apply gentle pressure when undoing the screws to preserve the condition of screw heads for future repairs or servicing.
- Once all screws have been removed , place the laptop on a flat surface and insert a metal spudger in a gap between the top side coverings.
- Once inserted, move the spudger around the base, lifting the top edge about quarter of an inch. Gently go around the edge repeating the action.
- The sharp popping sound that the latches on the inside will produce is normal and does not signify anything being broken.
- While some force will be required in this step, make sure not to over-apply pressure since extra force might break the plastic latches.
- After all of the inside latches have been dislodged, remove the front cover. Now is a good time to clean the dust that collects in the device after prolonged use.
- Use Phillips JIS J00 screwdriver to undo the screws that attach the motherboard to the back cover.
- Again, make sure to apply only a gentle pressure when undoing the screws.
- Be very careful: If the metal head of the screwdriver slips during the process, it can damage the motherboard. While not relevant in case of removing a broken motherboard, it is crucial while putting in a new one.
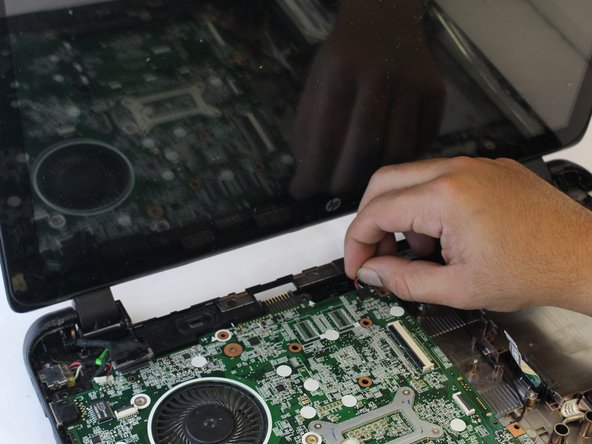
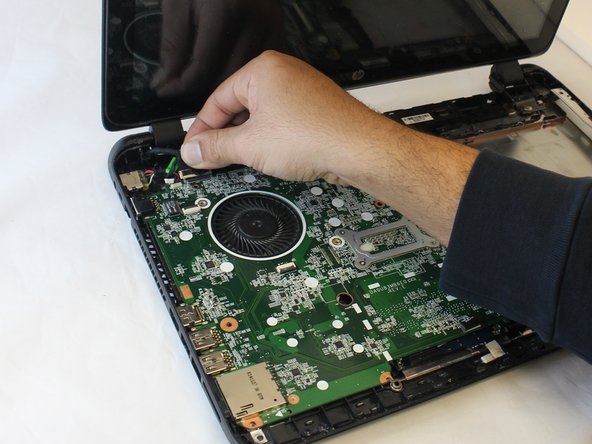
- Locate and disconnect the wires that are connected to the motherboard.
- Do not use any kind of metal instrument to assist you in this process since it can damage the contacts of the wires.
- Instead, you can use a credit card or a plastic spudger included in the Essential Electronics Toolkit.
- After the wires have been disconnected, gently lift the motherboard out of the laptop.