Gateway NV55C49u Display Replacement
ID: 115741
Description: If your laptop screen is not functioning...
Steps:
- Flip the laptop bottom side up.
- Slide the battery lock to show the red background.
- Push the battery slider to the other side. This will automatically eject the battery.
- You can now remove the battery
- Remove the two 6.0mm Phillips #00 screws from the back cover.
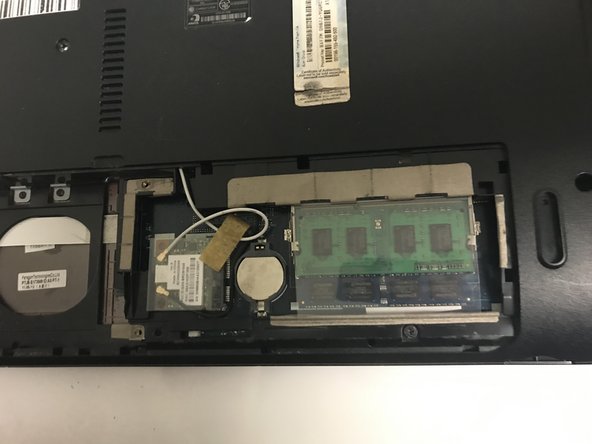
- Remove the back cover by placing a plastic opening tool in the indention and prying upwards.
- Remove the four 3.0mm Phillips #0 screws from the battery compartment.
- Remove the two 6.0mm #00 Phillips screws from the area under the back cover.
- Remove the nine 6.0mm #00 Phillips screws from the back of the laptop.
- There are 6 small clips that holding the top row of the keyboard in place.
- To remove the keyboard, push each of these clips in with a metal spudger while simultaneously using a plastic opening tool to pry the keyboard up.
- Once the top row is loose you can use the plastic opening tool to gently pry the rest of the keyboard off the laptop.
- Once the keyboard is loose, slowly lift the keyboard away from the laptop.
- There will be a single ribbon cable connecting the keyboard to the laptop body. Use two plastic opening tools to loosen the fastener,
- After the fastener is loose, gently disconnect the cable.
- Ribbon cables should come out easily once the fasteners are loose. Do not apply too much pressure.
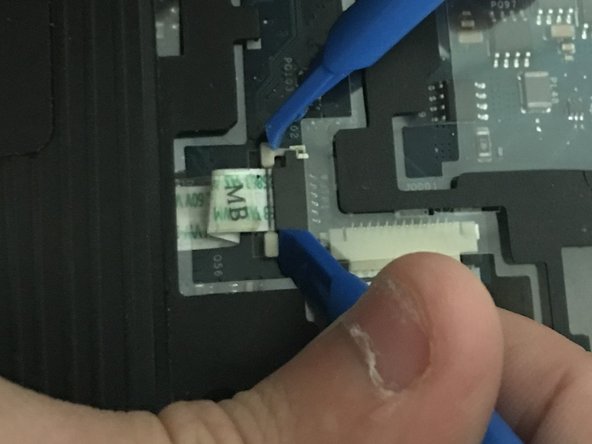
- Remove the 3 ribbon cables using a plastic pry tool to gently push the fasteners loose and gently pulling the cables out.
- Ribbon cables should come out easily once the fasteners are loose. Do not apply too much force.
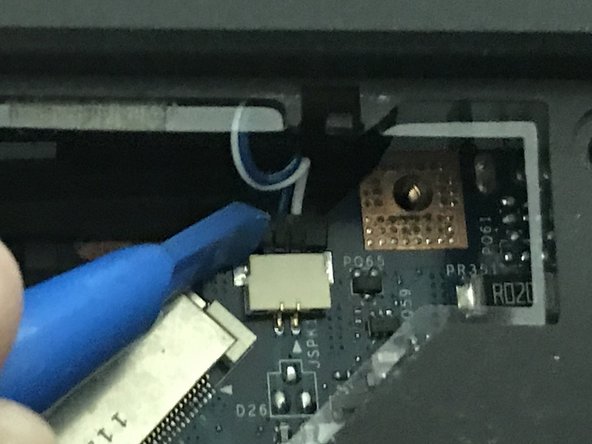
- Use a plastic pry tool to disconnect the single pinned connector.
- Use a plastic opening tool to remove the disk drive cover on the right side of the laptop.
- Use the metal spudger to pry upwards on the disk drive until you can grab and remove it.
- Now simply lift the face-plate off the laptop body.
- This step exposes the motherboard, which is a sensitive part of the laptop. Make sure not to touch anything with your bare hands as a static shock could ruin the board.
- Remove the ribbon wire that connects the display to the motherboard using two plastic opening tools.
- Remove the two 4.0mm #00 Phillips screws from both the top right and top left of the exposed laptop body.
- The display is now fully disconnected.